Manage User Access
In VaultysHub, access to applications can be granted to a user in two ways:
- Via a folder — by adding the user to a folder, they automatically gain access to all applications in that folder. This is the recommended method for consistent access management by team or department.
- Directly — by sharing an application specifically with the user, regardless of any folder.
Accessing Access Management
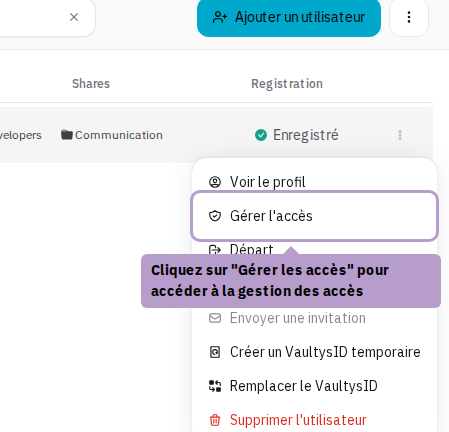
From the user list, open the action menu (⋮) and click on Manage Access.
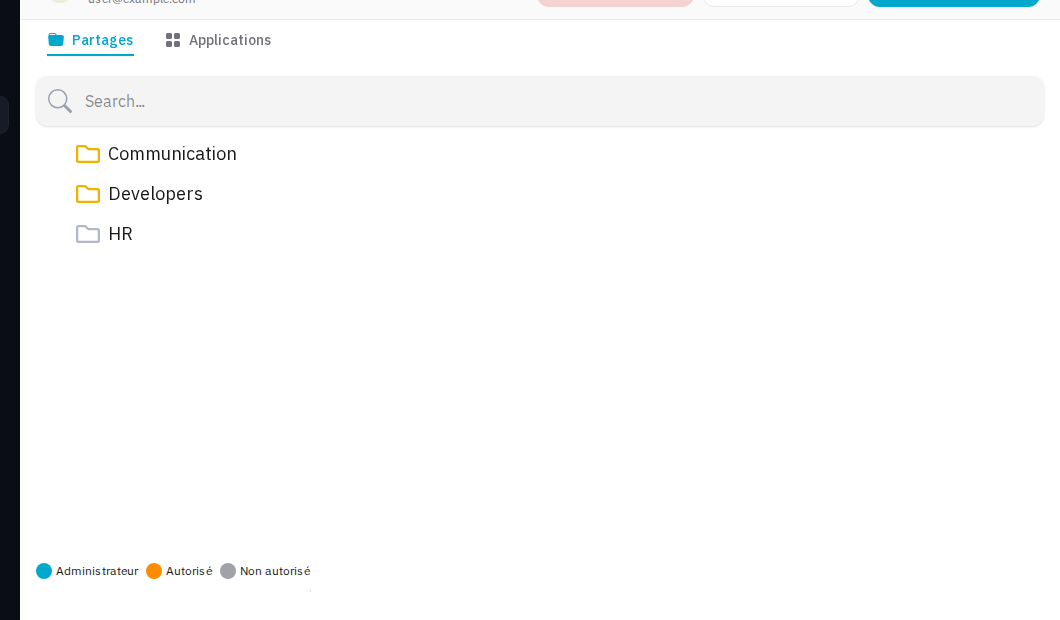
You arrive at the access management page, which displays the folders and applications the user has access to.
Folders Tab
Add Access to a Folder
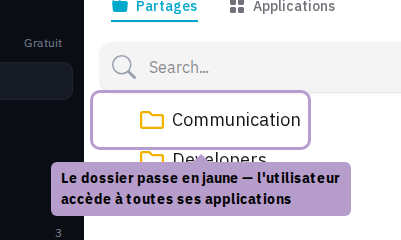
Folders are displayed in a tree structure. The icons indicate the access status:
- 🟡 Yellow — access granted
- 🔵 Blue — folder administrator
- ⚫ Gray — access denied
Hover over a denied folder (gray) to reveal the + button, then click to grant access.
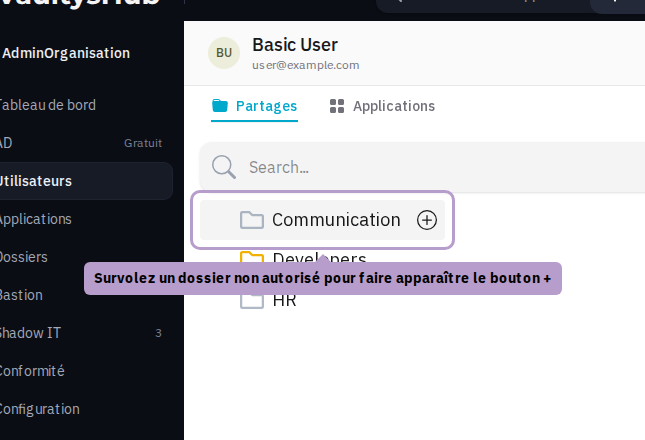
After adding, the folder turns yellow. The user now has access to all applications in this folder.
View Folder Details
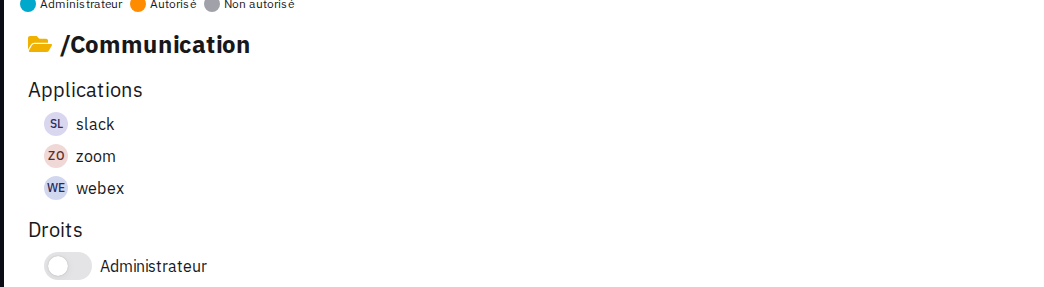
Click on an authorized folder to display its details panel on the right. You can see the list of applications present in this folder.
Set the User as Folder Administrator
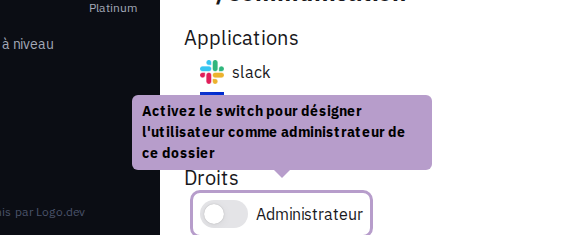
In the details panel, activate the Administrator switch to grant the user administrative rights for the folder. The folder then turns blue.
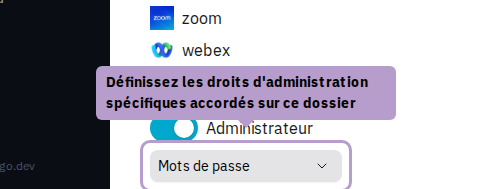
Choose Administrative Rights
When the user is an administrator of a folder, you can refine their rights by selecting the specific permissions they have on this folder.
Remove Access to a Folder
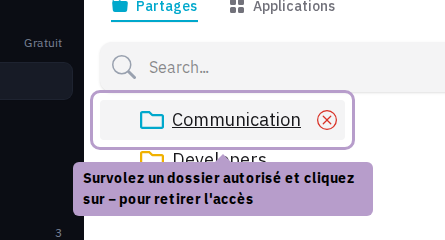
Hover over an authorized folder to reveal the − button, then click to remove access.
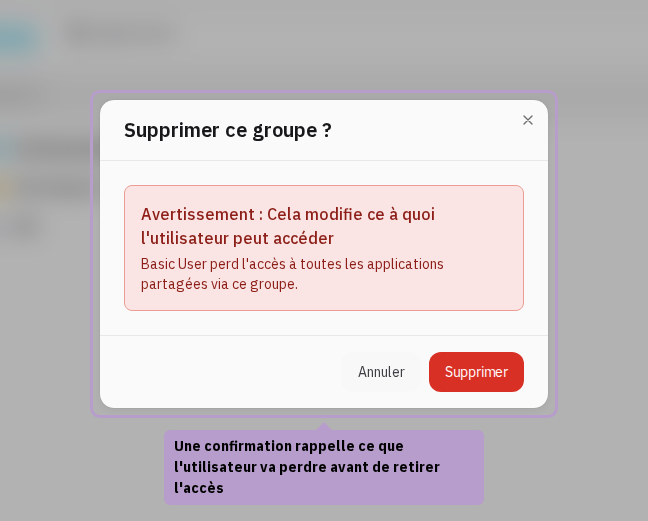
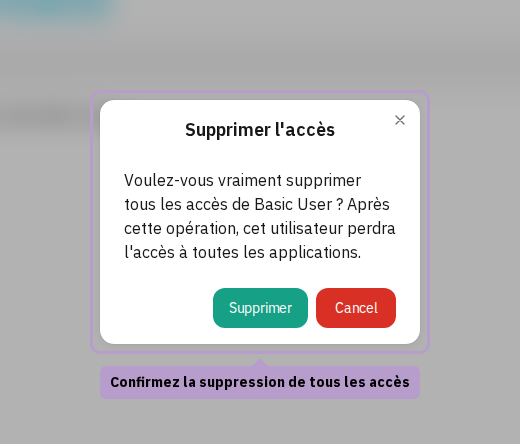
A confirmation window reminds you of the scope of the operation: the user will lose access to all applications shared via this folder. Click on Delete to confirm, or on Cancel to go back.
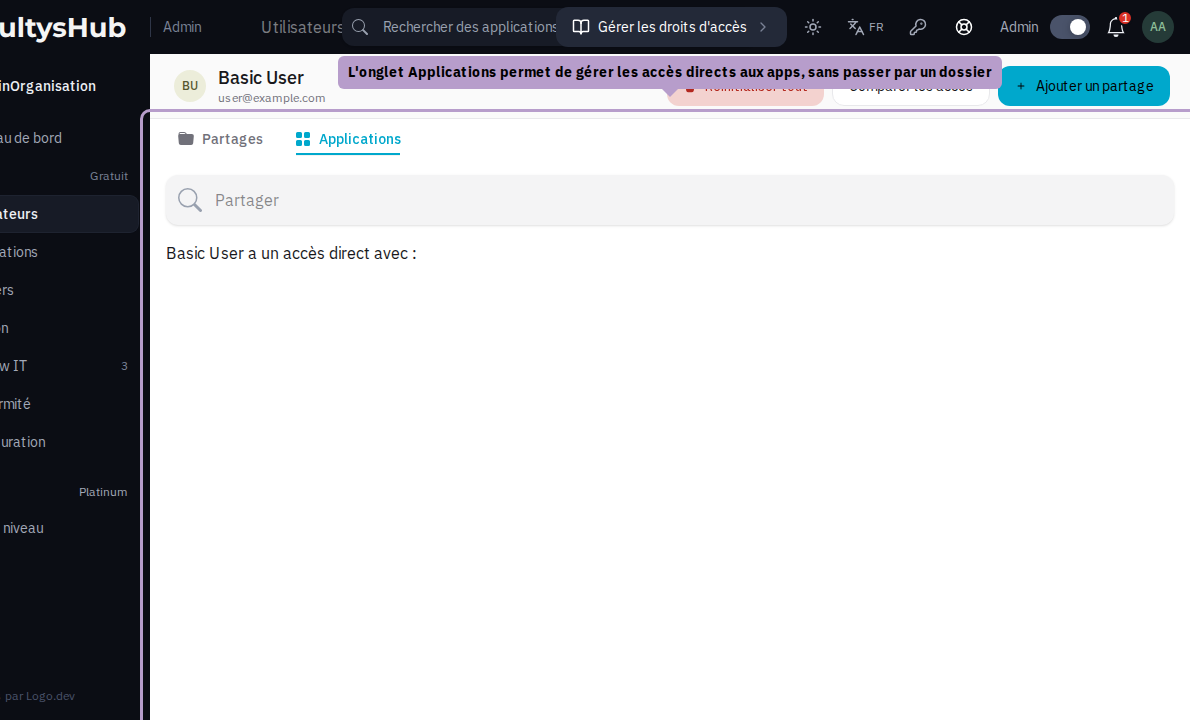
Applications Tab
The Applications tab allows you to manage direct access to applications, regardless of any folder.
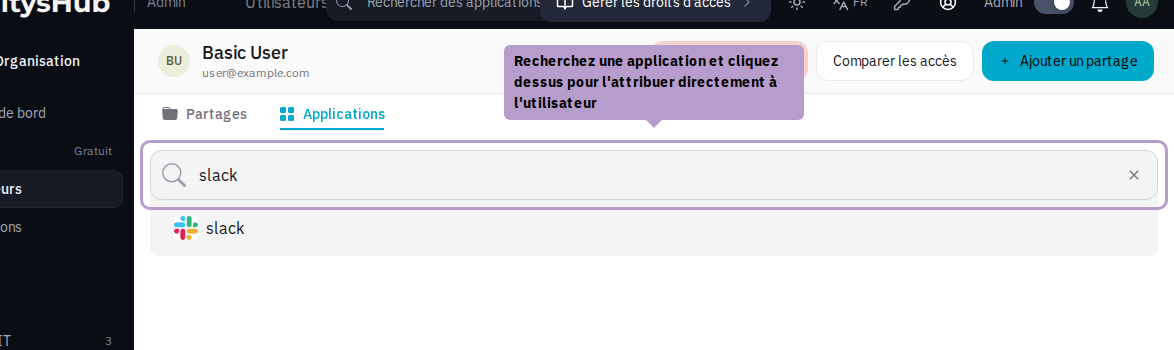
Share an Application Directly
Use the search bar to find an application, then click on it to add it directly to the user.
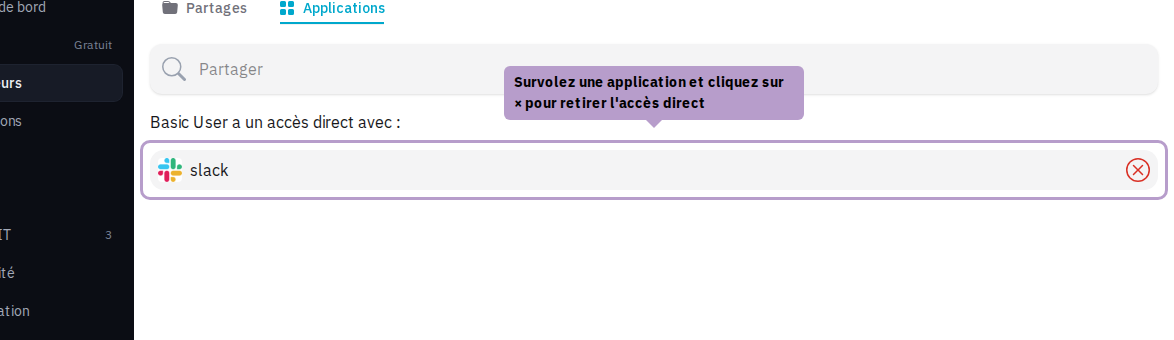
Remove Direct Access to an Application
Applications shared directly are listed below. Hover over an application to reveal the delete button, then click to remove access. As with folders, a confirmation is requested before access is actually removed.
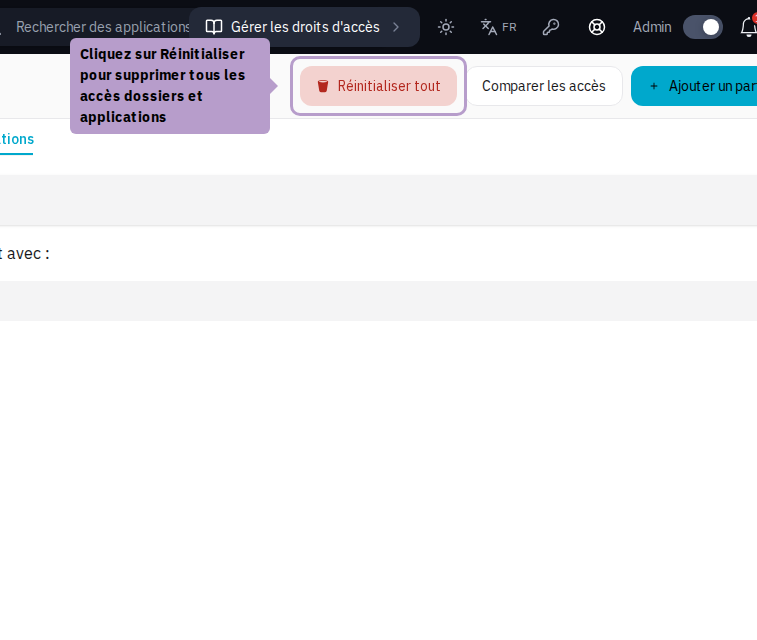
Reset All Access
The Reset button removes all folder and direct application access from the user. A confirmation is requested before proceeding.
Copy Access from Another User
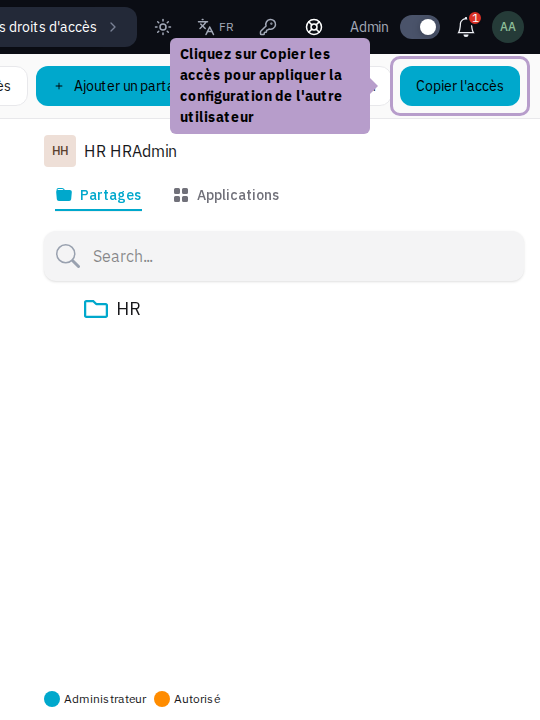
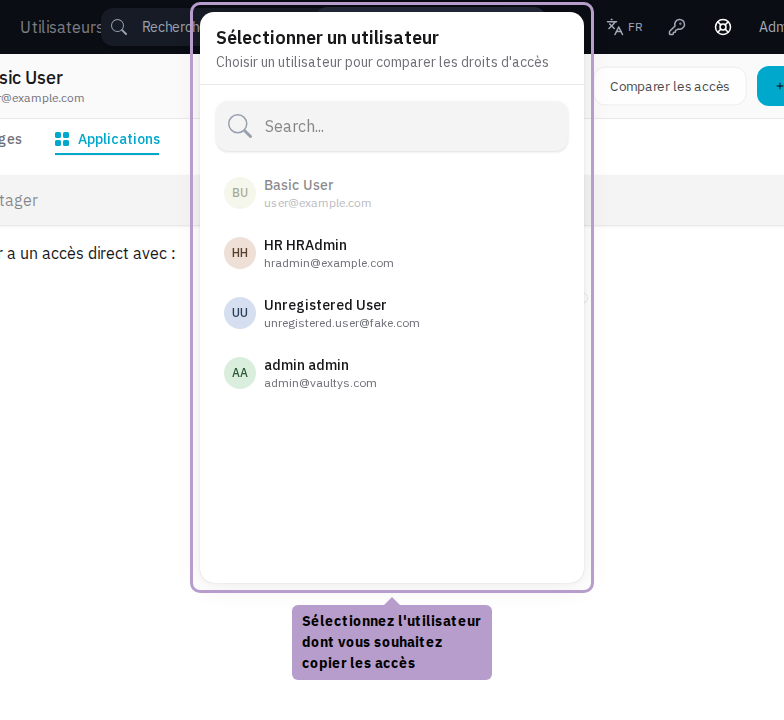
After resetting the access, you can copy the access configuration from another user. Click on the Compare Access button in the toolbar.
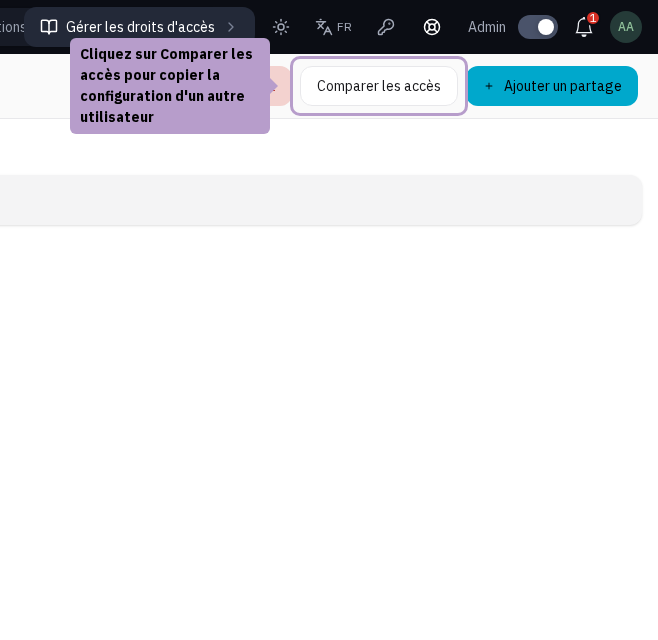
Select the user whose access you want to copy. The page then displays both configurations side by side for comparison.
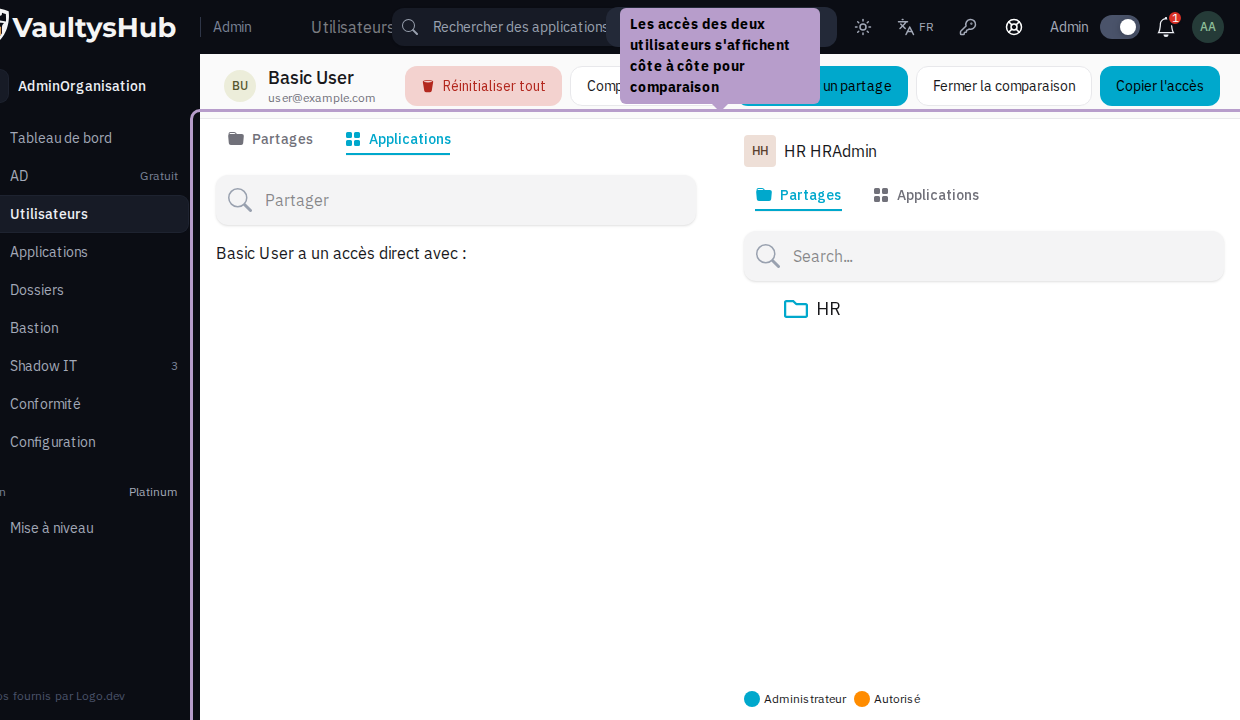
Click on Copy Access to apply the configuration of the other user.