Create Users
This guide explains how to manually create users in VaultysHub.
There are two paths, and the only difference is the number of accounts to create:
- quick add — one form, one account, then directly to its access page;
- bulk add — a dedicated page with a waiting list, to create multiple accounts at once or import them from a CSV file.
Accessing User Management
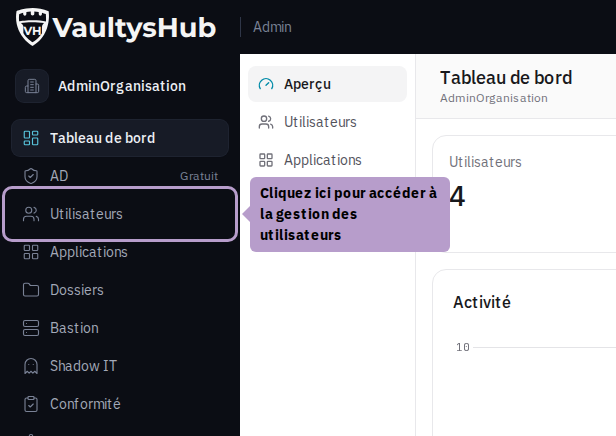
Go to the Users tab from the administration menu.
Quick Add of a Single User
This is the shortest path, and the one that fits the vast majority of cases.
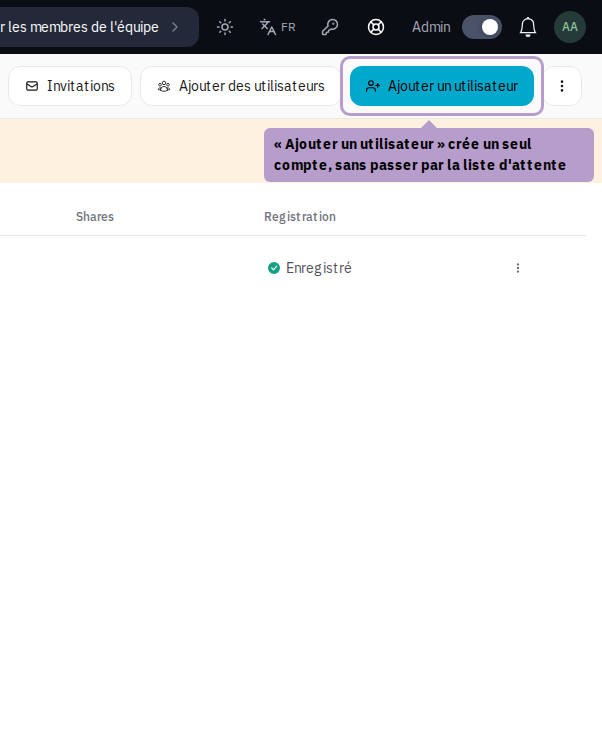
Click on Add a user in the toolbar. A form opens on the right.
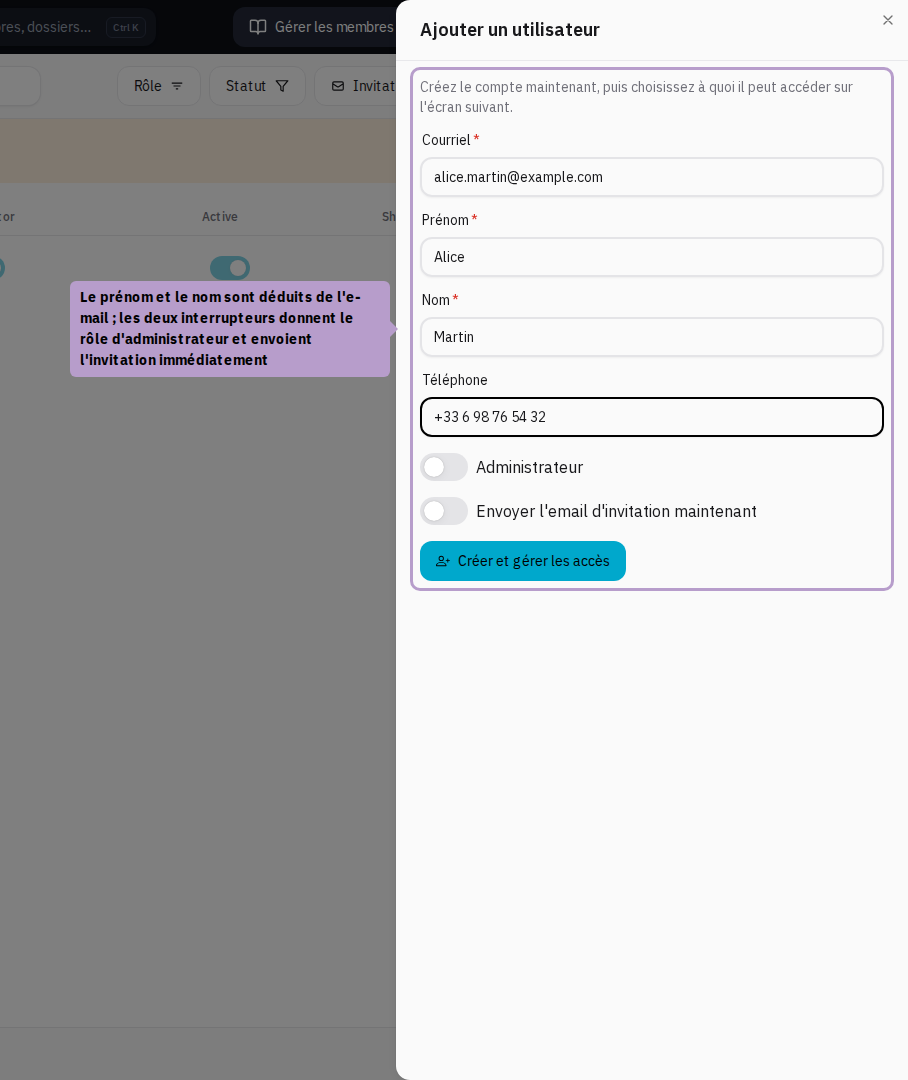
Enter the email address: the first name and last name are automatically deduced and can be modified. The phone is optional. Two switches complete the form:
- Administrator — immediately grants the account access to administrative functions.
- Send invitation email now — otherwise, you will send the invitation later from the Invitations button in the user list.
Folders are intentionally absent from this form: the choice of accesses is the next step.
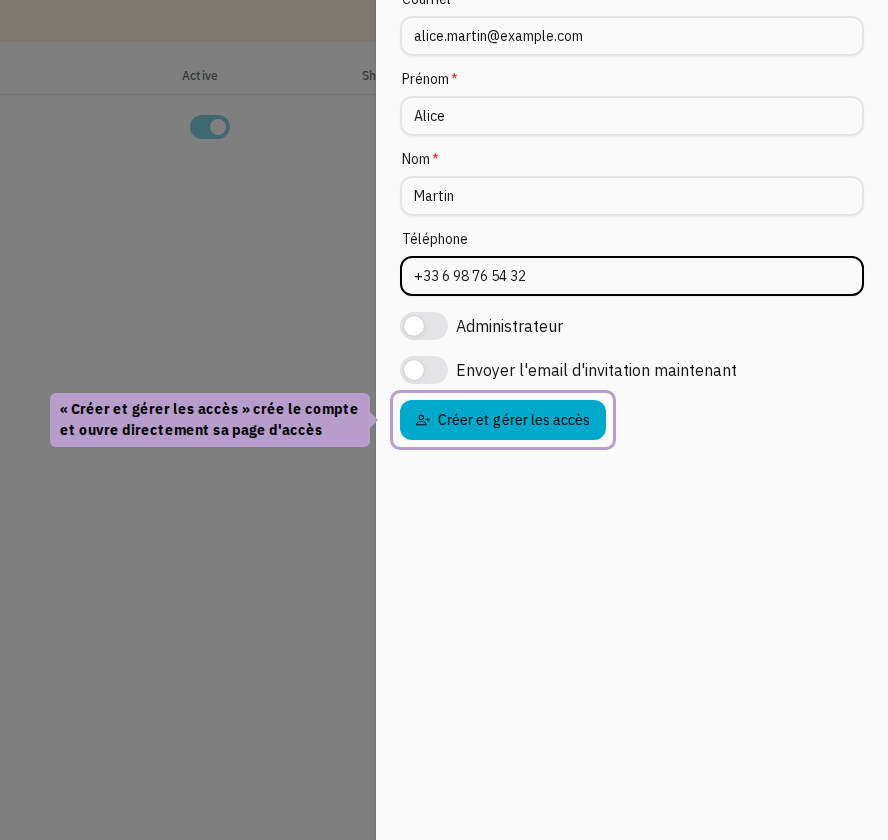
Click on Create and manage access.
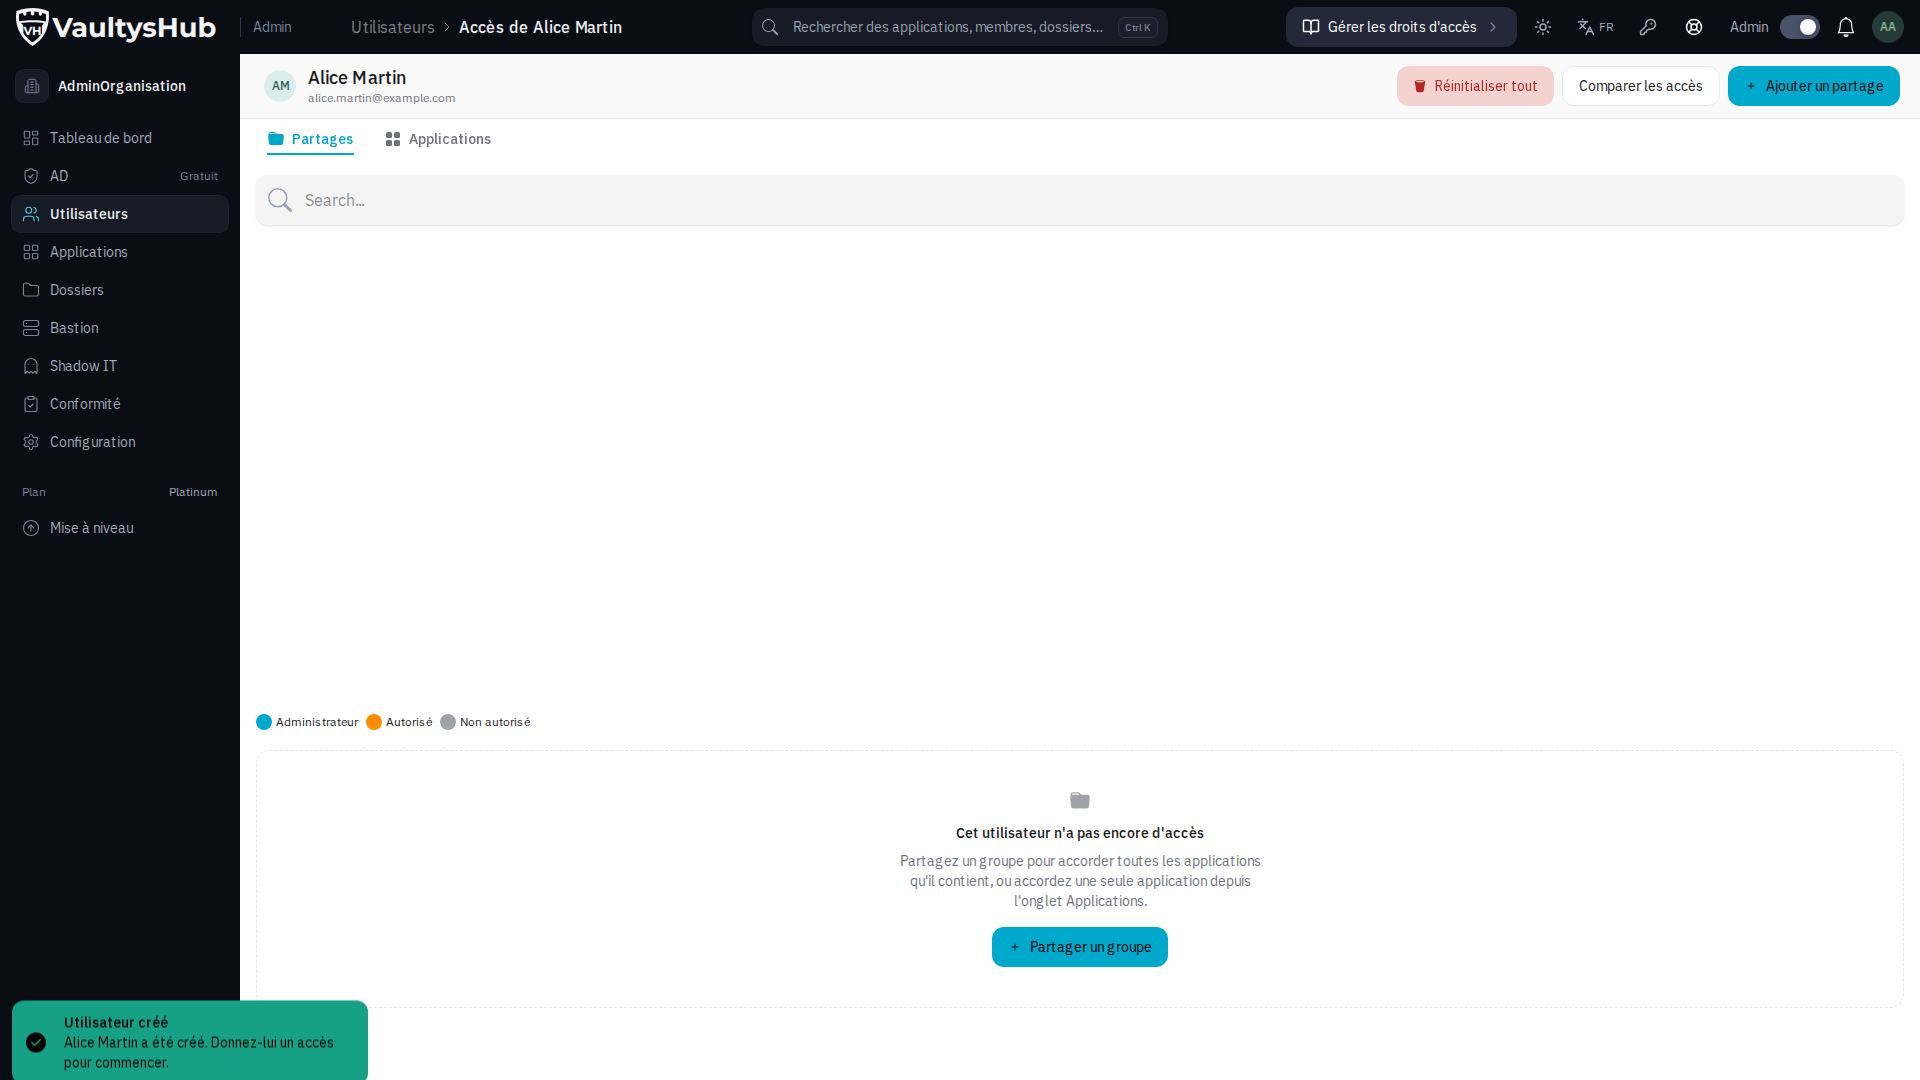
The account is created and VaultysHub directly opens its access page, still empty: this is where you assign its folders and applications.
Bulk Add of Multiple Users
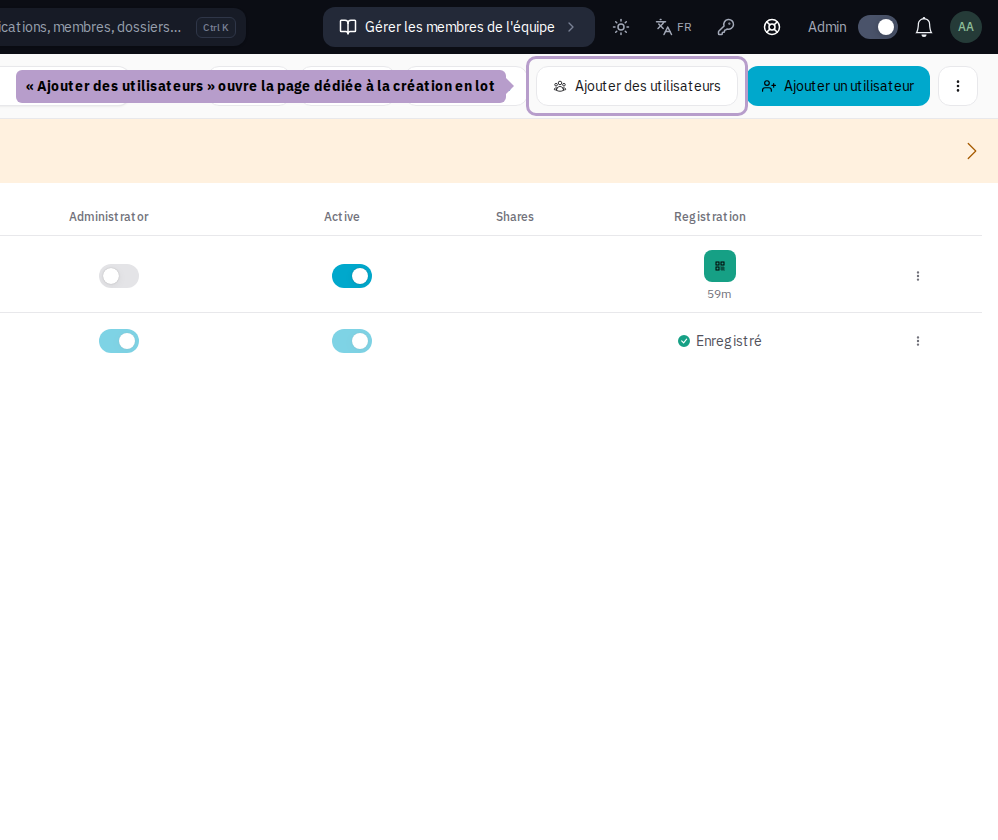
Click on the Add users button in the toolbar to access the bulk creation page. On this page, you enter users one by one before confirming them all. You can also click on Import to add multiple users at once via a CSV file.
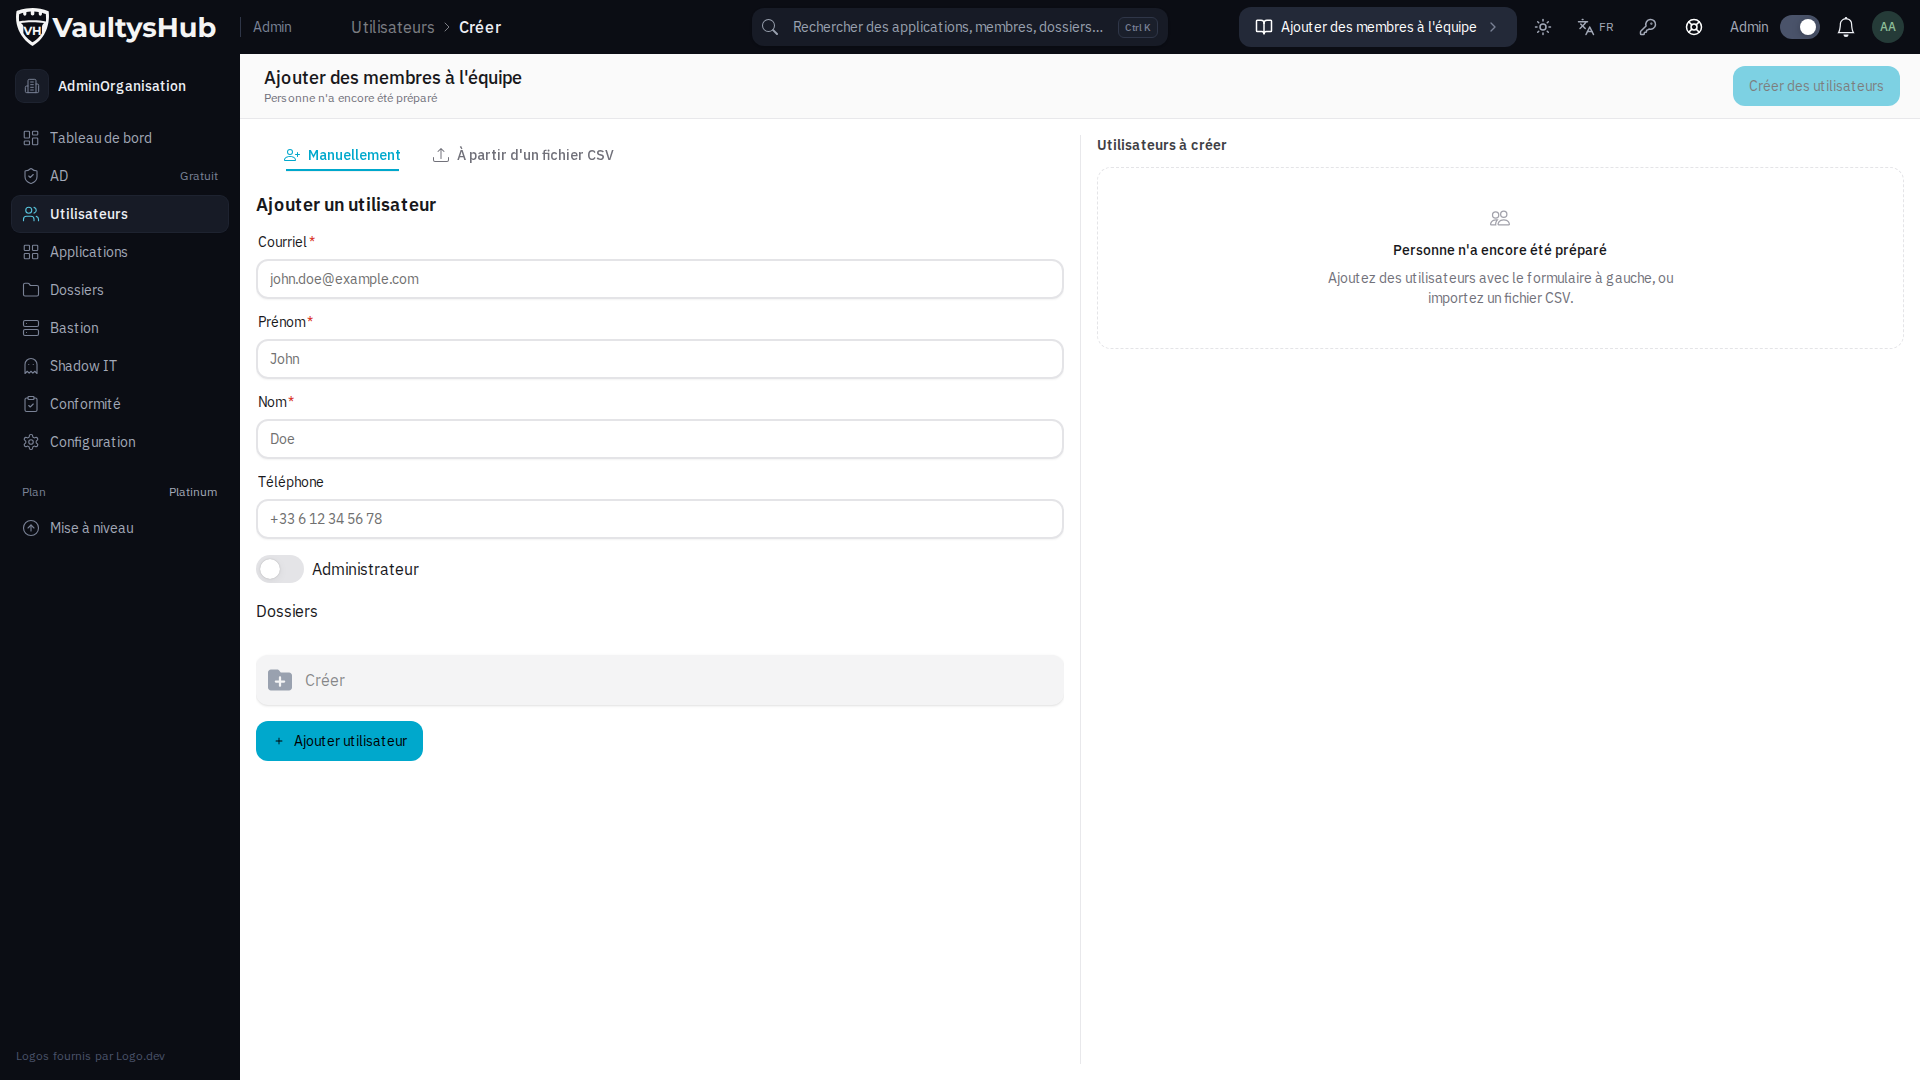
Step 1: Fill in the Creation Form
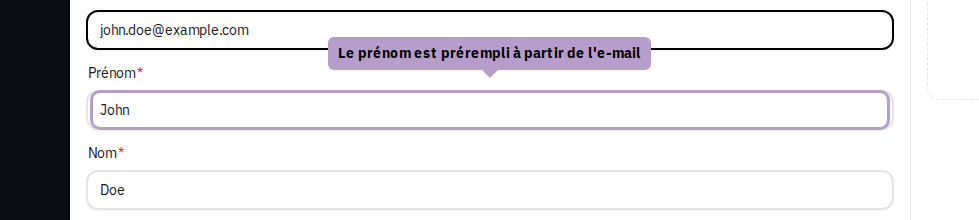
Enter the user's email address. The first name and last name will be automatically suggested from the email; otherwise, fill them in manually.
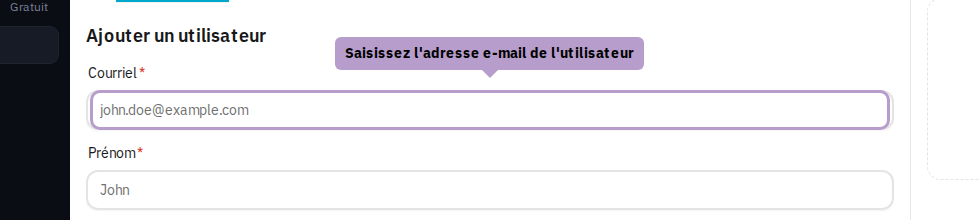
The first name and last name are automatically filled from the email. You can modify them if necessary.
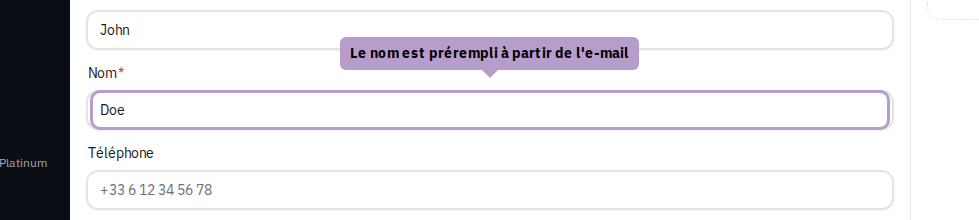
You can, if necessary, enter the user's phone number.
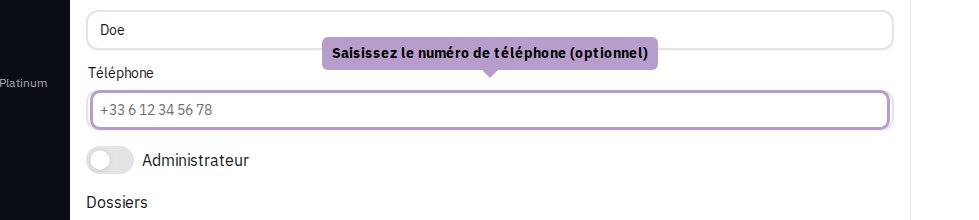
You can assign administrator roles to the user. Administrators have access to all management features in VaultysHub.

Step 2: Add the User to the List
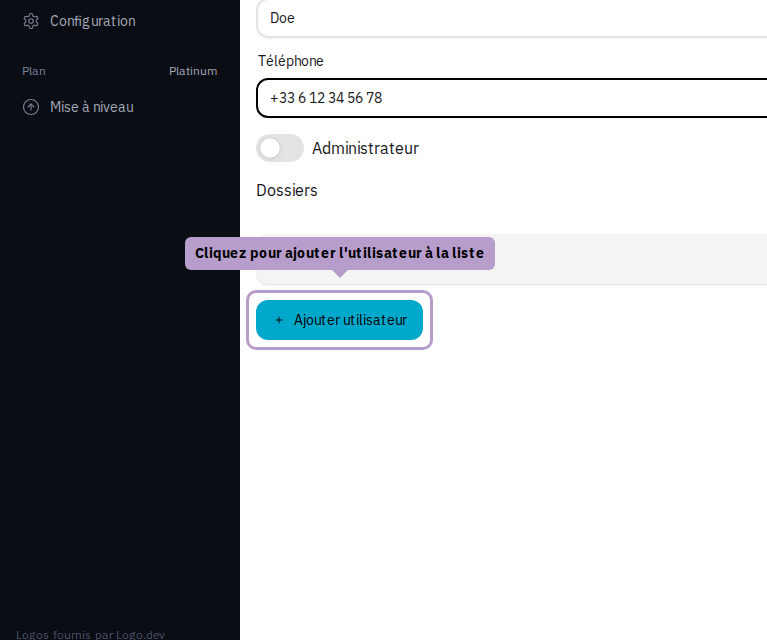
Click the "Add user" button to add them to the waiting list on the right.
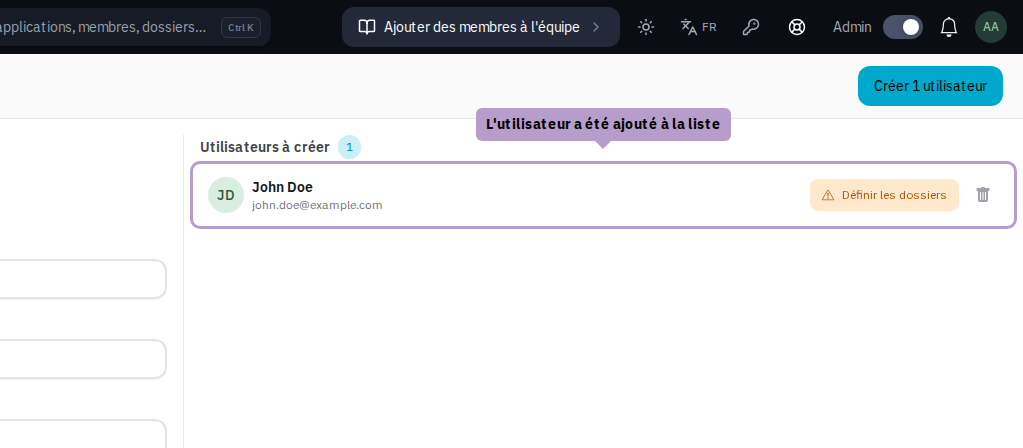
Step 3: Check the User List
The user now appears in the waiting list on the right side of the page. You can add more users or proceed to confirmation.
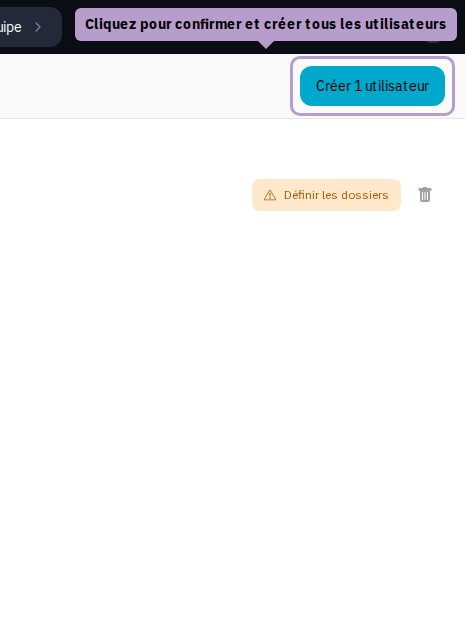
Step 4: Confirm User Creation
Click the "Confirm" button to create all pending users.
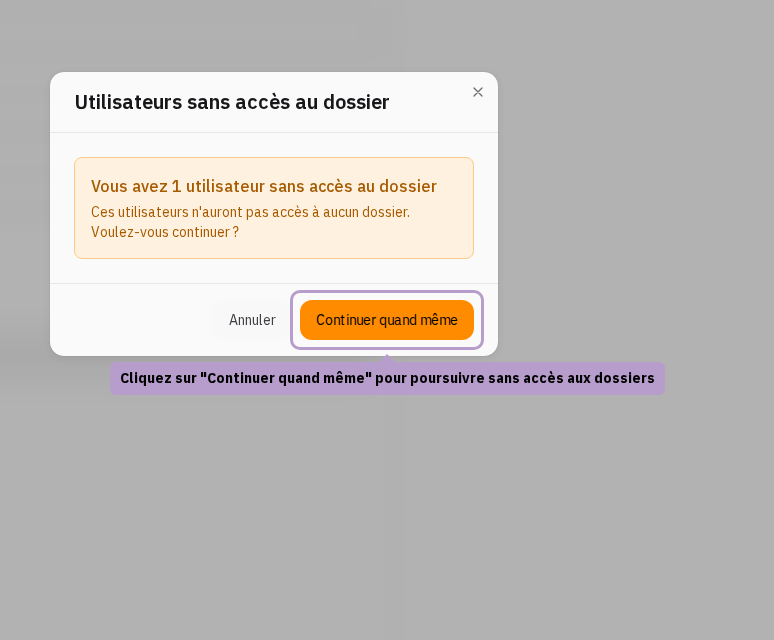
Step 5: Manage Folder Access Warning
If no folder access is configured for the users, a warning dialog appears. You can choose to continue or go back to assign folders.
Step 6: Verify the User
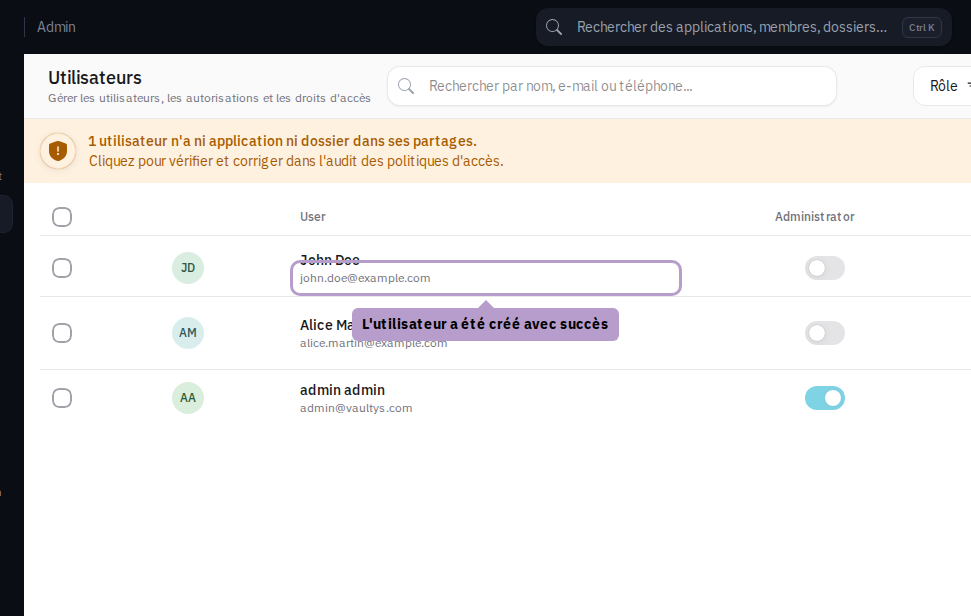
After confirmation, you are redirected to the user management page. The new user should appear in the list.