Manage Applications
This guide explains how to use the application management page in VaultysHub.
Overview
From the Applications tab, you have access to the complete list of your applications along with their access and provisioning information.
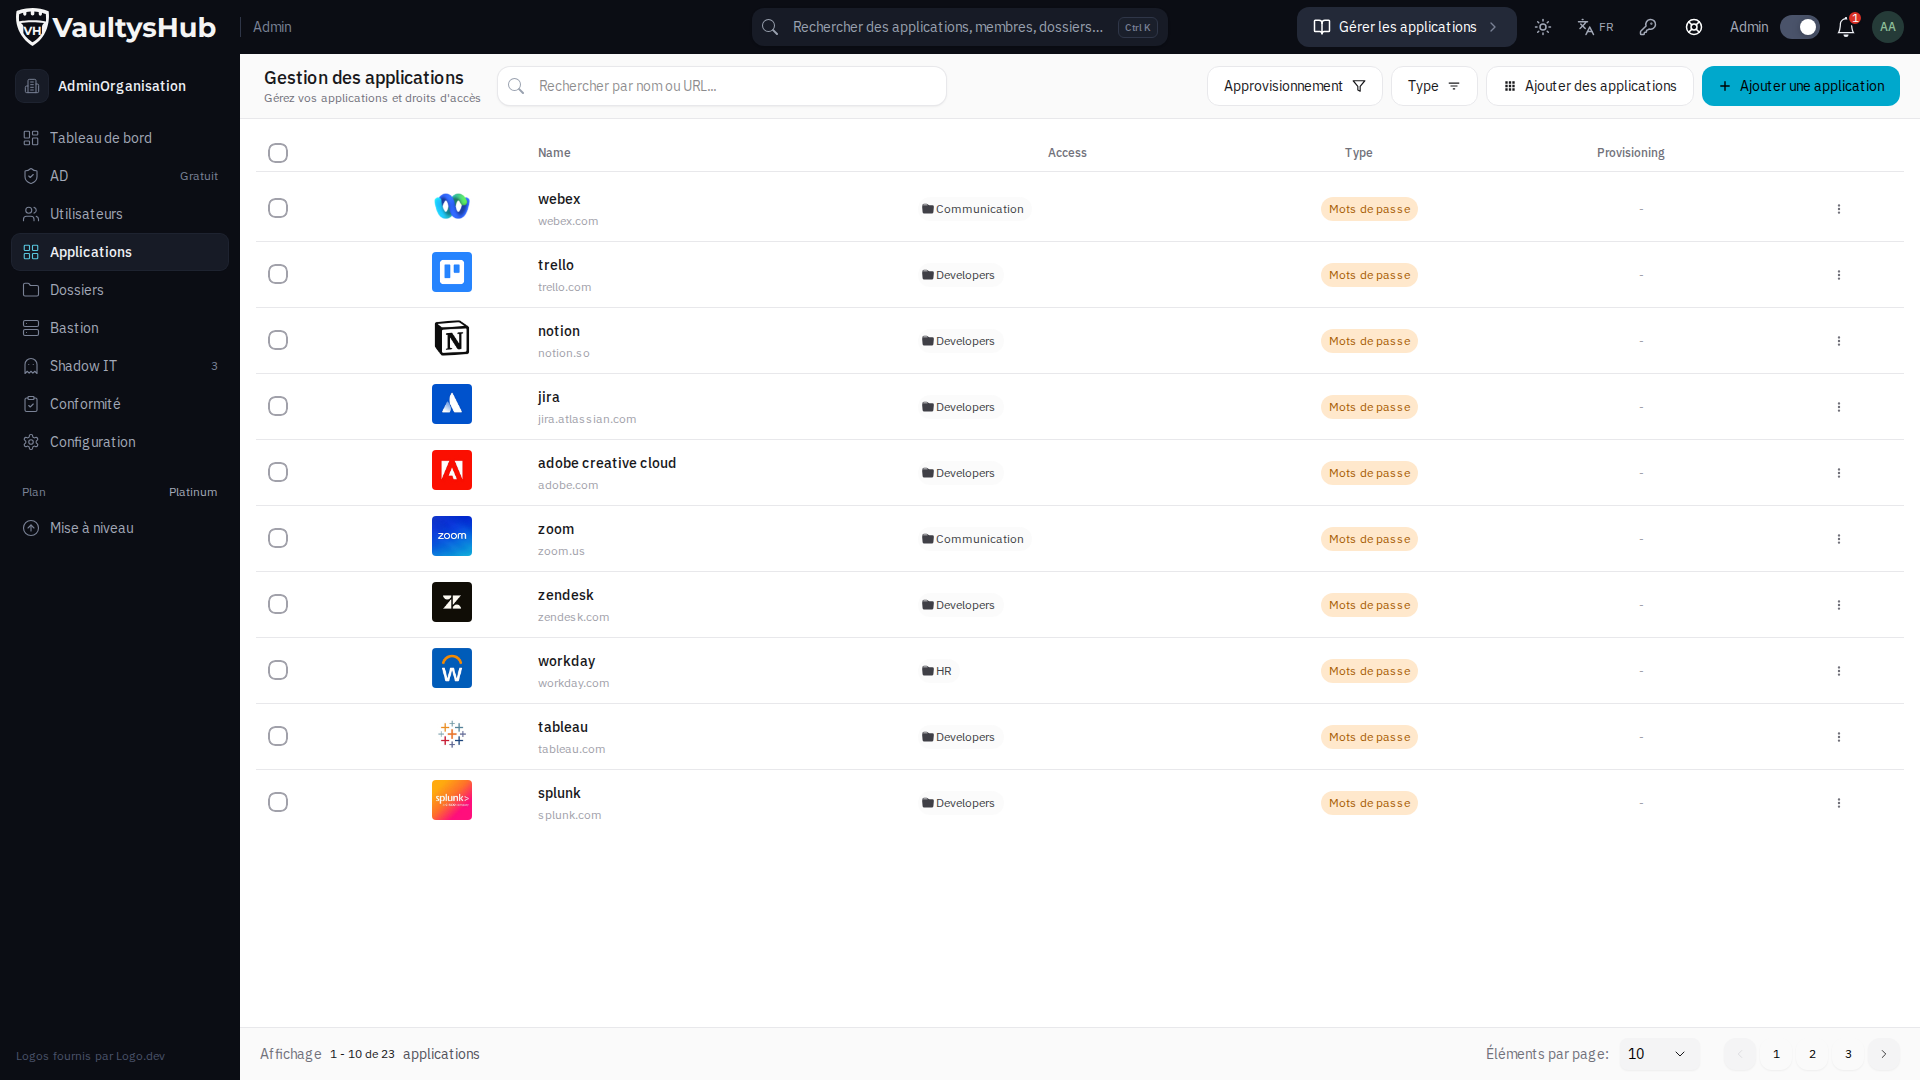
Searching for an Application
Use the search bar to quickly find an application by its name or URL.
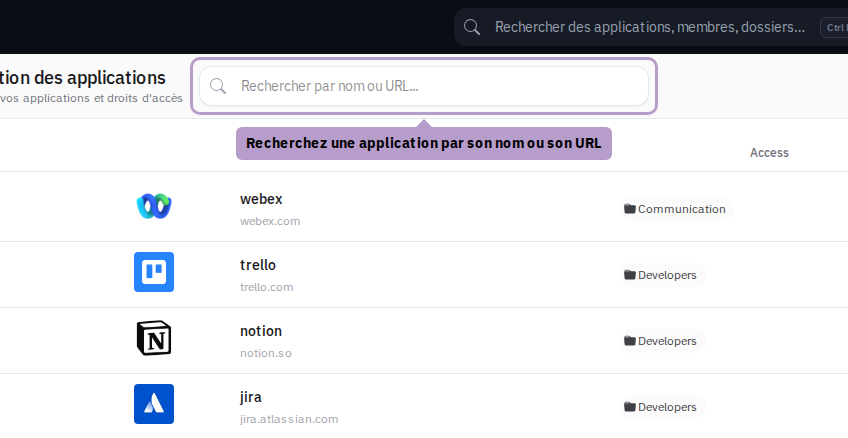

Filter by Type
Click the Type button to filter applications by type: Password Manager, SAML, or OpenID.
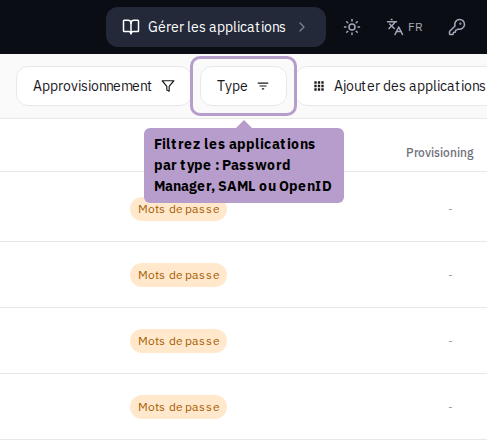
Filter by Provisioning
Click the Provisioning button to filter applications based on their provisioning mode (none or SCIM).
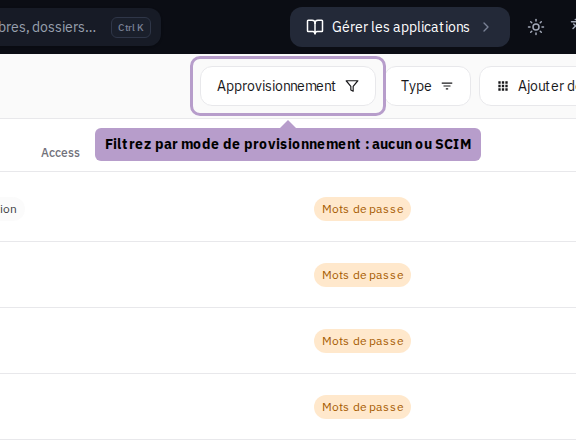
Actions on an Application
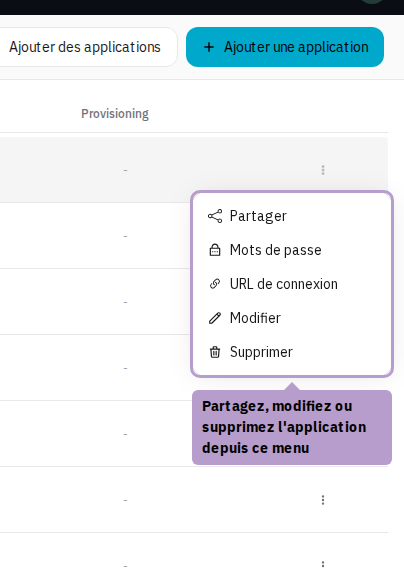
Click the action menu (⋮) of an application to access available actions: Share, Edit, or Delete. For password applications, the menu also offers Passwords and Login URL (see below).
Pagination
Navigate between pages to browse all your applications.

Adjust the number of applications displayed per page using the selector at the bottom of the list.

Login URL
The Login URLs only concern password applications (Password Manager type). These are the addresses of the pages where your users enter their credentials — often different from the main address of the application (https://app.example.com/login, https://login.example.com, etc.).
They serve three purposes:
- Recognize the application in the VaultysHub extension. On a page that corresponds to one of its login URLs, the extension offers the application's credentials and can fill them in automatically. If an application has no login URL, only its main address is used.
- Avoid false positives from Shadow IT. A site covered by the address or by a login URL of an existing application is not flagged as Shadow IT. Conversely, when an application detected as Shadow IT turns out to be a login page of an already managed application, merging it into this application adds its domains to its login URLs.
- Protect against phishing. When the extension displays its anti-phishing warning on an unknown site, it allows proposing this site as a login URL for an existing application. A user thus sends a suggestion to the administrators; an administrator goes directly to the panel below, where they choose the application and find the address already added to the list.
The matching is strict: the domain must be exactly the same (excluding the www. prefix), and if the URL has a path, the page must start with that path. To cover all subdomains of a site, use a wildcard of the form *.example.com.
Open the Panel
In the action menu (⋮) of the application, click on Login URL.
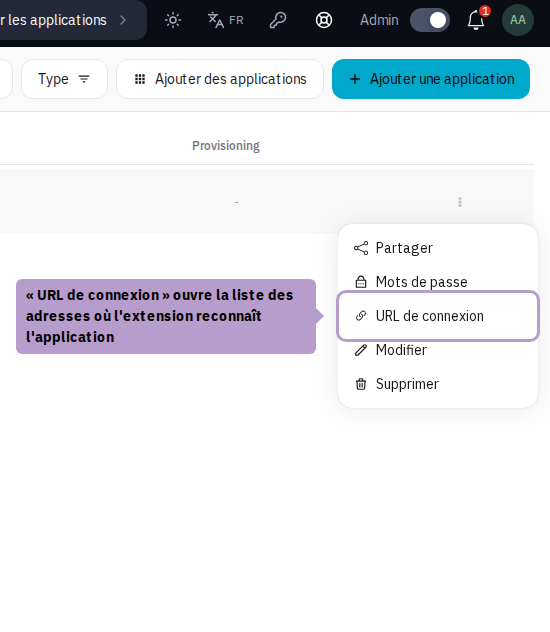
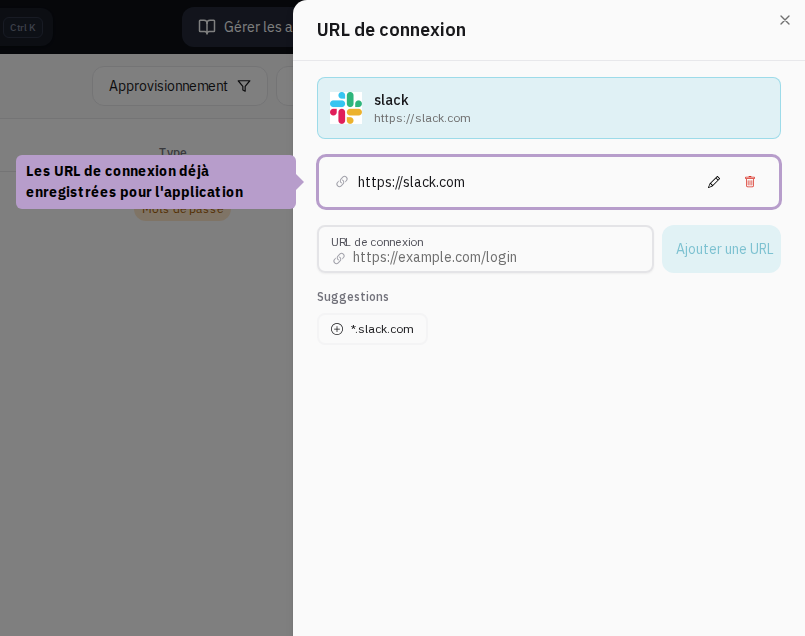
The Login URL panel opens on the right and lists the addresses already registered for the application.
Add a URL
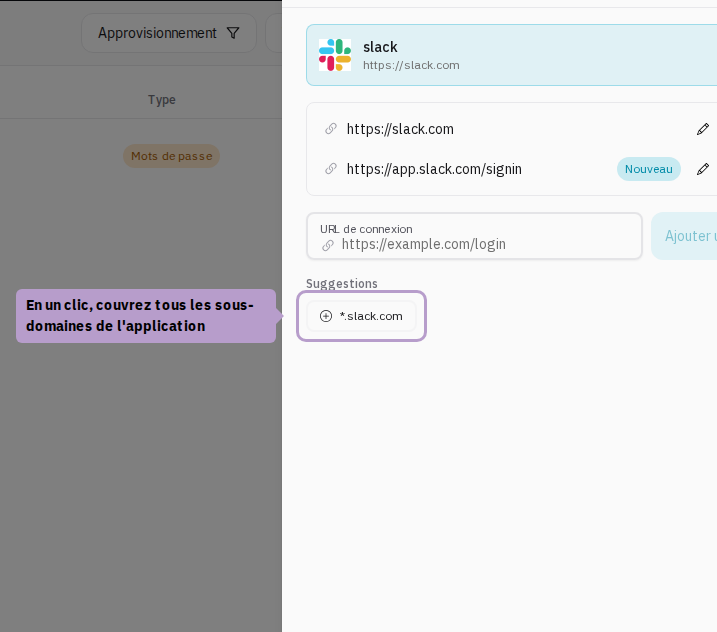
Enter the address in the Login URL field (a complete URL, a domain, or a wildcard *.example.com), then click on Add a URL or press Enter. An invalid address or one already present in the list is rejected with an error message.
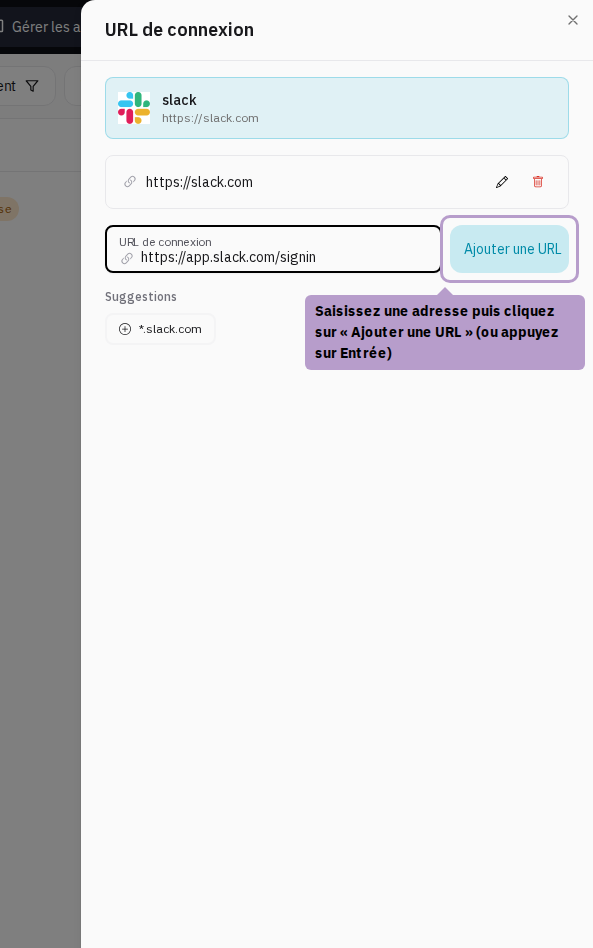
Below the field, the Suggestions section offers to add with one click the wildcard that covers all subdomains of the application (for example, *.slack.com).
Edit or Delete a URL
Each URL in the list has two buttons:
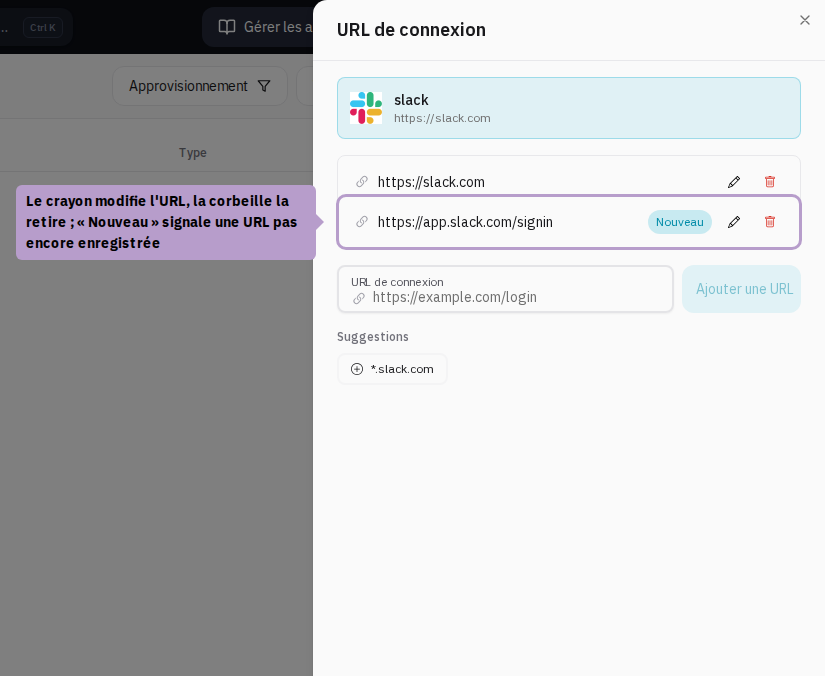
- the pencil allows editing it: correct it and then confirm with the checkmark (or Enter), or cancel with the cross (or Escape);
- the trash can removes it from the list.
URLs added since opening the panel have the New badge.
Save
All these modifications remain a draft until you click on Save: the complete list is then saved at once. Cancel closes the panel without making any changes.

Login URLs can also be modified from the application configuration (Edit → Login URL tab), which offers a checkbox to allow all subdomains of the main domain.