Add Applications
This guide explains how to add applications in VaultysHub.
There are two paths, and the only difference is the number of applications to add:
- quick add — one search, one application, then directly to its sharing tab;
- bulk add — a dedicated page with a waiting list, the app store and CSV import.
Step 1: Access Application Management
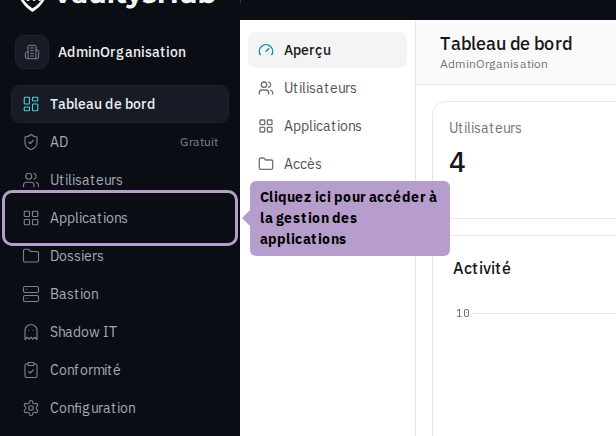
From the administration menu, click on Applications.
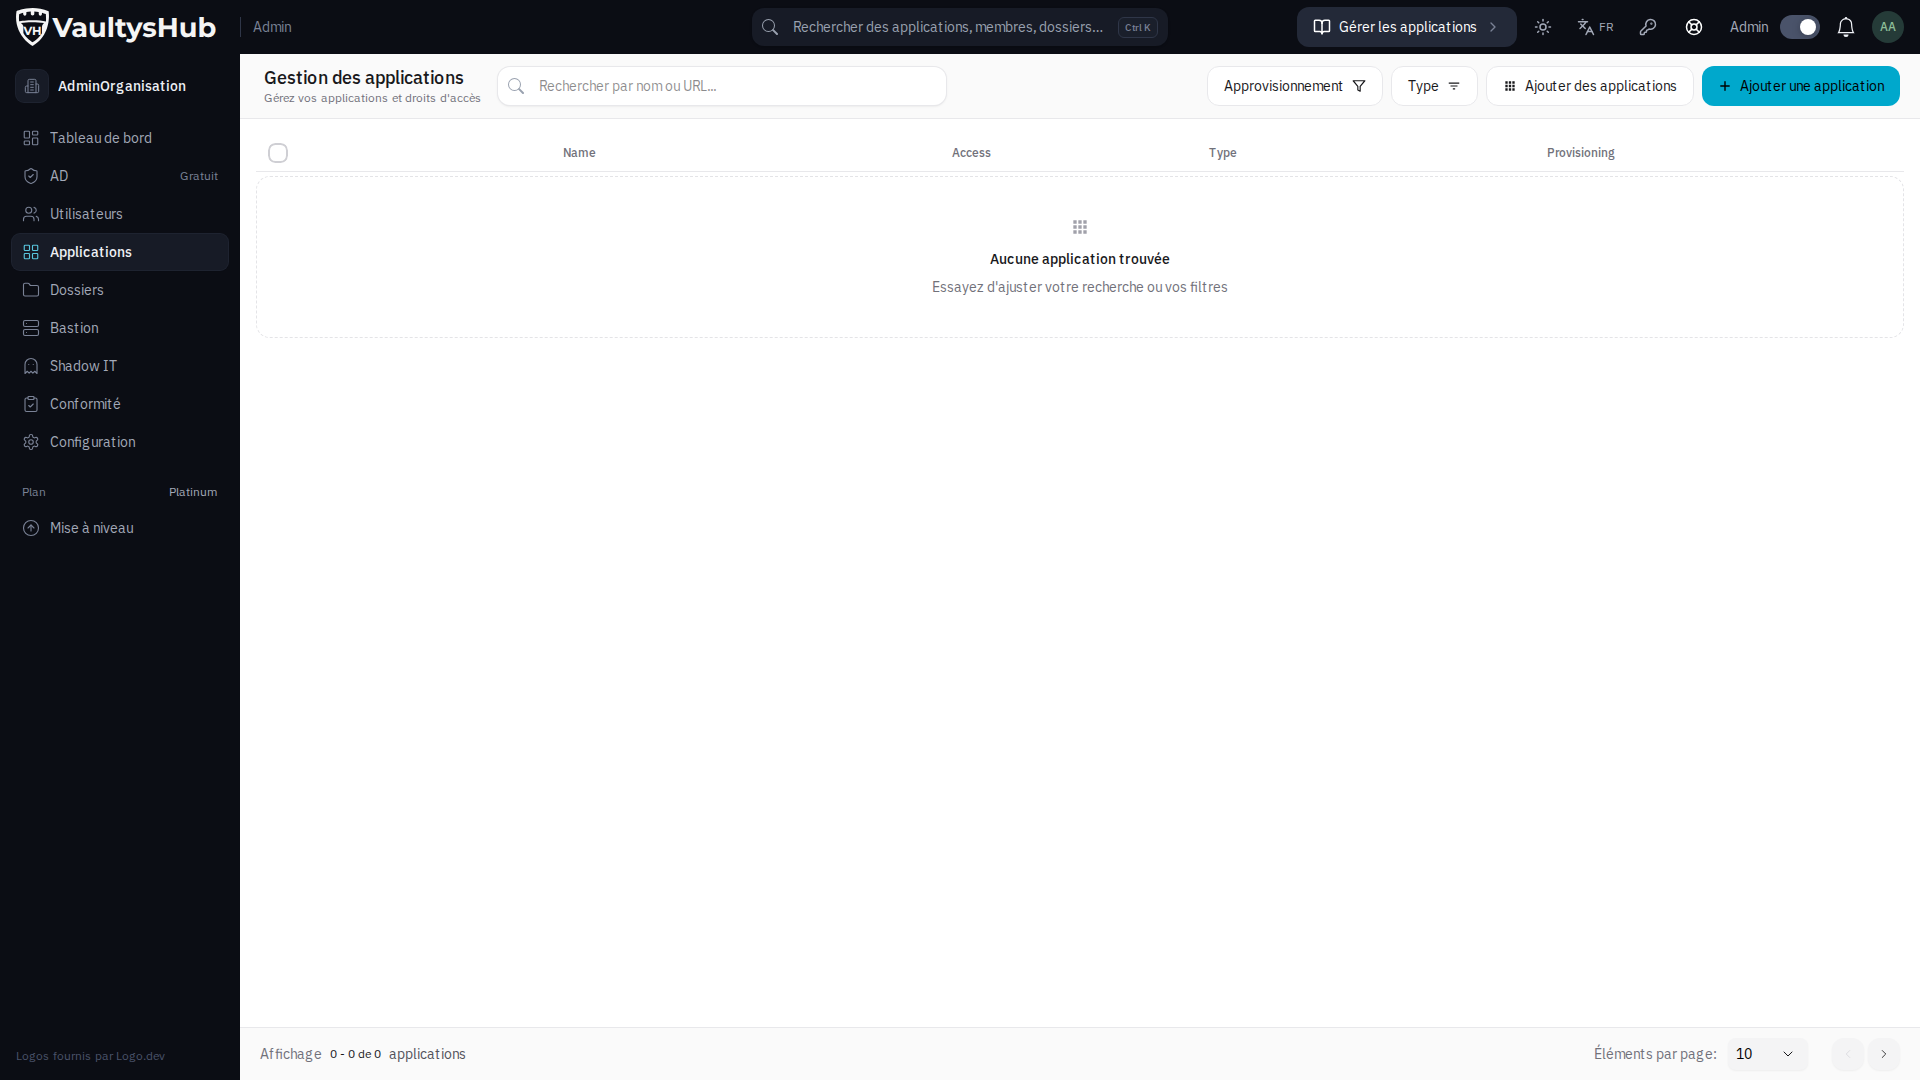
Quick Add of a Single Application
This is the shortest path, and the one that suits the vast majority of cases.
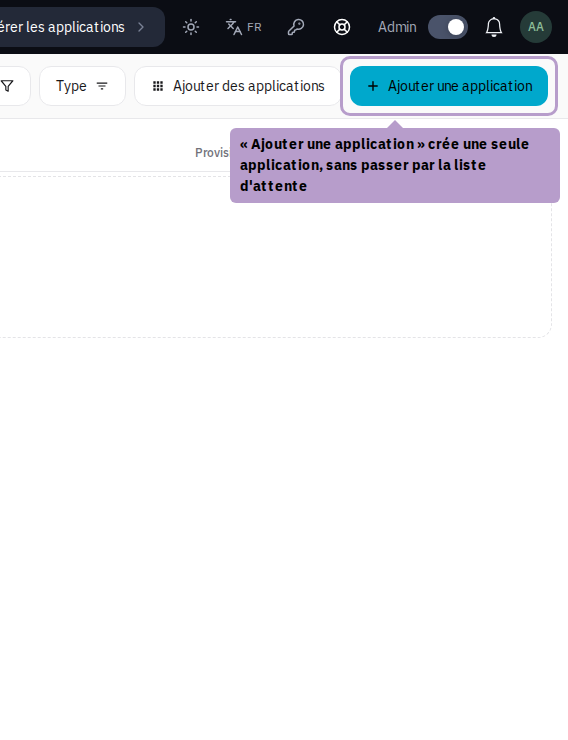
Click on Add an application in the toolbar. A search window opens.
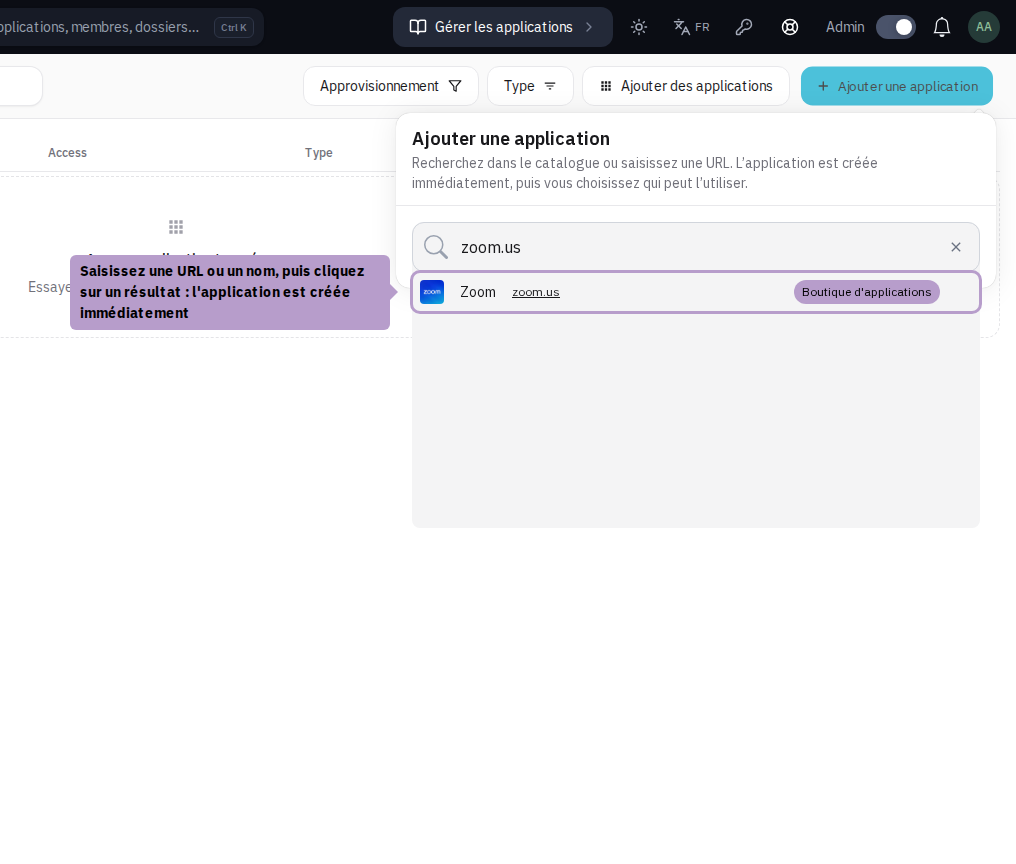
Enter a URL (e.g., https://zoom.us) or simply an application name. VaultysHub first suggests applications from the catalog, then automatically retrieves the title and description from the entered URL.
Click on a result: the application is created immediately, without a waiting list or confirmation.
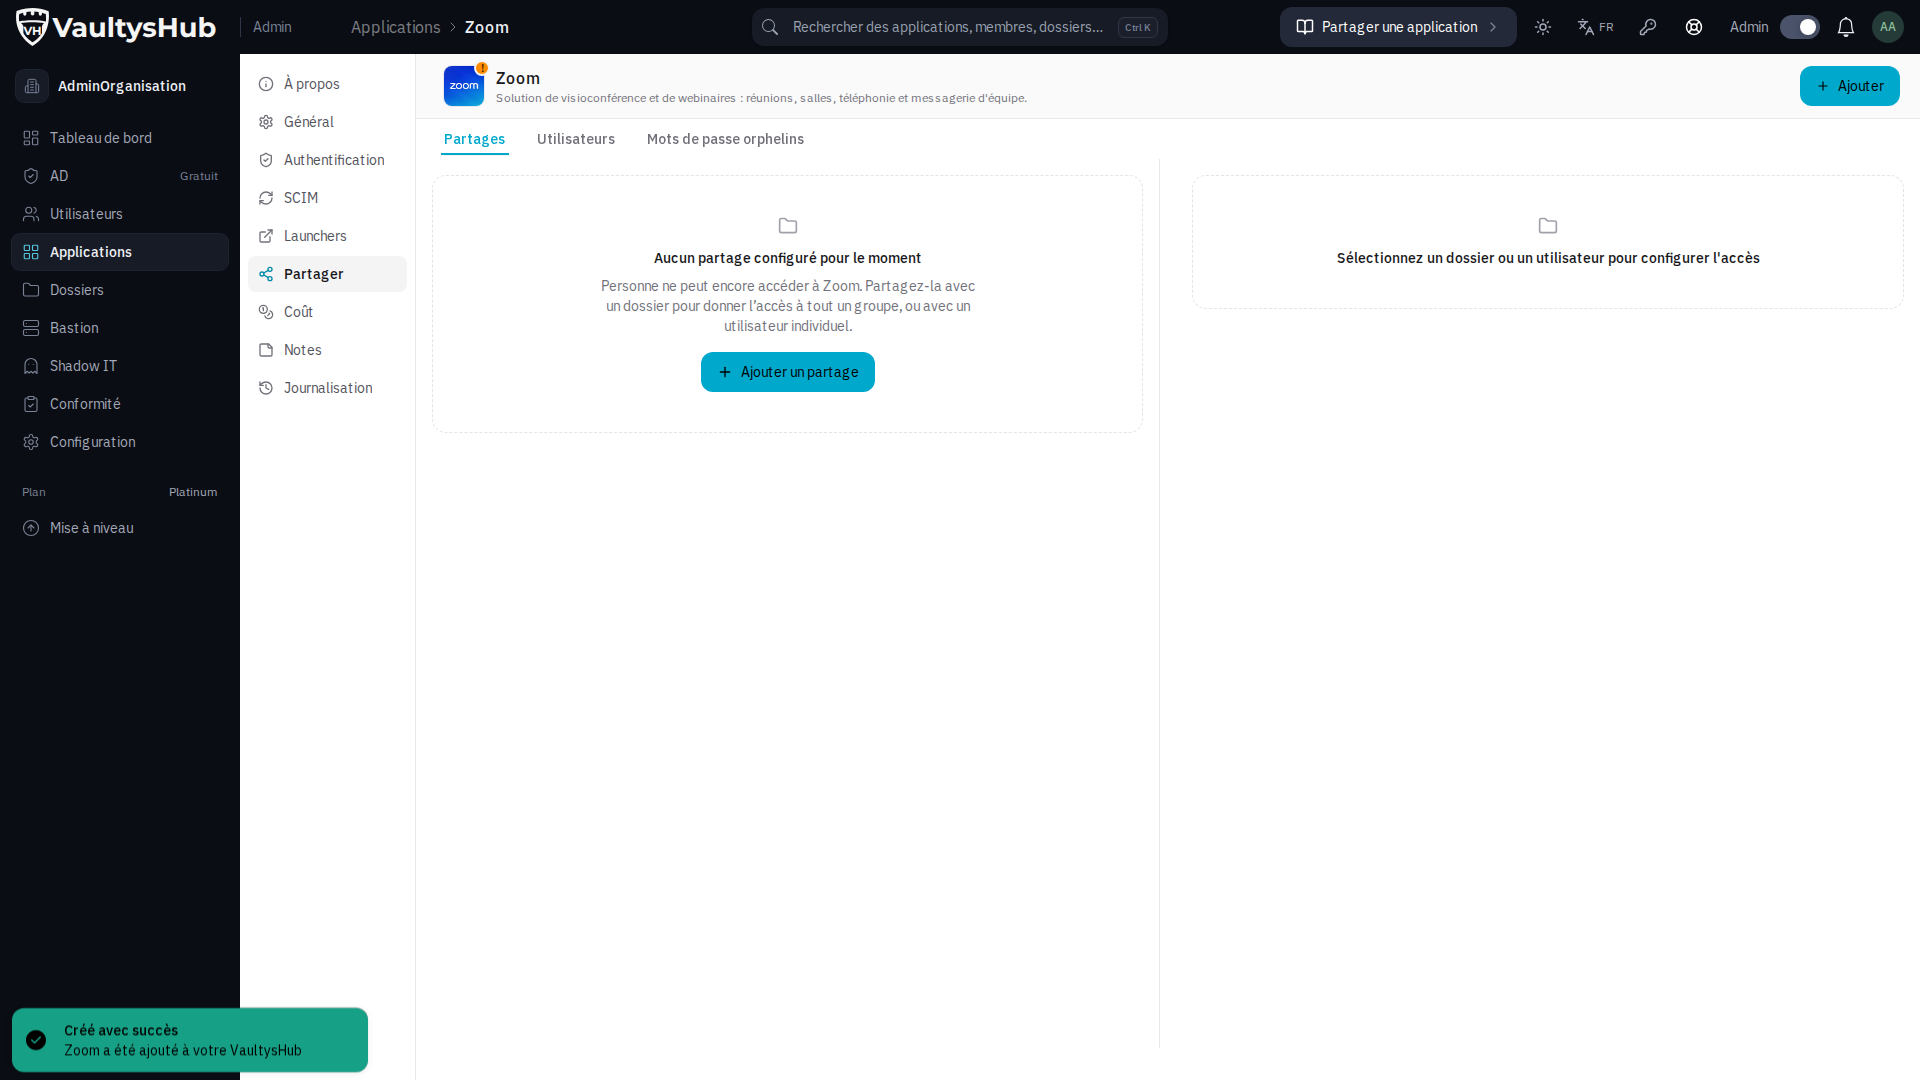
VaultysHub then directly opens the Share tab of the new application, still empty: no one has access to it for now, and this is where you choose who can use it.
Bulk Add of Multiple Applications
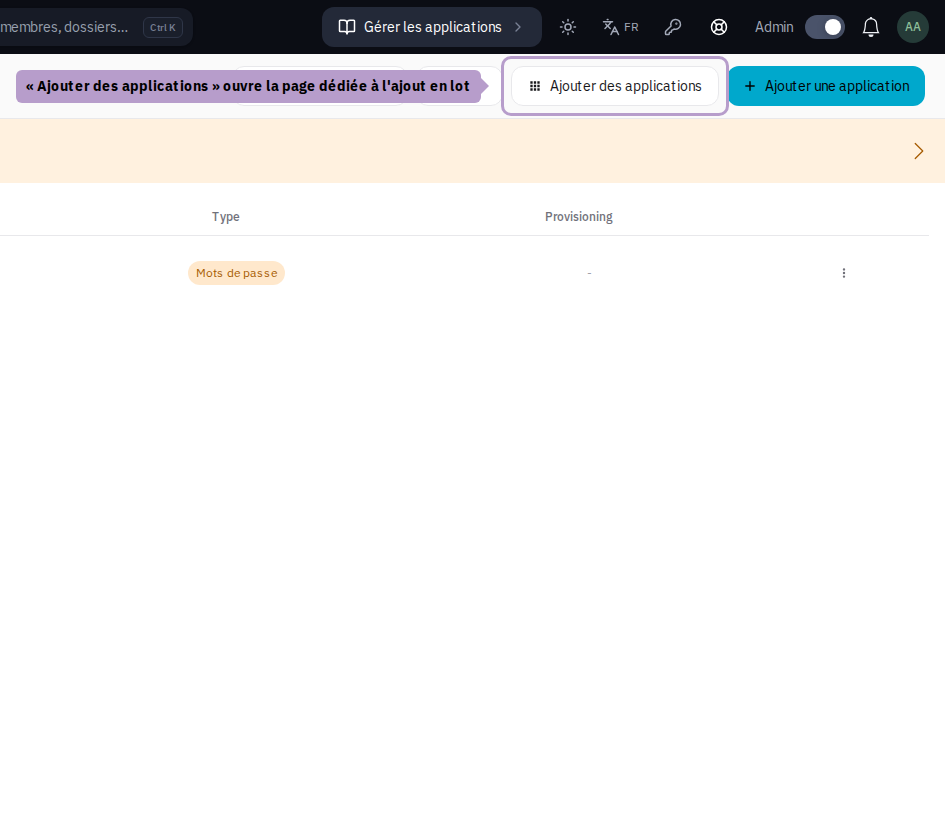
Click on the Add applications button in the toolbar to access the dedicated page.
Step 1: Use the Quick Search Bar
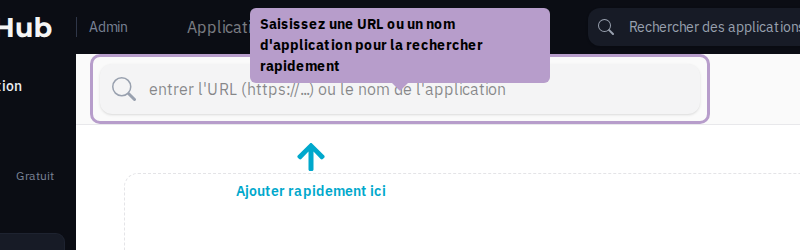
Enter a URL or an application name in the quick search bar at the top of the page.
Step 2: Add an Application by URL
Enter the application's URL (e.g., https://github.com). VaultysHub automatically retrieves the application's information.
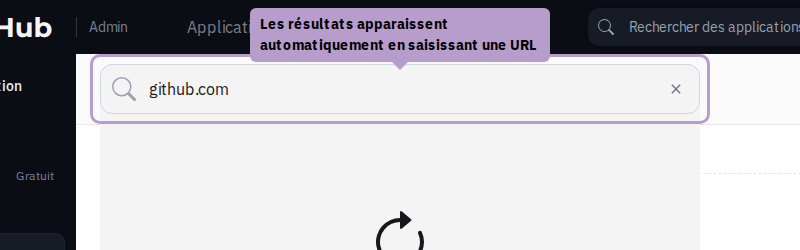
Click on the application in the list to add it to your waiting list.
Step 3: Add an Application Without a URL
You can also add an application by entering only its name, without a URL.
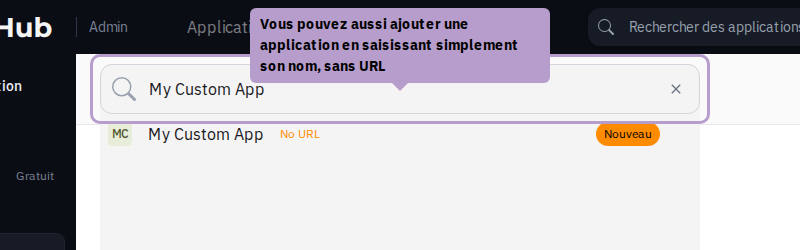
Step 4: Check the Waiting List
The added applications appear in the waiting list (Shopping List). You can add more before confirming.
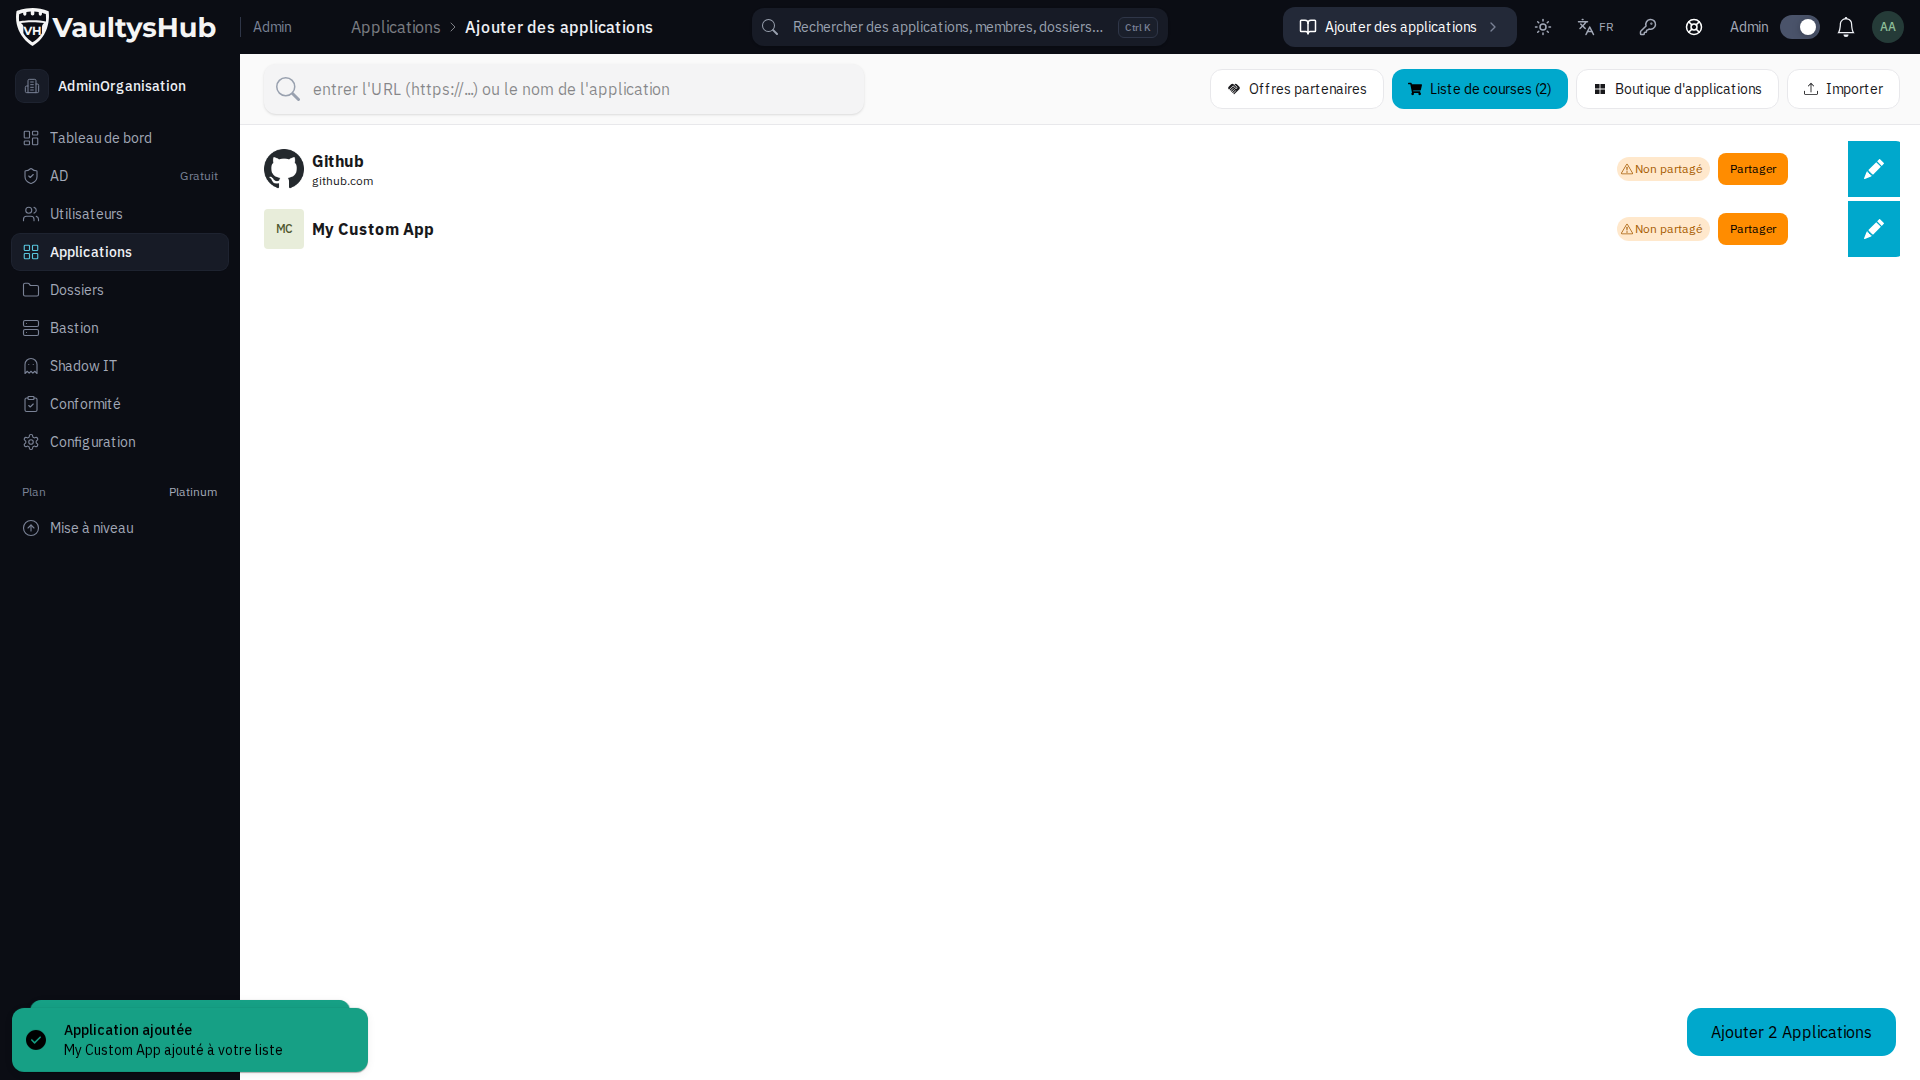
Step 5: Confirm the Addition of Applications
Click on the "Add # Application(s)" button to create all the pending applications.

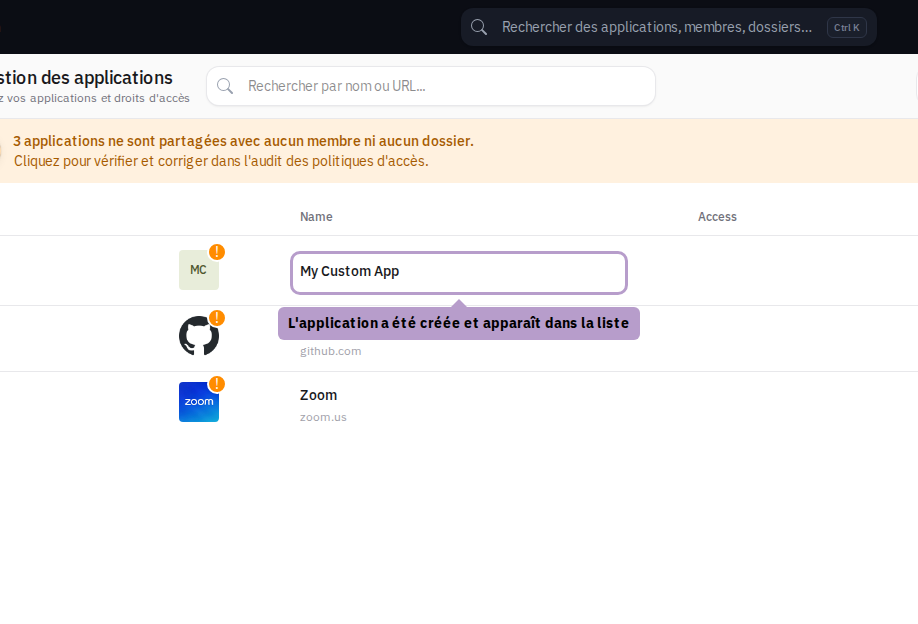
Step 6: Verify that the Applications Have Been Added
You are redirected to the application management page. The new applications appear in the list.
Other Options: The App Store
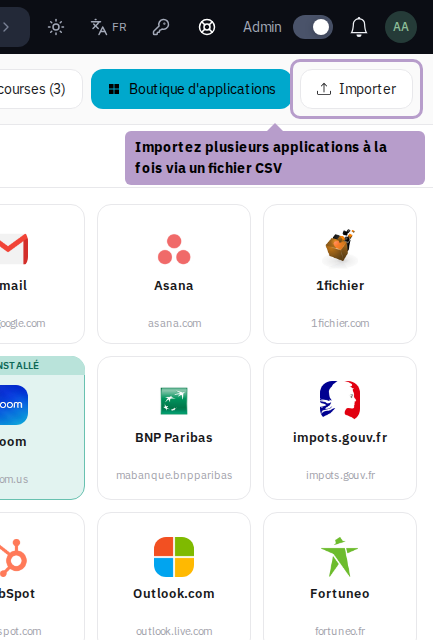
The App Store provides access to the VaultysHub catalog: several hundred applications already listed, with their name, address, and icon. It is the fastest way to add several known applications at once.
From the bulk add page, click on the App Store button in the toolbar.
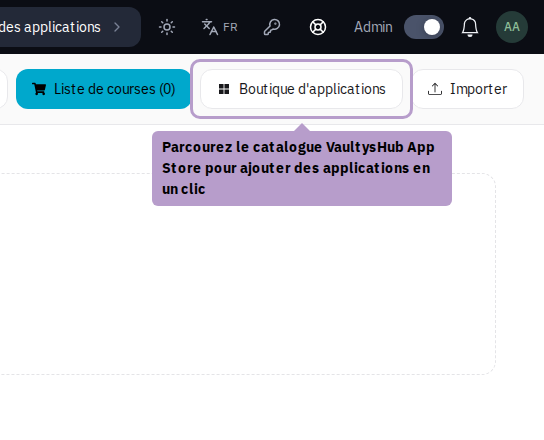
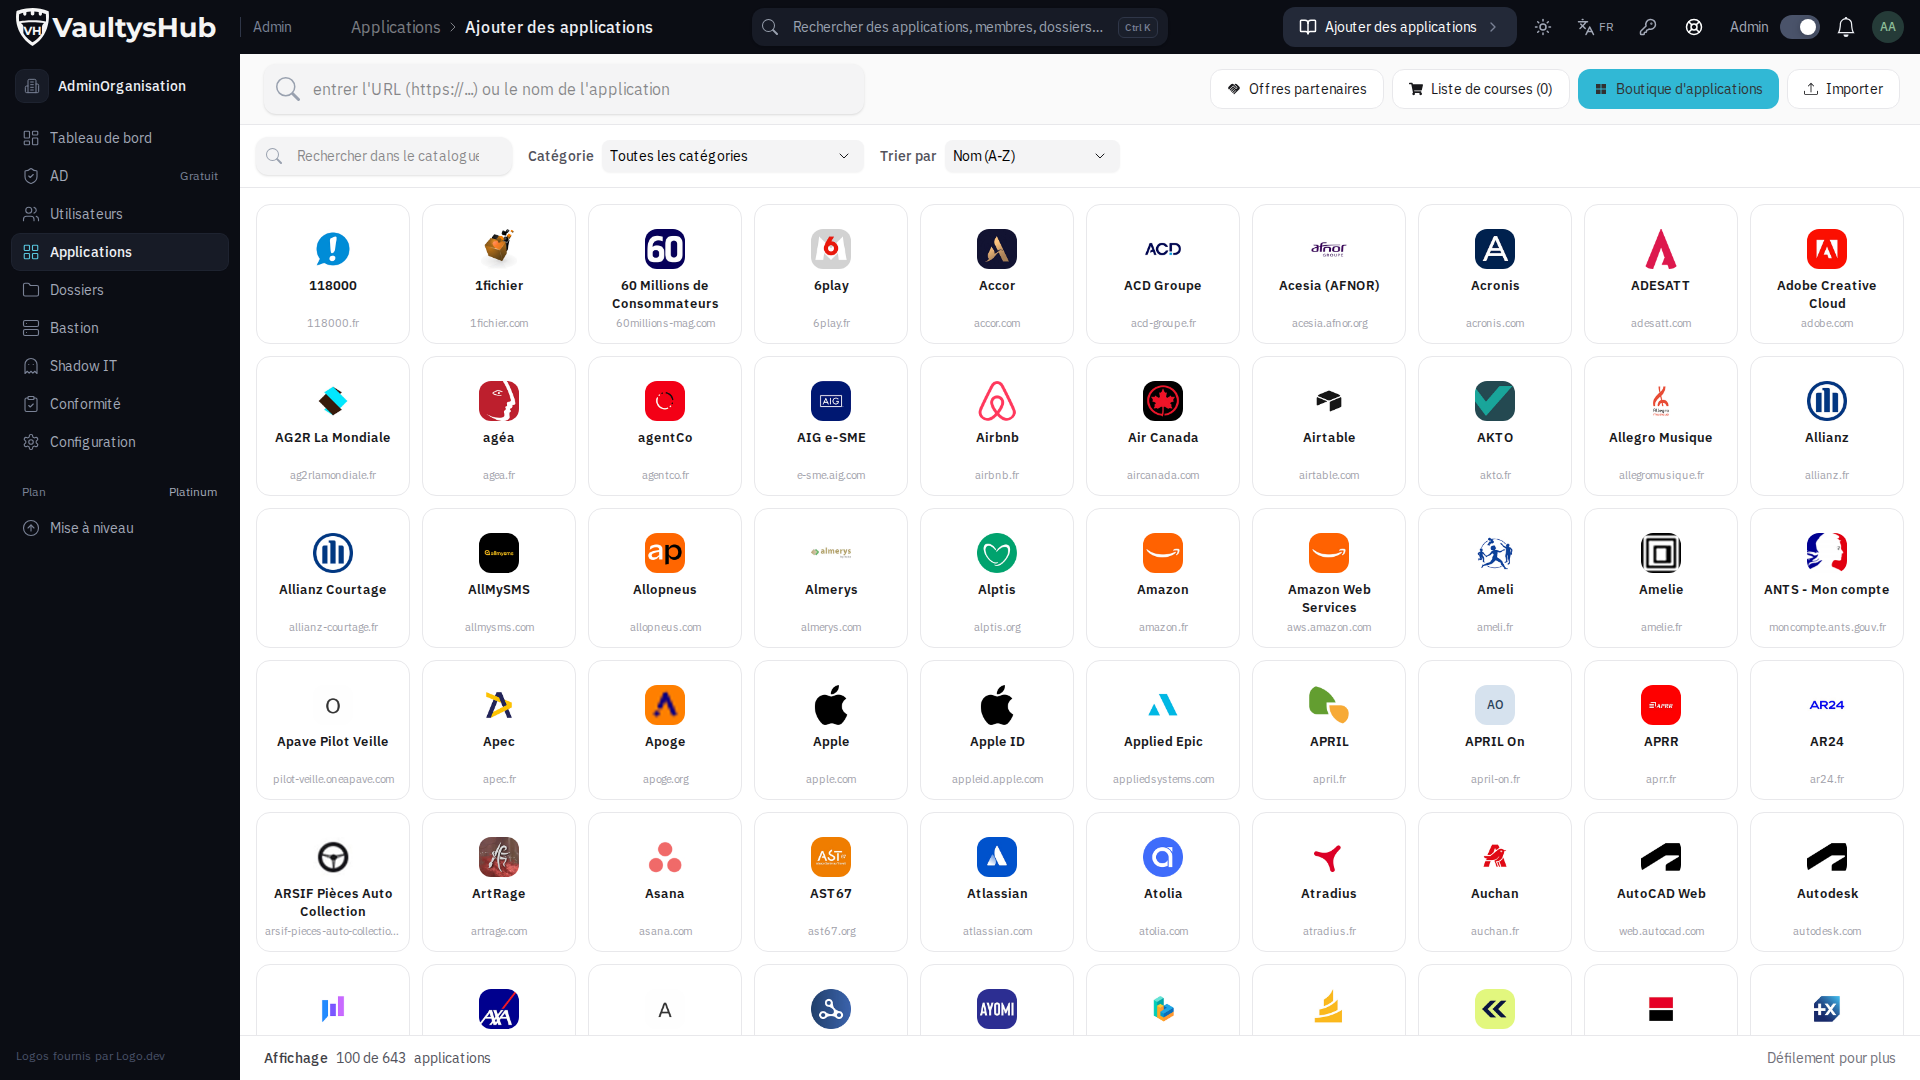
Browse the Catalog
The catalog is displayed in tile format. The top bar groups the search (Search the catalog), category filter, and sorting. The catalog loads as you scroll: the footer indicates how many applications are displayed out of the total available.
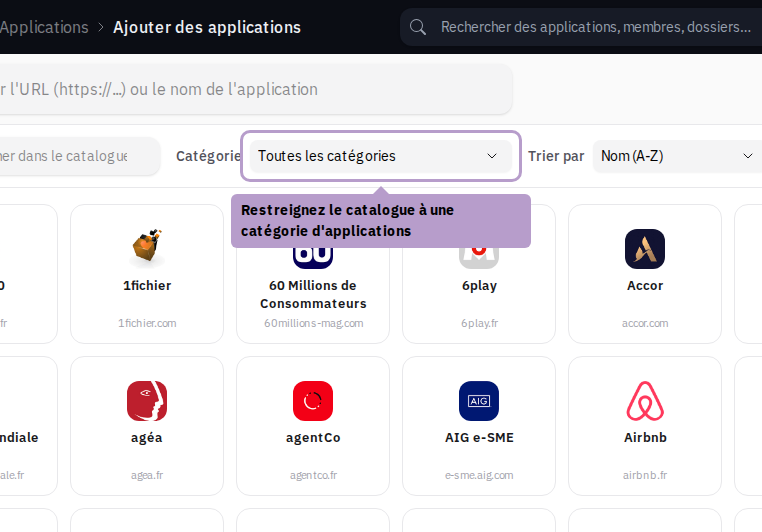
Filter by Category
The Category menu restricts the catalog to a family of applications (communication, project management, accounting…). Active filters (category, search) appear under the bar as pills: remove one with its cross, or click on Clear All to return to the complete catalog.
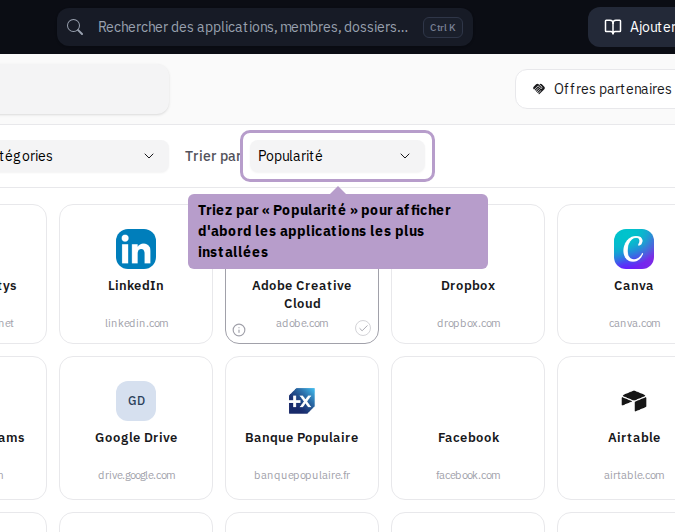
Sort by Popularity
The Sort by menu offers two orders:
- Name (A-Z) — alphabetical order, by default;
- Popularity — the most installed applications first.
Sorting is not a filter: it is retained when you click on Clear All.
View the "About" Sheet of an Application
Hover over a tile and click on the (i) button at the bottom left to open its About sheet: address and description of the application, supported SSO protocols (OpenID, SAML), number of installations and openings, and categories it belongs to.
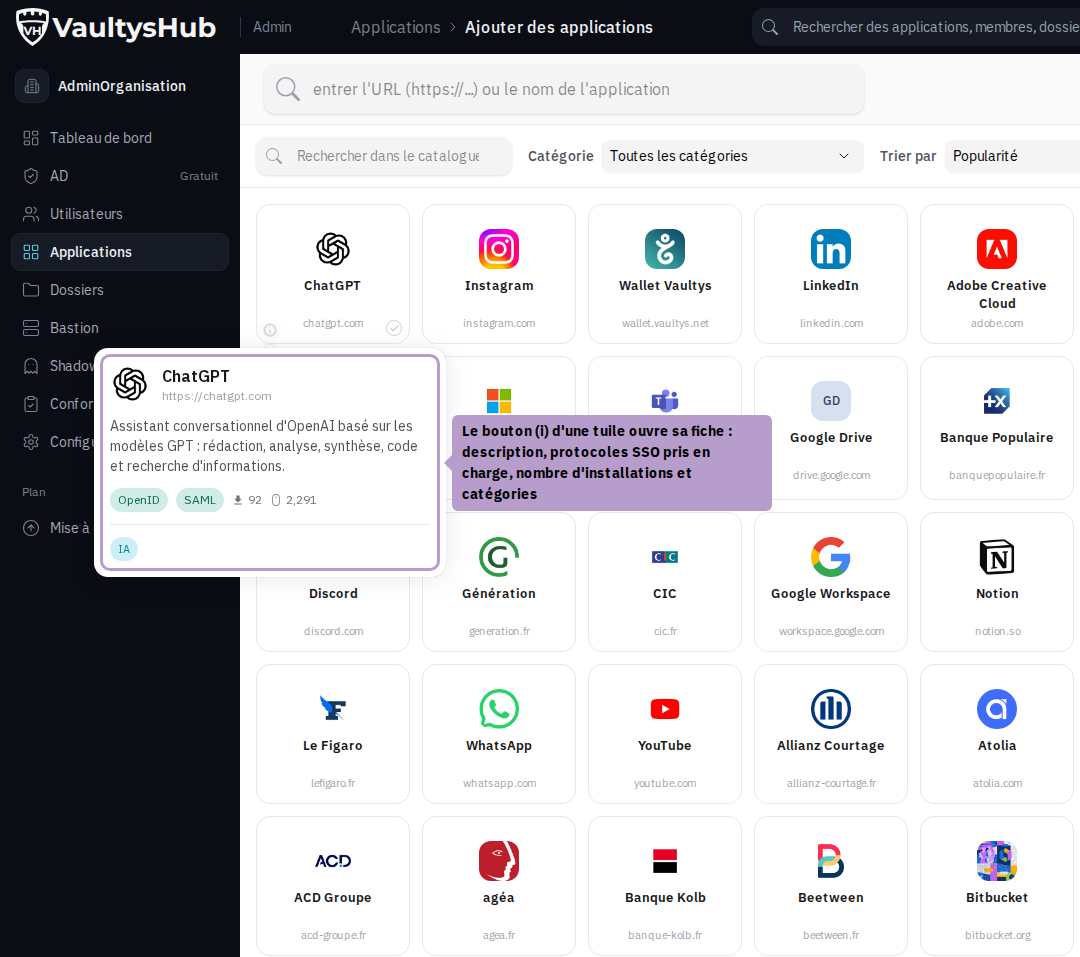
Clicking on the tile itself does not open it: it selects it (see below).
Avoid Duplicates
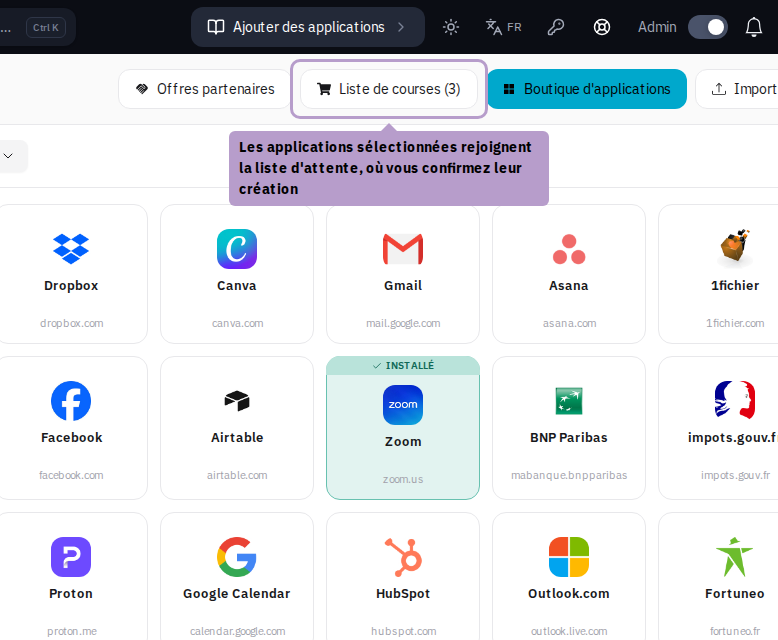
An application that your organization already owns remains visible in the catalog, but its tile is framed in green and bears the banner Installed (or Installed ×N if it has been added multiple times).
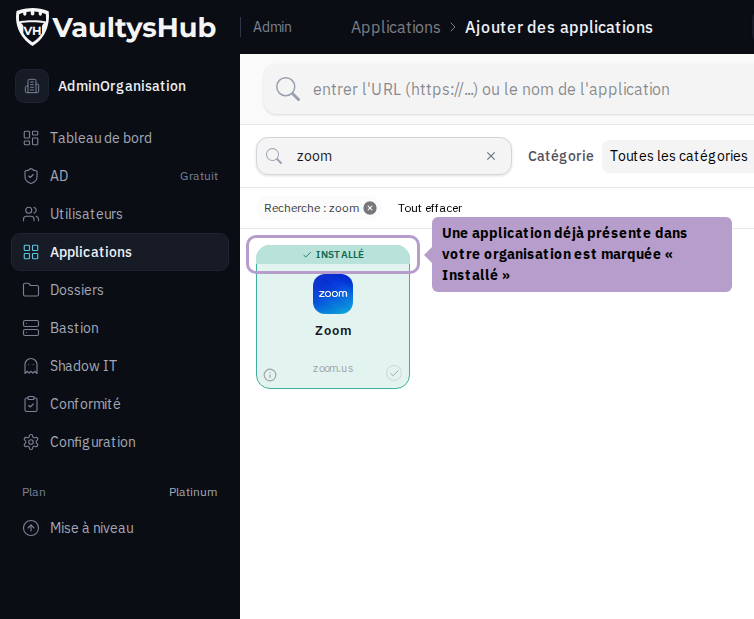
It remains selectable — intentionally adding a second instance of an application is sometimes legitimate. But if you select it, the selection bar will notify you ("1 is already installed") before you confirm.
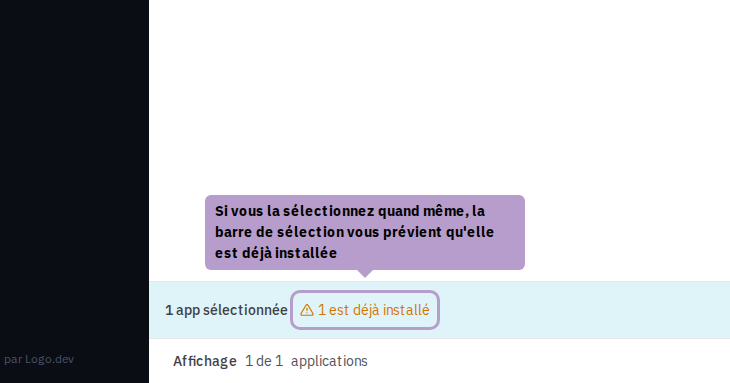
The waiting list performs the same check: a pending application whose address matches an existing application is flagged before creation.
Add Multiple Applications at Once
Click on as many tiles as necessary: each selected tile is framed and checked. The selection is retained when you change search, category, or sorting — you can therefore complete it in several passes.
A bar appears at the bottom of the catalog with the number of selected applications, a Deselect button, and the Add # applications button.
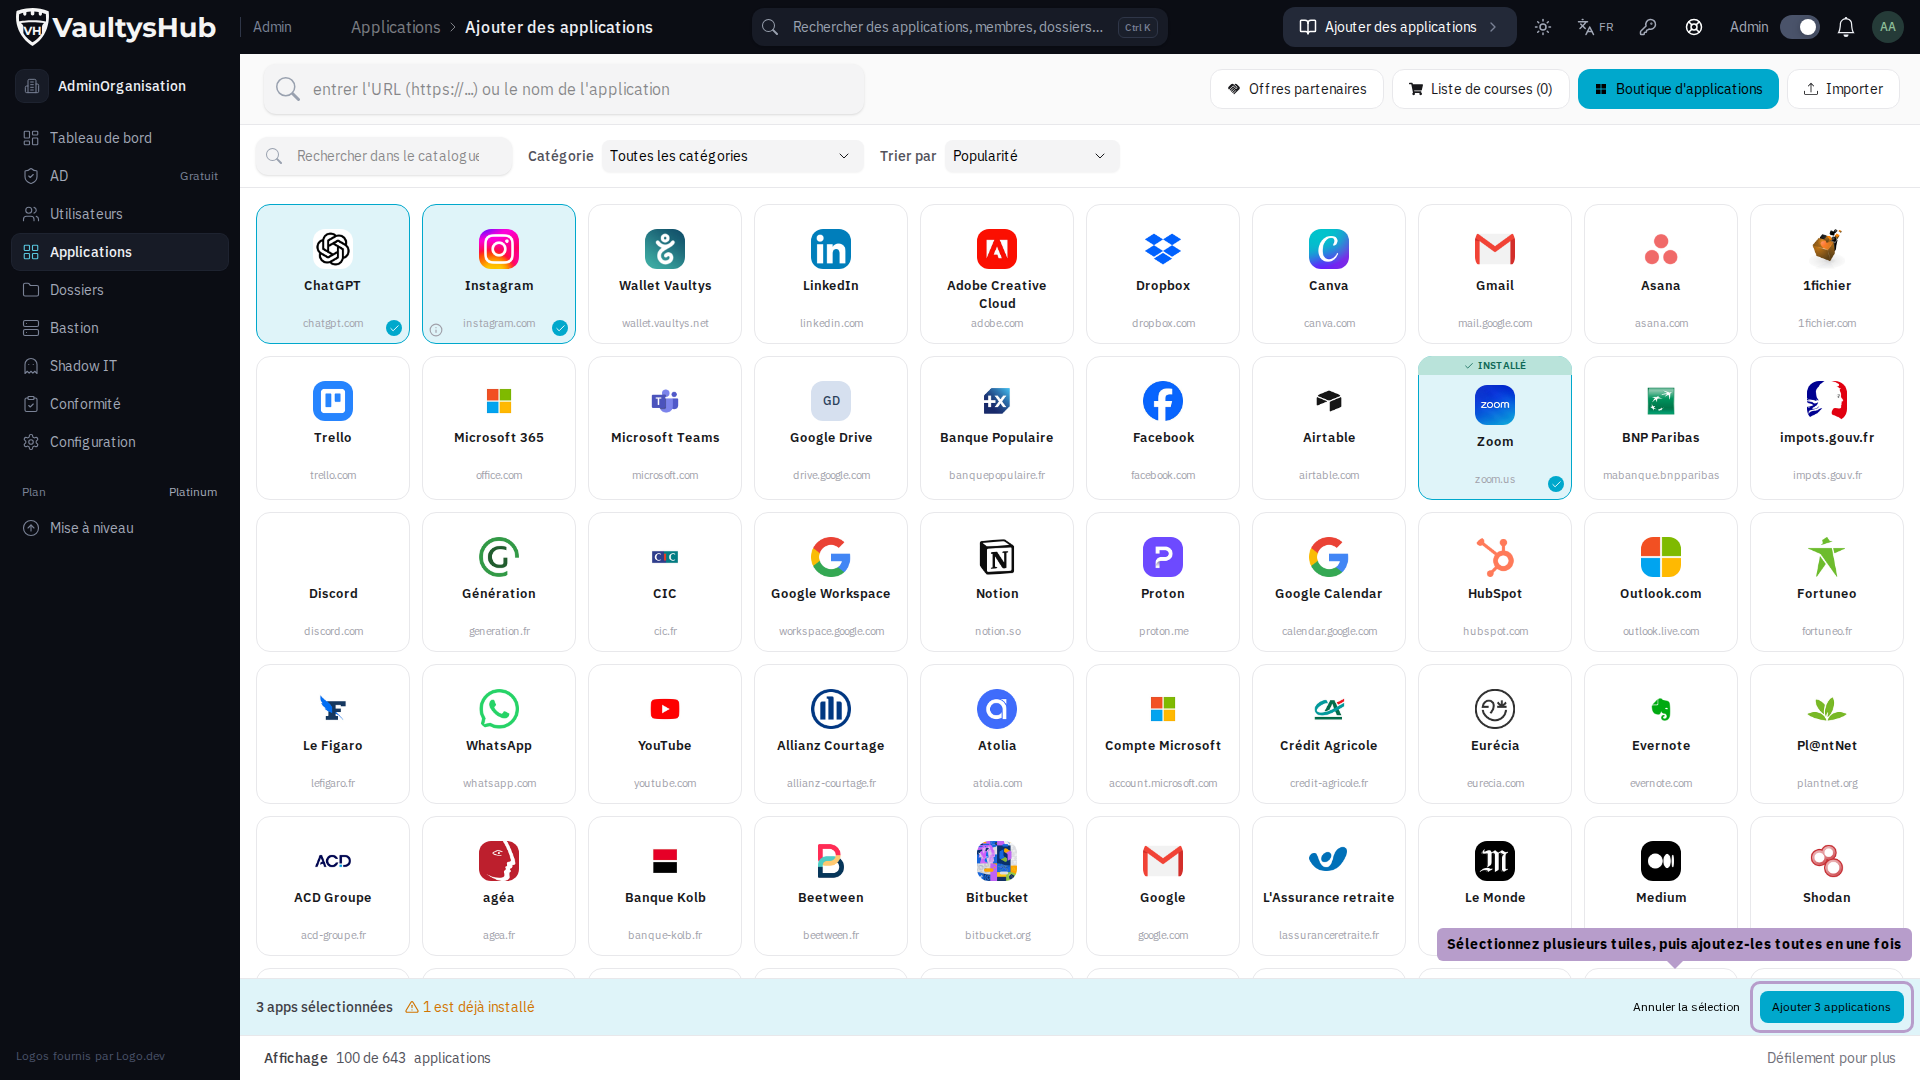
Click on Add # applications: the selected applications join the waiting list, whose counter is updated in the toolbar. Open the waiting list to check them, set their access, and then confirm their creation as described in step 5.
Other Options: Import
Click on the Import button to add multiple applications at once via a CSV file.