Import Users
Rather than creating accounts one by one, you can import users from your organization all at once from four sources:
| Source | What is needed | Account selection before import | Module |
|---|---|---|---|
| CSV File | a .csv file | no: all valid rows are imported | included |
| Microsoft Entra ID / Active Directory | the directory connected in the AD section | yes, by group | AD section |
| Google Workspace | a Google service account with domain-wide delegation | no: all active accounts are imported | Integration |
| LDAP Directory | the server address and, most often, a bind account | yes, account by account | Integration |
To add a single person, go instead to Create Users.
Accessing the Import
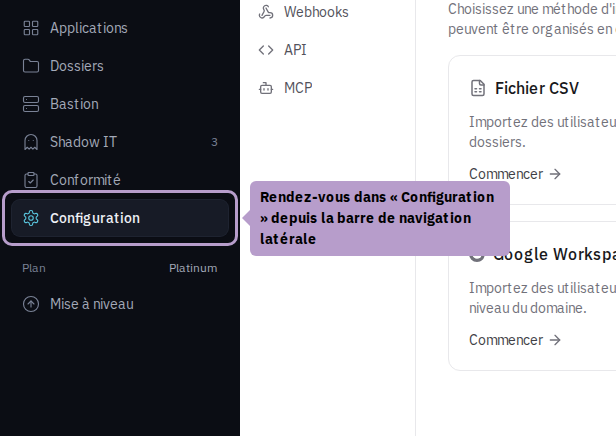
Go to Configuration from the sidebar navigation.
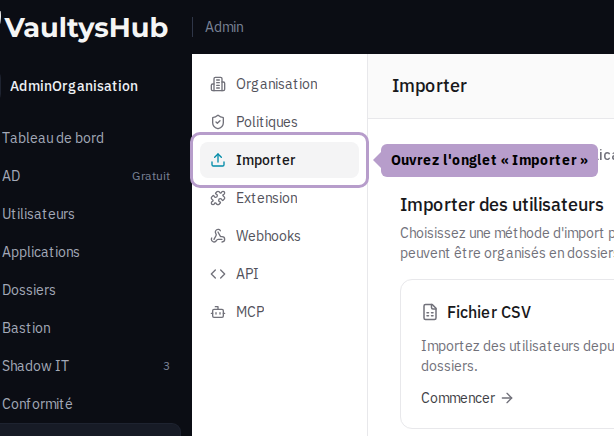
Open the Import tab. Its sub-tab Users is selected by default (the sub-tab Applications is for importing applications).
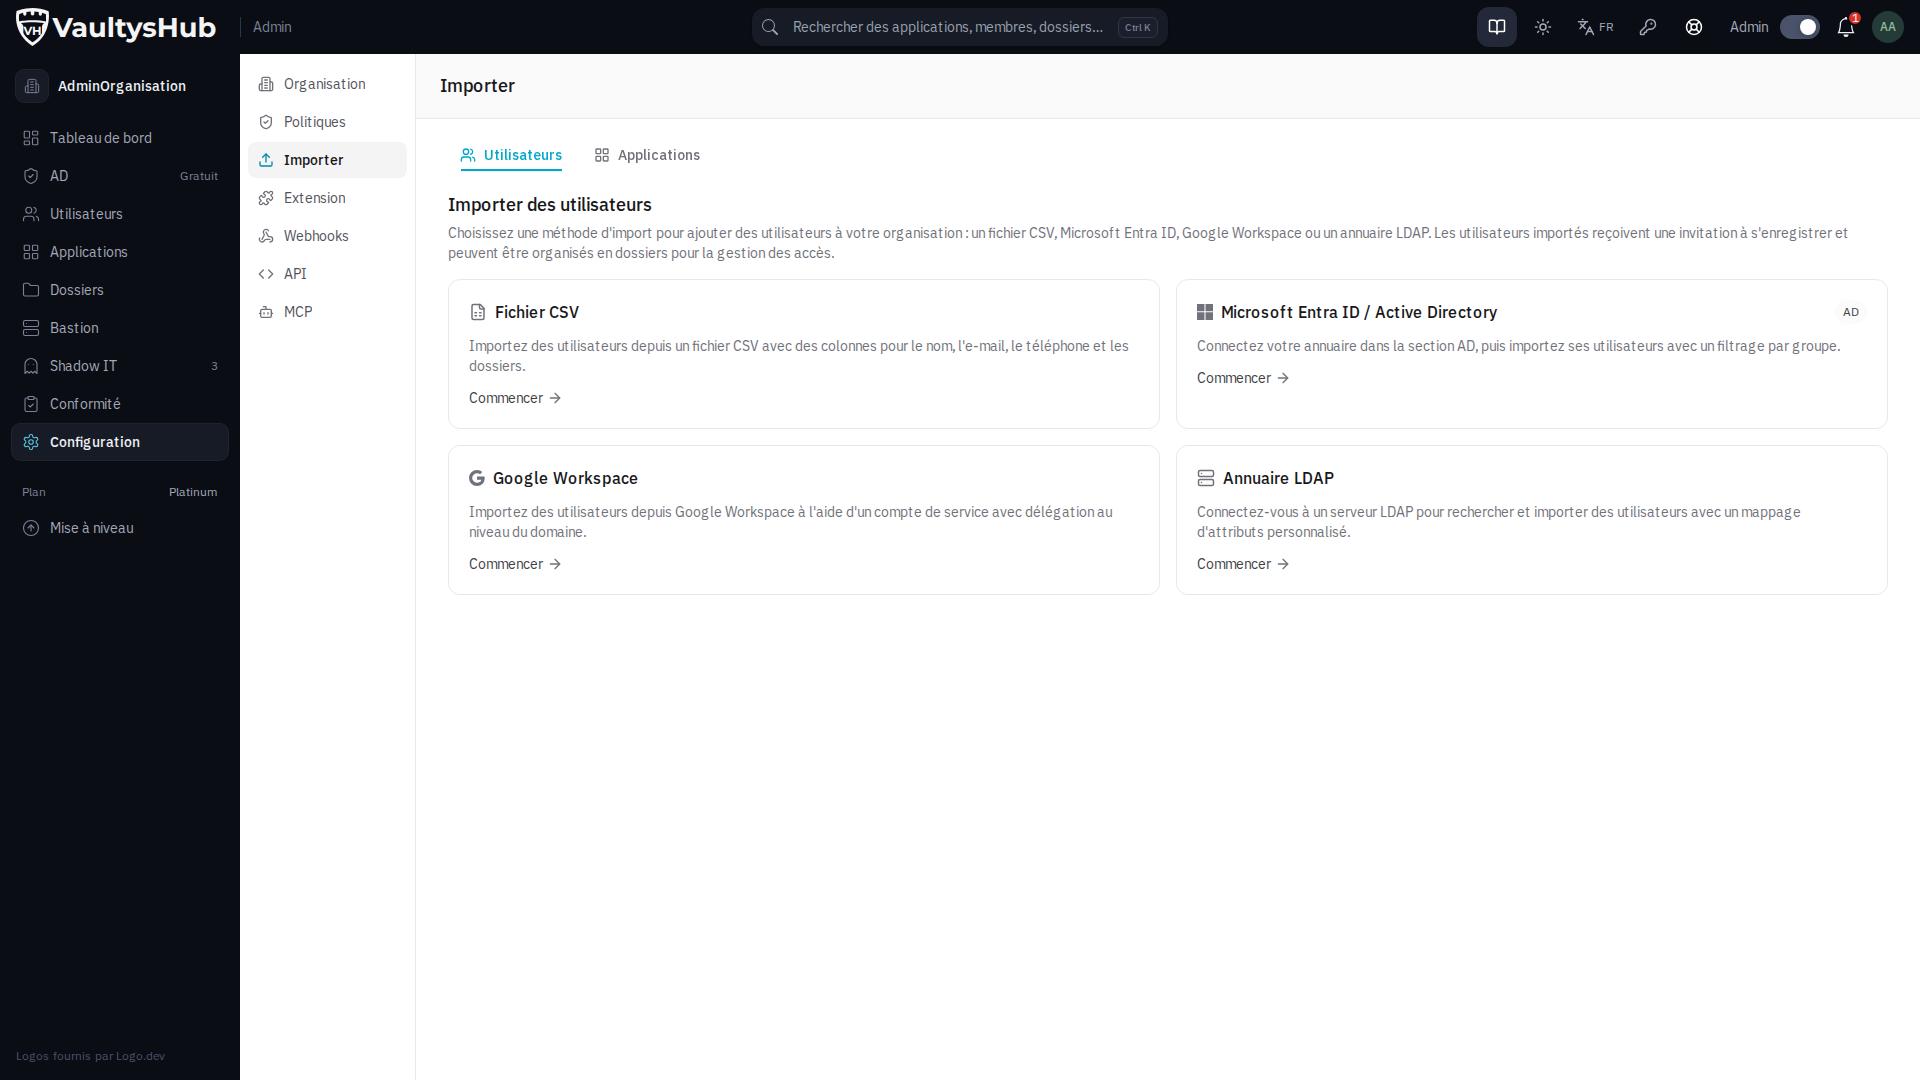
Each card corresponds to an import source. Sources that depend on a module that your organization has not subscribed to are marked with a lock: clicking on them presents the module instead of the form.
What an import does, regardless of the source
All sources lead to the same processing on the VaultysHub side:
- One account per email address. If the address already belongs to a member of the organization, that member is updated (first name, last name, phone) instead of being created a second time.
- The role. An imported account is a regular user unless the source indicates that it is an administrator. The owner of the organization is never downgraded, and an existing member retains their role when the source does not specify anything about it.
- Folders. When the source provides them (the
folderscolumn of the CSV, groups, or offices from the AD directory), the account is added to those folders; a folder that does not yet exist is created. An import adds folders; it never removes them. - No automatic invitation. Accounts are created pending registration, without any email being sent. Send the invitation later from the Invitations button on the Users page (see below).
- In batches of 50. Accounts are sent in batches of 50; if one batch fails, the others are still imported, and the failure is reported in the summary.
- Tracked in the audit log, like a member creation.
From a CSV File
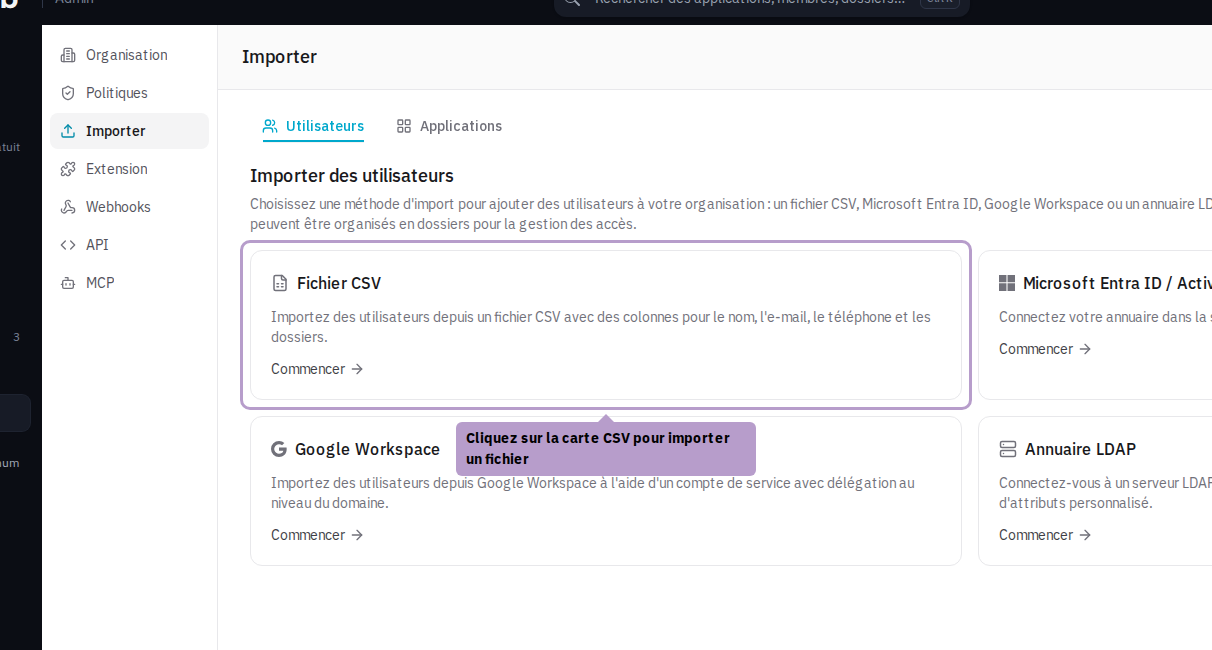
Click on the CSV card.
Prepare the file
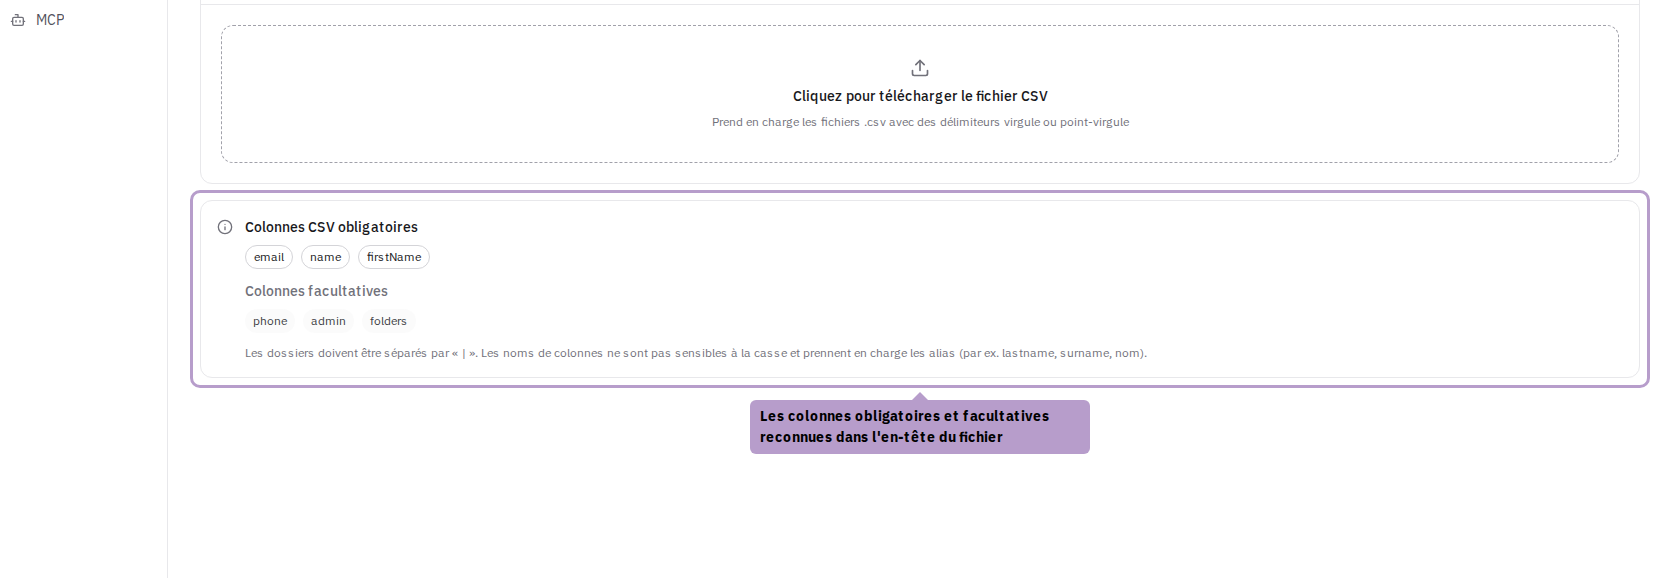
The first line of the file is the header: it names the columns, in the order of your choice. Column names are case-insensitive and accept several variants:
| Column | Required | Accepted Names | Content |
|---|---|---|---|
| yes | email, e-mail, mail, courriel | valid email address | |
| Last Name | yes | name, lastname, last_name, surname, nom | last name |
| First Name | yes (the column) | firstName, first_name, givenname, prenom, prénom | can be left empty on a line |
| Phone | no | phone, telephone, téléphone, mobile, tel | |
| Administrator | no | admin, isadmin, is_admin, role | true, 1, yes, oui or admin for an administrator; any other value for a regular user |
| Folders | no | folders, folder, groups, group, department, département | one or more folders separated by | |
The column separator is a comma or semicolon: it is detected on the header line (the semicolon takes precedence if it is present). Example:
email;firstName;name;phone;admin;folders
[email protected];Claire;Dubois;+33 6 11 22 33 44;no;Commercial|Paris
[email protected];Sophie;Moreau;;yes;Direction
[email protected];Lucas;Girard;+33 6 44 55 66 77;no;Technique/Support
- A folder is written by its path:
Commercialdesignates a folder at the root,Technique/Supportthe sub-folderSupportof theTechniquefolder. - A line without an email, without a name, or with an invalid address is ignored and reported by its line number; the others are imported.
- Quotes do not protect the separator. A value containing the separator (for example
"Dupont, Jean"in a comma file) shifts the columns. Prefer the semicolon as a separator. - With a comma file, a list of folders separated by commas is impossible: use
|. - The administrator column is authoritative for existing members. If it is present, a value other than
true,1,yes,ouioradminremoves the administrator role from a member who had it. Leave the column aside — or the cell empty — to avoid touching roles.
Import the file
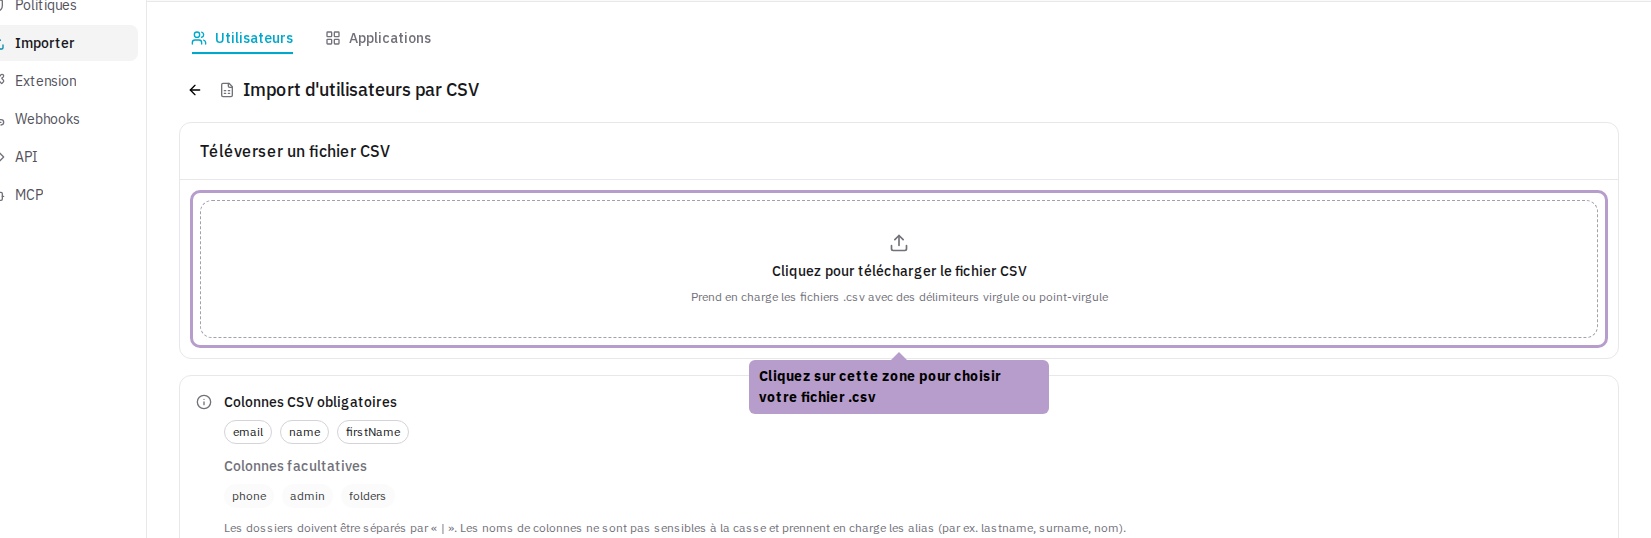
Click on the drop zone and choose your file (.csv extension required).
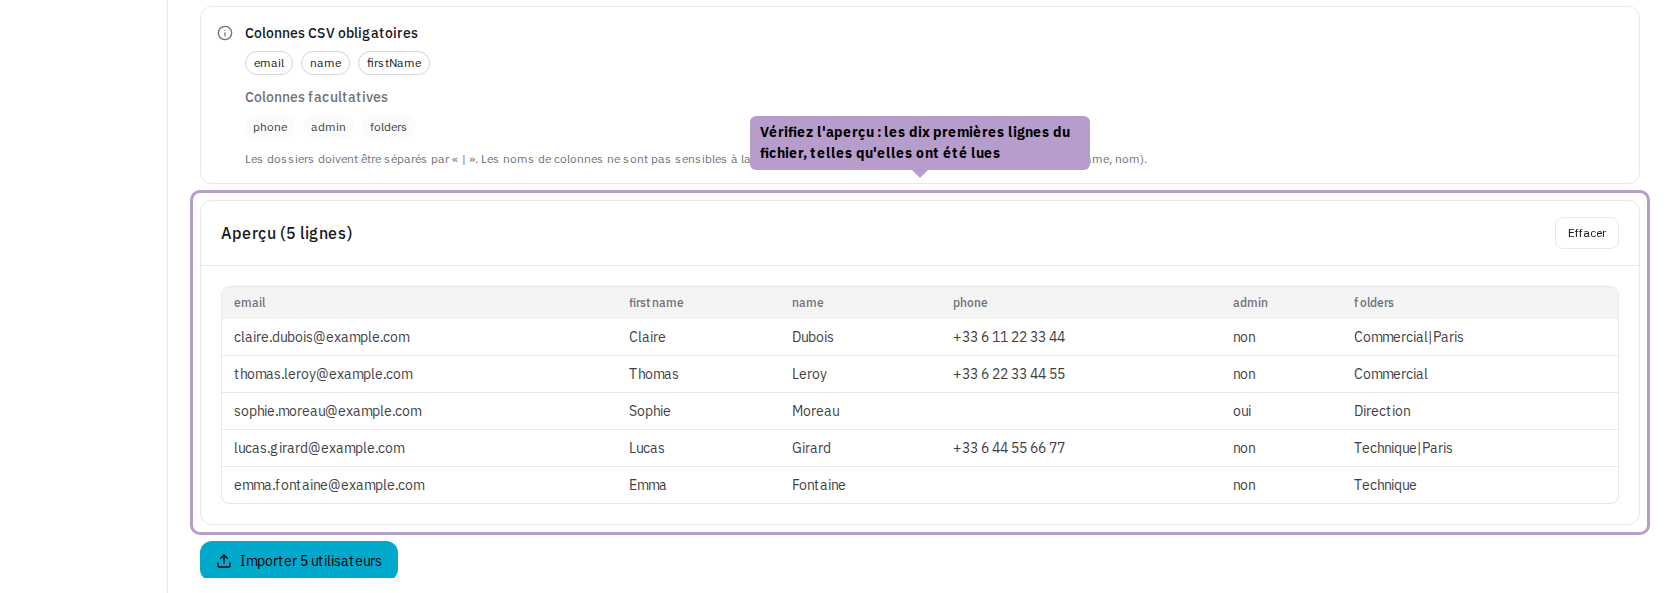
The preview shows the header and the first ten lines as read. This is the time to check that the columns are well separated; click on Clear to choose another file. The CSV does not allow selecting rows: remove from the file those you do not want to import.
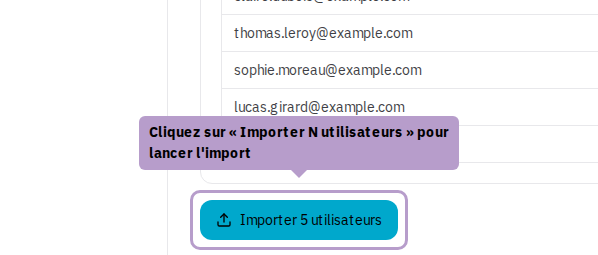
Click on Import N users. The validation of the rows takes place at this moment: if no row is valid (mandatory column missing from the header, for example), the import does not take place, and the errors are displayed.
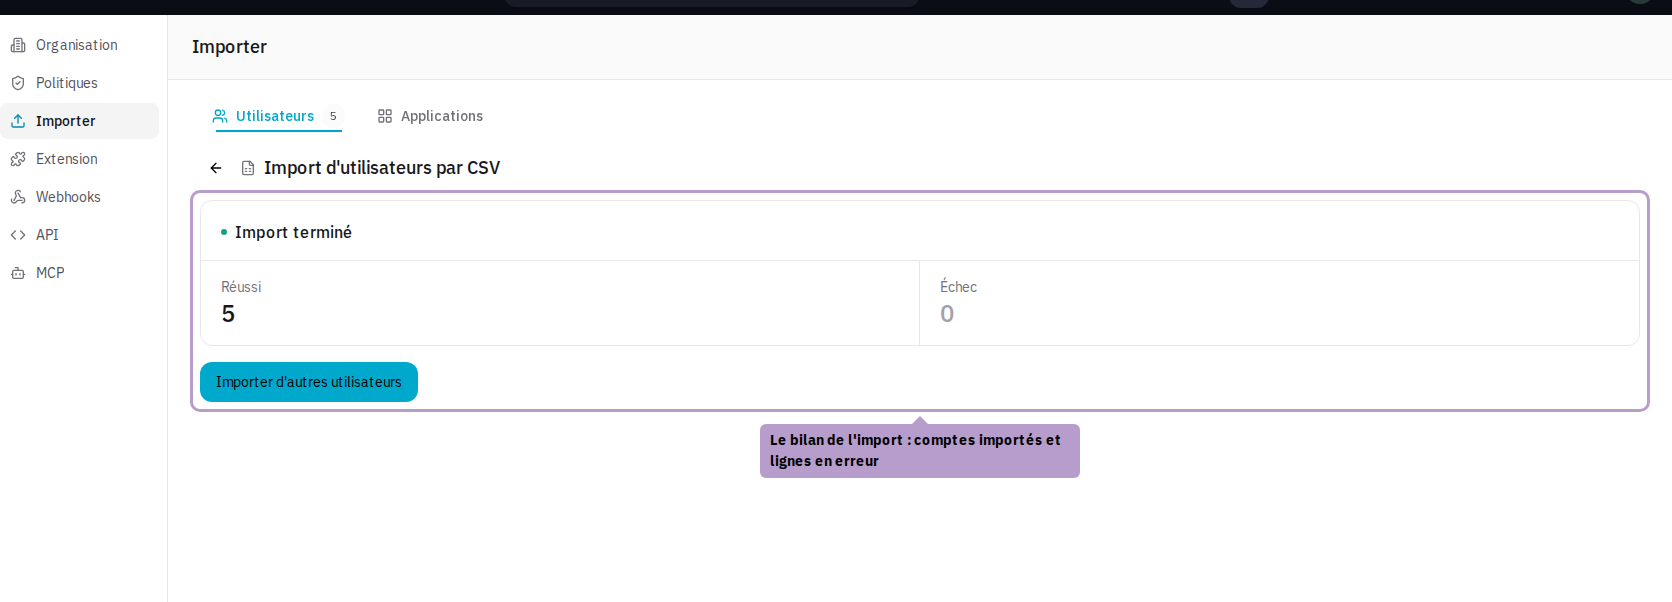
The summary indicates the number of imported accounts and failures, with details of the error lines. Import more users returns to the file selection.
After the Import: Invite Users
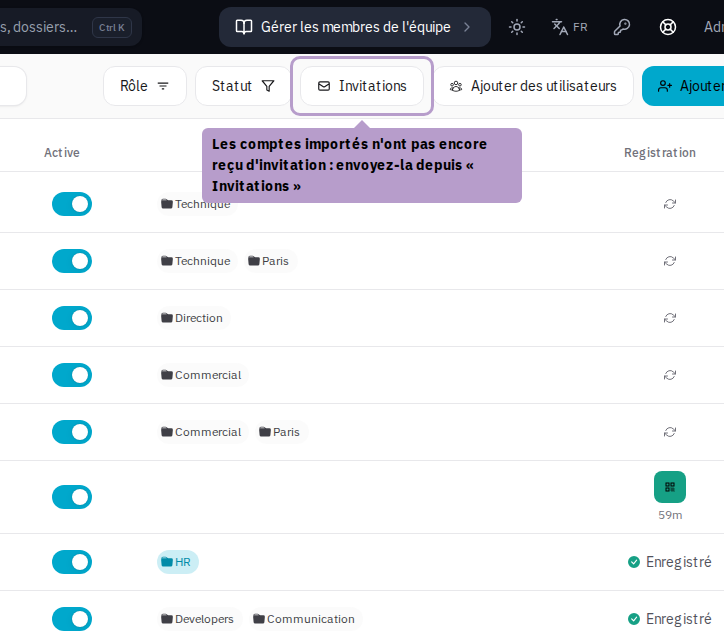
Imported accounts appear on the Users page, pending registration. Click on Invitations to send them the email that will allow them to associate their VaultysID. To then assign their access, see Manage Access.
From Microsoft Entra ID or Active Directory
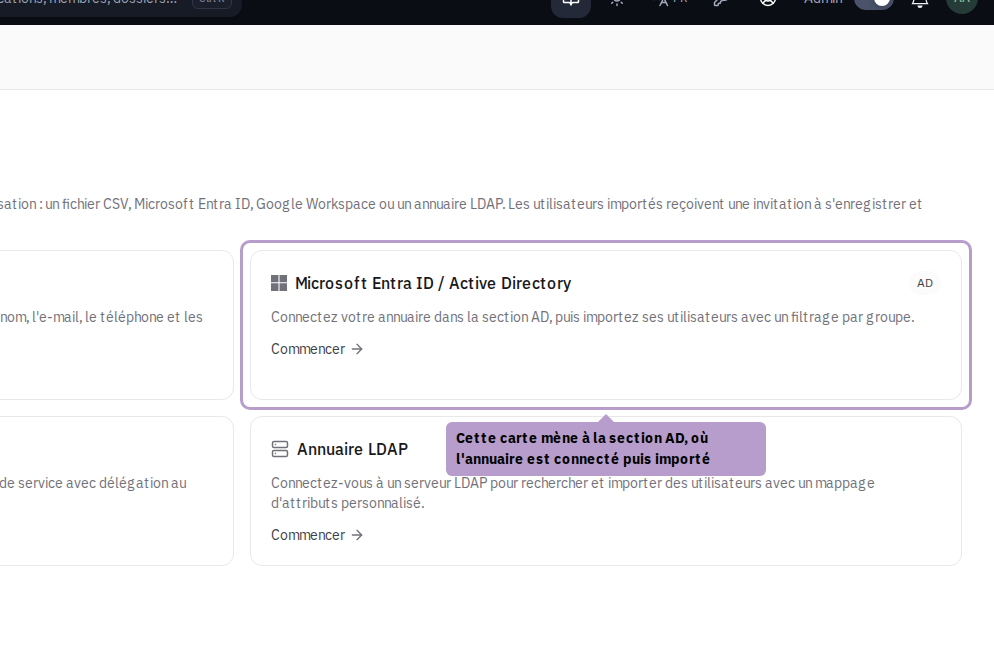
Importing from Microsoft Entra ID or an on-premises Active Directory is done in the AD section, where the directory is connected once and for all (credentials encrypted server-side): the card in the Import tab leads directly there. The connection of the directory and its security audit are described in the page dedicated to the AD section.
Once the directory is connected, the Users tab in the AD section lists the accounts to be imported:
- only activated accounts with an email address are proposed; disabled accounts are excluded, and those whose address already corresponds to a member of VaultysHub are not re-imported;
- Only members of restricts the import to one or more groups from the directory;
- Create a folder per group (checked by default) places each account in a folder named after each of its groups — limited to the groups chosen in the filter, if any;
- Create a folder per office places each account in a folder named after its office (attribute Office from the directory);
- accounts are imported as regular users;
- the preview displays the first 200 accounts, but all selected accounts are imported by the Import N users button in the toolbar.
From Google Workspace
Click on the Google Workspace card.
Prepare the Service Account
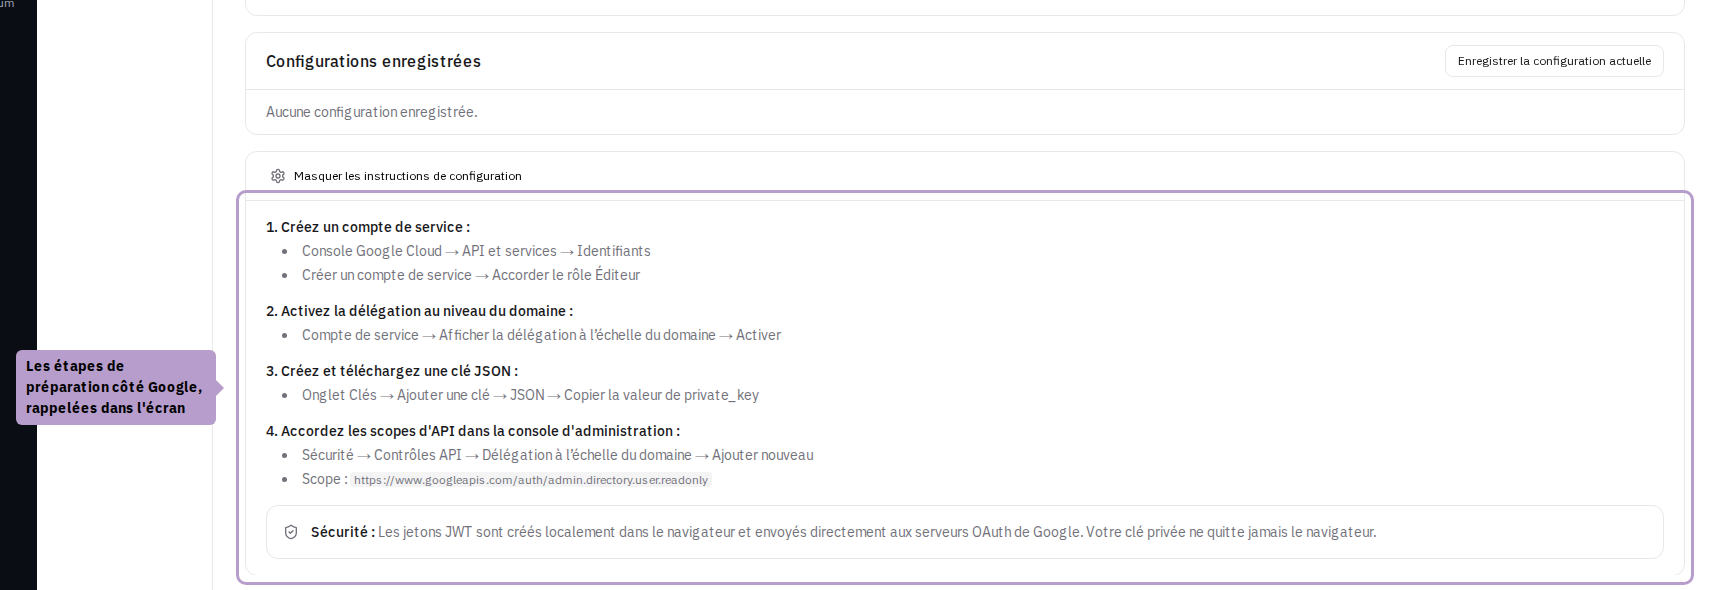
On the Google side, you need to do the following once:
- In the Google Cloud Console (API & Services → Credentials), create a service account.
- Enable domain-wide delegation for this account.
- Create a JSON key for this account (tab Keys → Add Key → JSON) and keep the value of
private_key. - In the Google Workspace admin console (Security → API Controls → Domain-wide Delegation), authorize the service account's client ID for the read-only scope:
https://www.googleapis.com/auth/admin.directory.user.readonly
These steps are recalled on the screen by Show setup instructions.
Connect
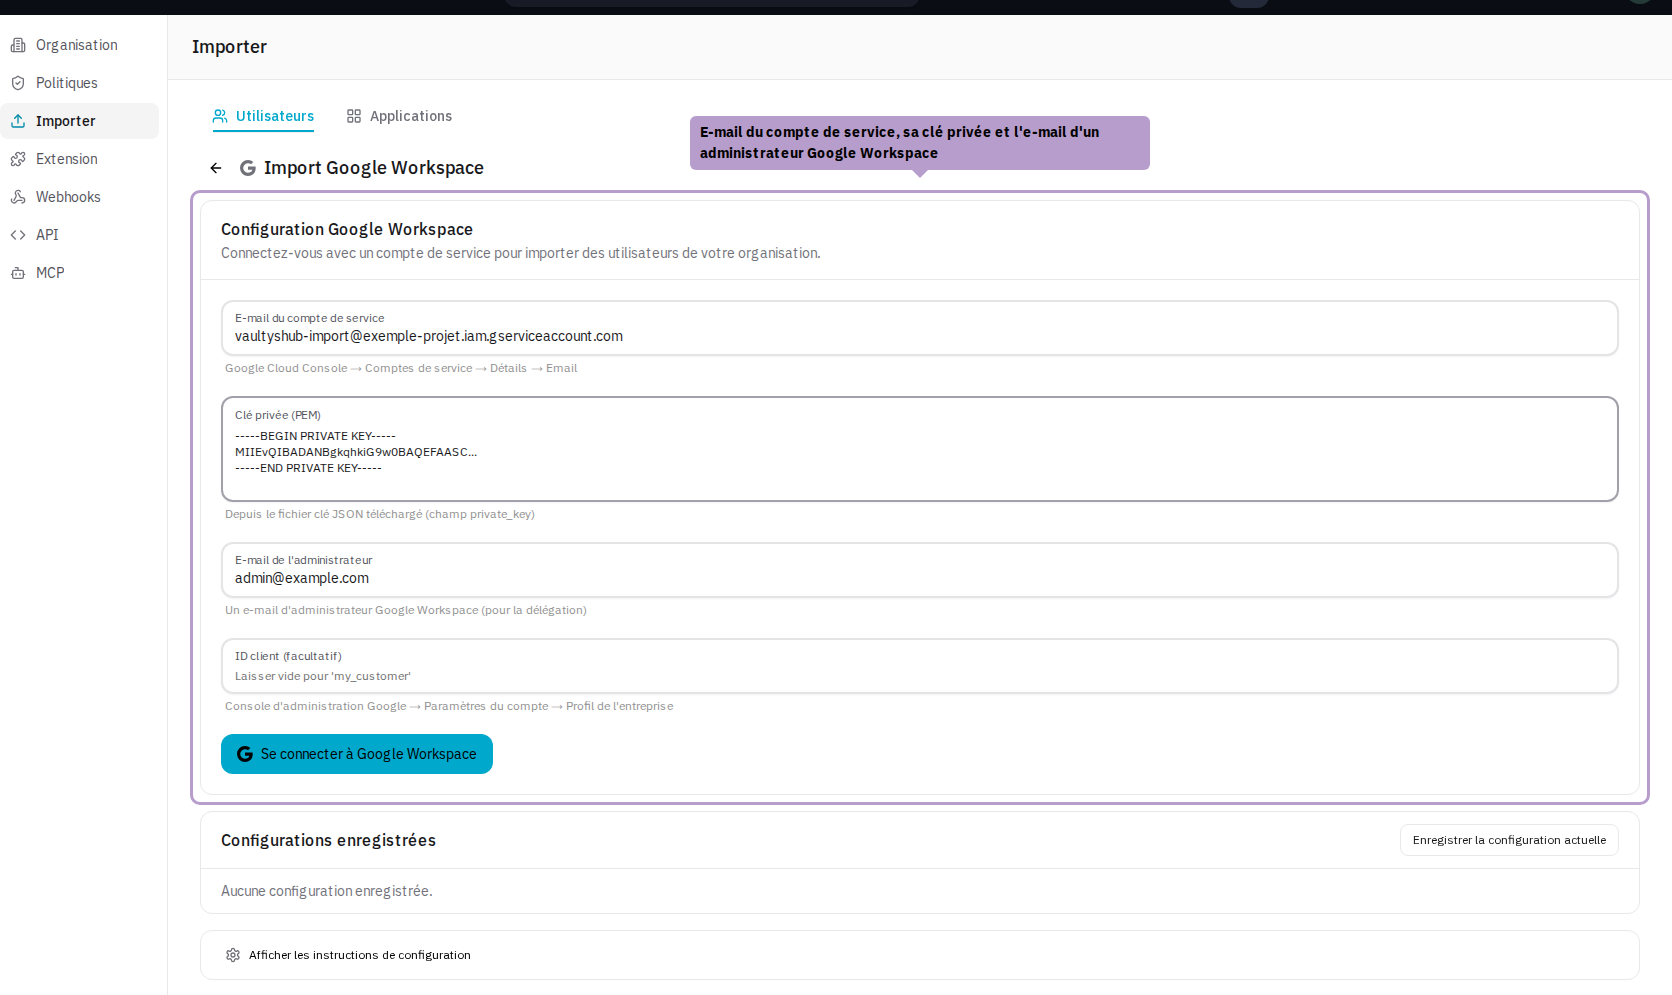
Fill in:
- Service account email — the address of the service account (
…@….iam.gserviceaccount.com); - Private key (PEM) — the
private_keyvalue from the JSON file, from-----BEGIN PRIVATE KEY-----to-----END PRIVATE KEY-----; - Administrator email — the address of a Google Workspace administrator, on behalf of whom the directory is read;
- Client ID (optional) — the Google Workspace client ID; left empty, the administrator's domain is read.
Click on Connect to Google Workspace. The private key is used to sign the access request in your browser, which queries Google directly: it is not transmitted to VaultysHub.
VaultysHub then displays the number of active accounts found and a preview of the first ten. Import N users imports all active accounts (suspended accounts are excluded); there is no individual selection.
- Google Workspace administrators become VaultysHub administrators, and other accounts are imported as regular users — including an existing member of VaultysHub who was an administrator: they lose this role if they are not an administrator on the Google side. Check roles on the Users page after the import.
- No folder is assigned: Google organizational units are not retained.
Saved Configurations → Save current keeps the settings in the local storage of this browser, including the private key, in plain text. Only use this function on a personal device, and delete the configuration after use.
From an LDAP Directory
Click on the LDAP card.
Connect to the Directory
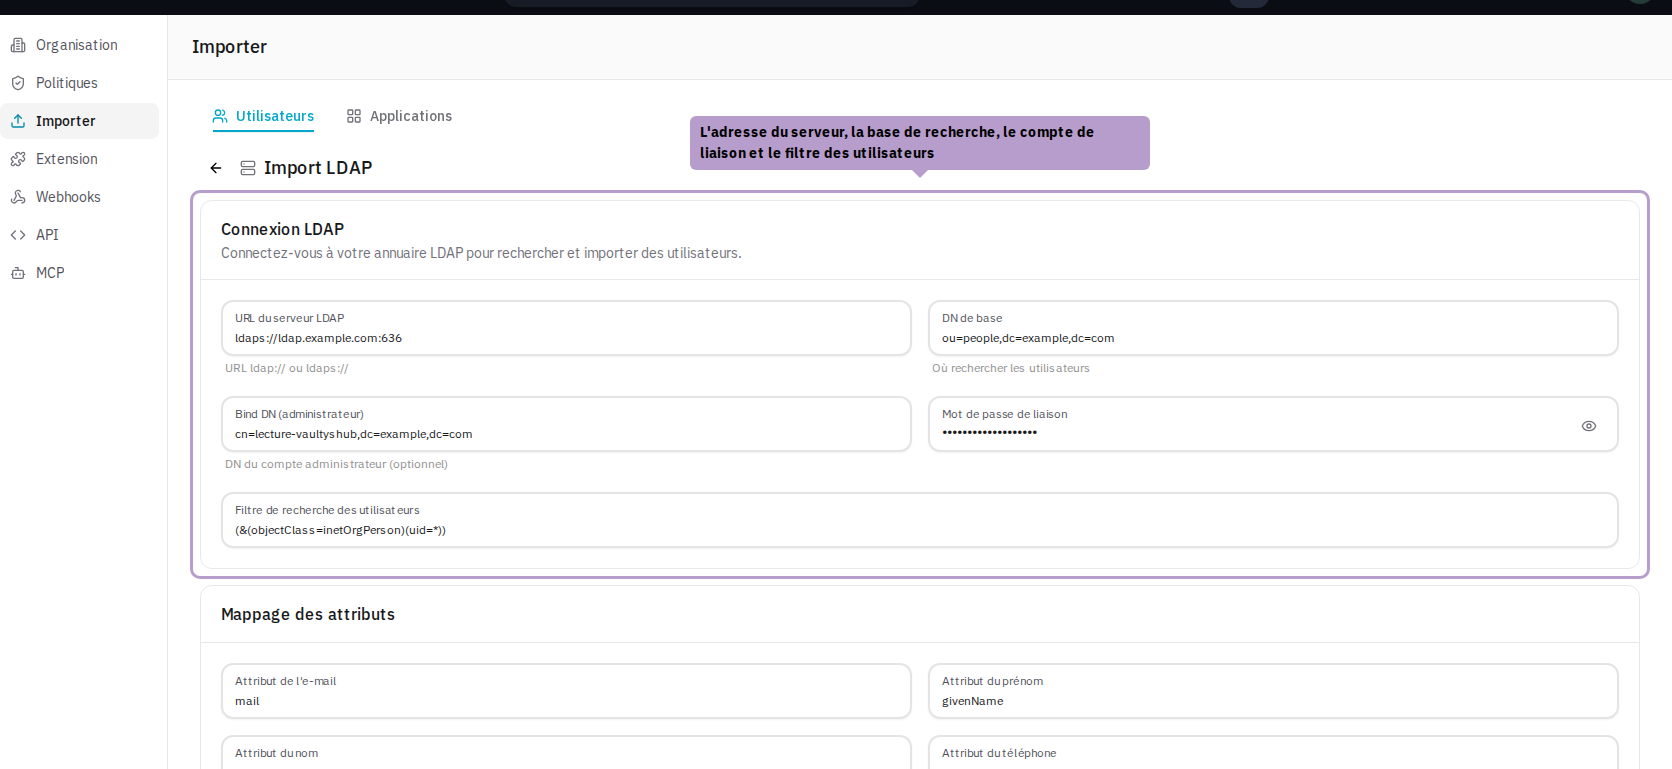
- LDAP server URL —
ldap://…or, preferably,ldaps://…(the bind password does not circulate in plain text); - Base DN — the location in the directory where to search for users, for example
ou=people,dc=example,dc=com; - Bind DN (Admin) and Bind Password — the account used to read the directory; a read-only account is sufficient. If left empty, the search is done anonymously, if your server allows it;
- User search filter — the LDAP filter that designates user accounts; by default
(&(objectClass=inetOrgPerson)(uid=*)).
The connection to the LDAP server is established by the VaultysHub server, not by your browser: the LDAP server must be reachable from VaultysHub.
Match Attributes
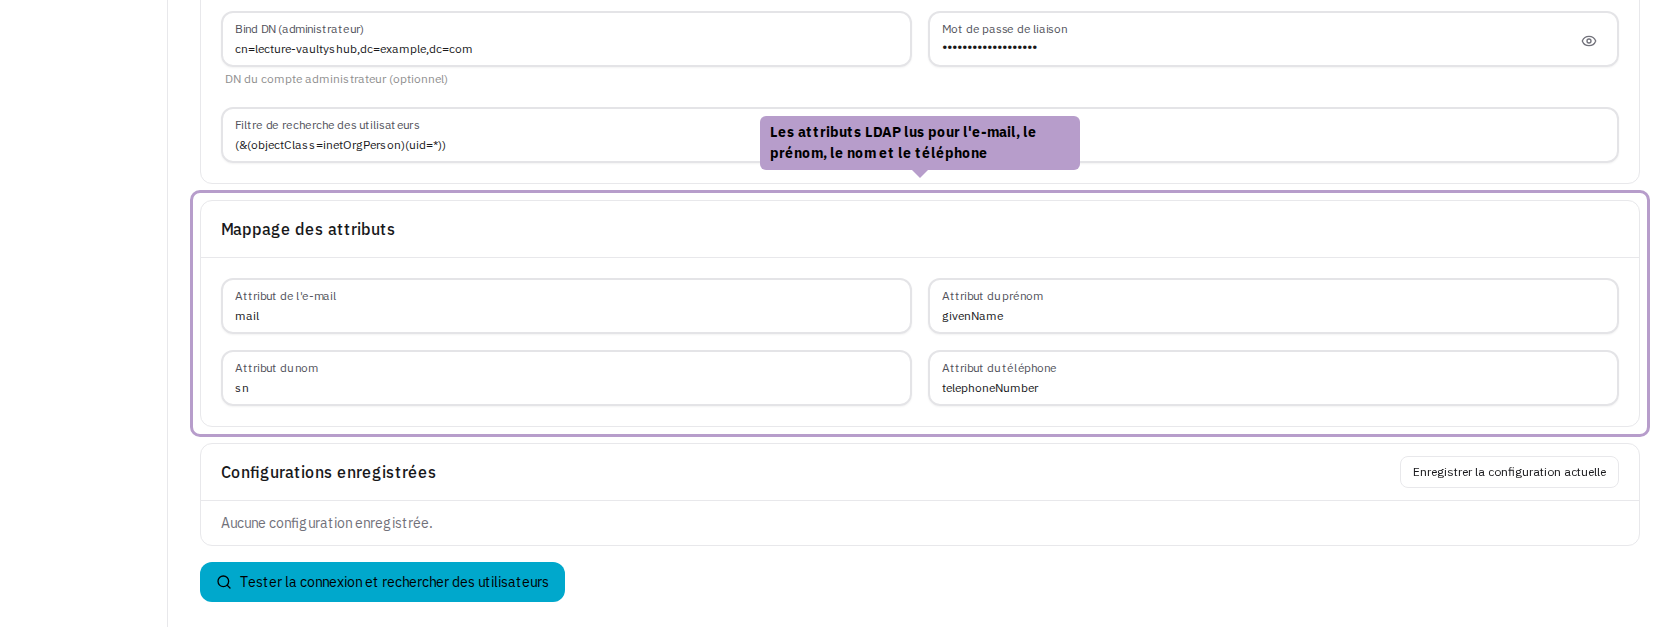
Indicate which LDAP attributes hold the email (mail by default), first name (givenName), last name (sn), and phone (telephoneNumber). Adapt them to your schema — for example, on an Active Directory queried via LDAP, the address is often in mail or userPrincipalName.
Search, Select, Import
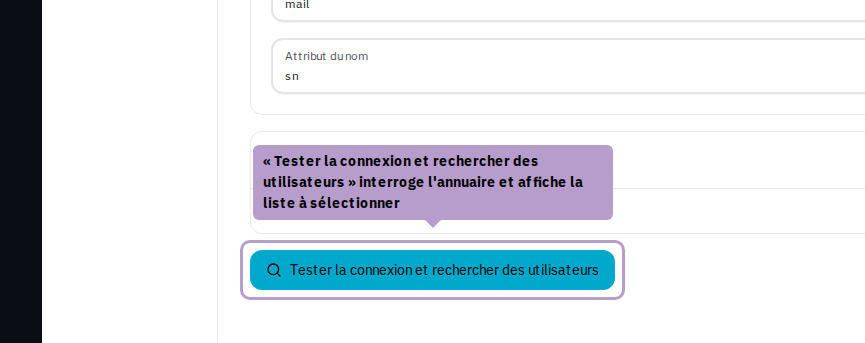
Click on Test connection and search for users. VaultysHub displays the accounts found that have an email address (the others are excluded), all checked: uncheck those to exclude, or use Select All, then click on Import N users. Accounts are imported as regular users, without folders, and the role of an existing member is not modified.
- The search returns up to 1,000 entries; beyond that, restrict the base DN or filter and perform multiple imports.
- The connection times out after 10 seconds without a response from the server.
- As with Google Workspace, Saved Configurations retains the settings, including the bind password, in the local storage of this browser.