Anti-Phishing
The Anti-Phishing feature helps protect your users against phishing sites and phishing attempts while browsing with the SmartLink extension. It is configurable both at the organization's global level and individually for each user.
Global Configuration
Accessing extension settings
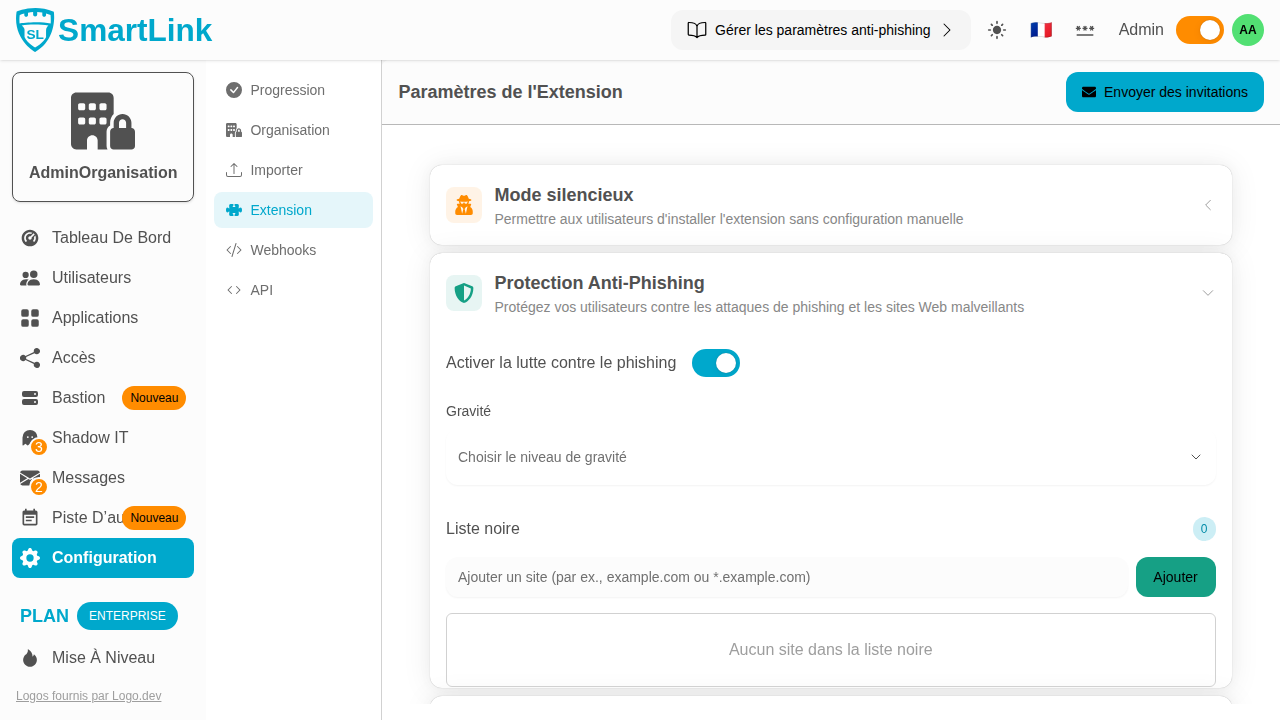
Go to Configuration → Extension Settings tab.
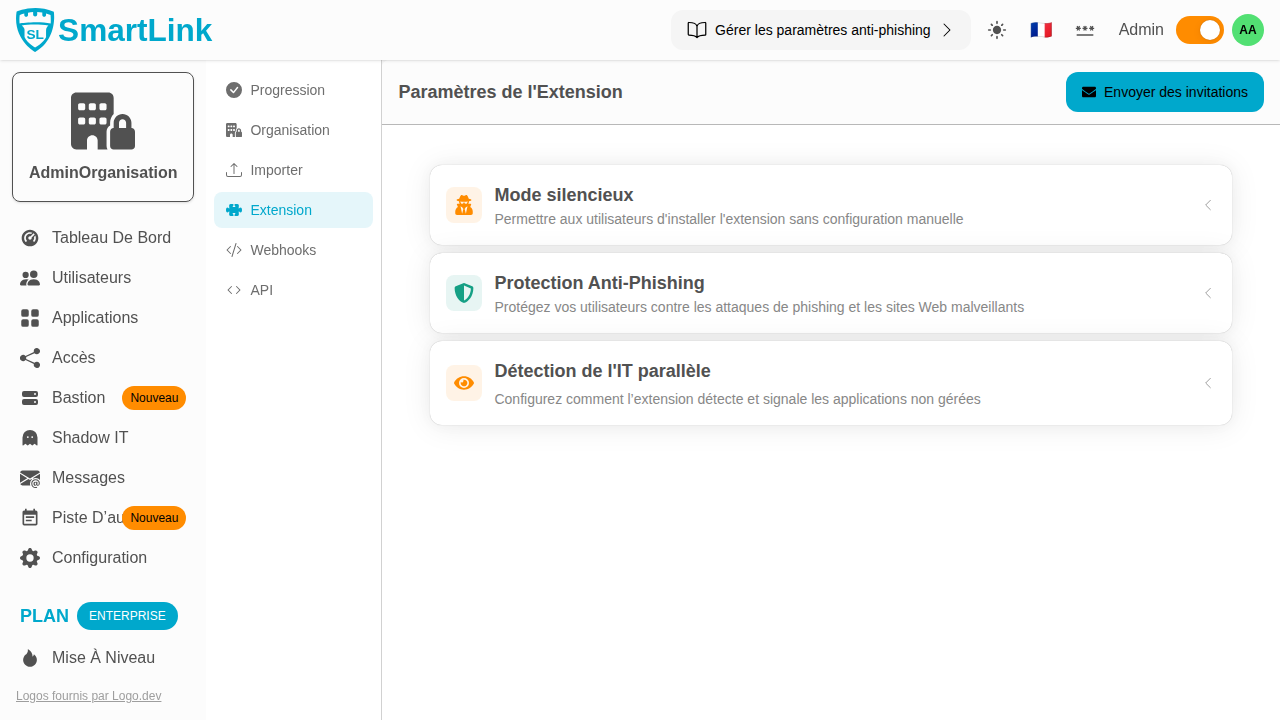
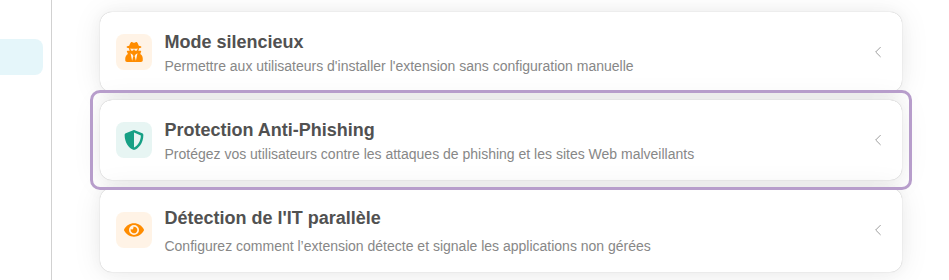
The page gathers features related to the SmartLink browser extension. The Anti-Phishing Protection section is accessible through the dedicated menu.
Activating Anti-Phishing protection
Click on the Anti-Phishing Protection section to expand it, then enable the Enable anti-phishing switch.
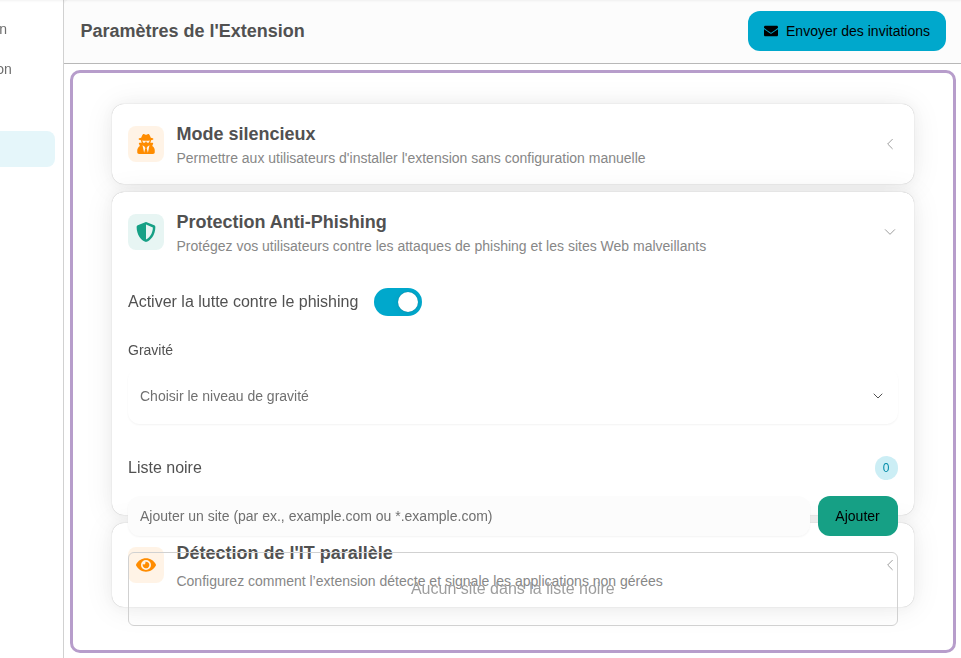
Choosing the severity level
Once the protection is activated, select the aggressiveness level from the Severity menu.
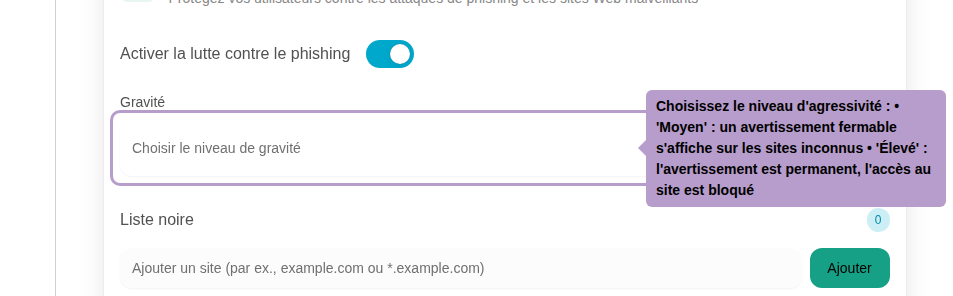
Two levels are available:
| Level | Behavior |
|---|---|
| Medium | When users land on a login form on an unknown site, they see a warning overlay on the form. They can easily dismiss it and proceed. |
| High | The warning is permanent: users cannot dismiss it and therefore cannot log in to the unknown site. |
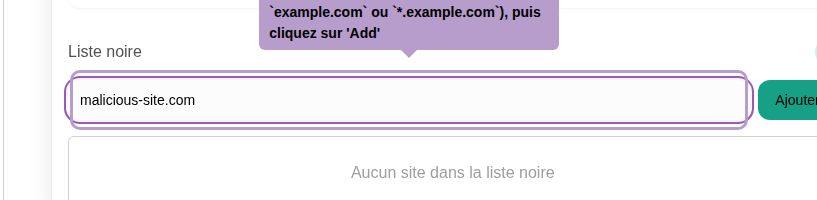
Managing the domain blacklist
The Blacklist allows explicitly referencing domains to block, regardless of the configured severity.
-97652ff9ace31448d99e9c11440242de.png)
Enter a domain in the input field (e.g., malicious-site.com or *.malicious-site.com) then click Add to include it.
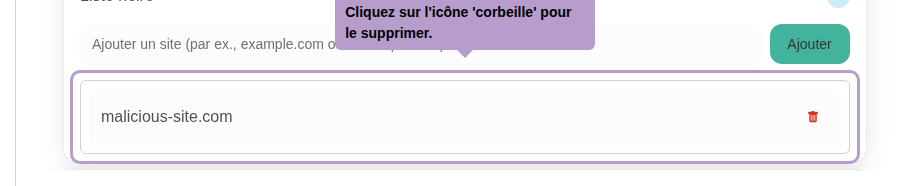
Click on the trash can icon next to a domain to remove it from the blacklist.
User-specific Configuration
It is possible to define specific Anti-Phishing settings for a user, independently of the organization's global configuration.
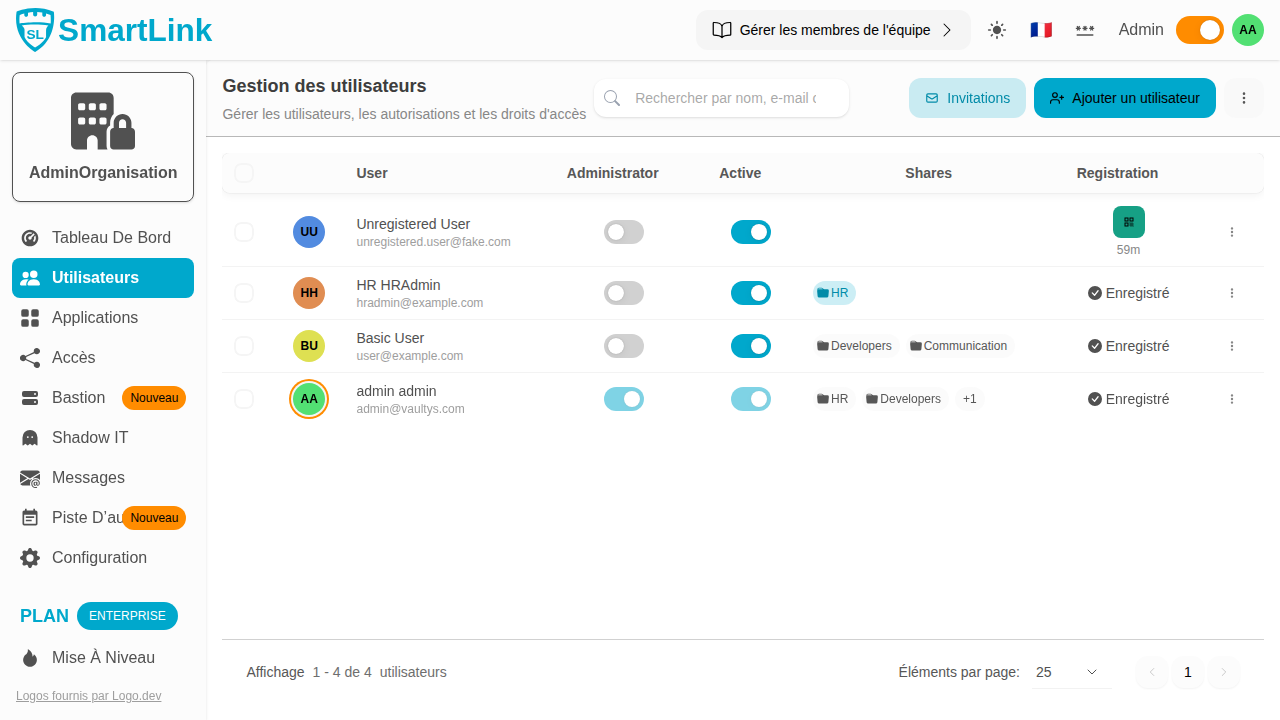
Accessing a user's profile
Go to Users from the navigation bar, then click on the actions menu of a user and select Profile.
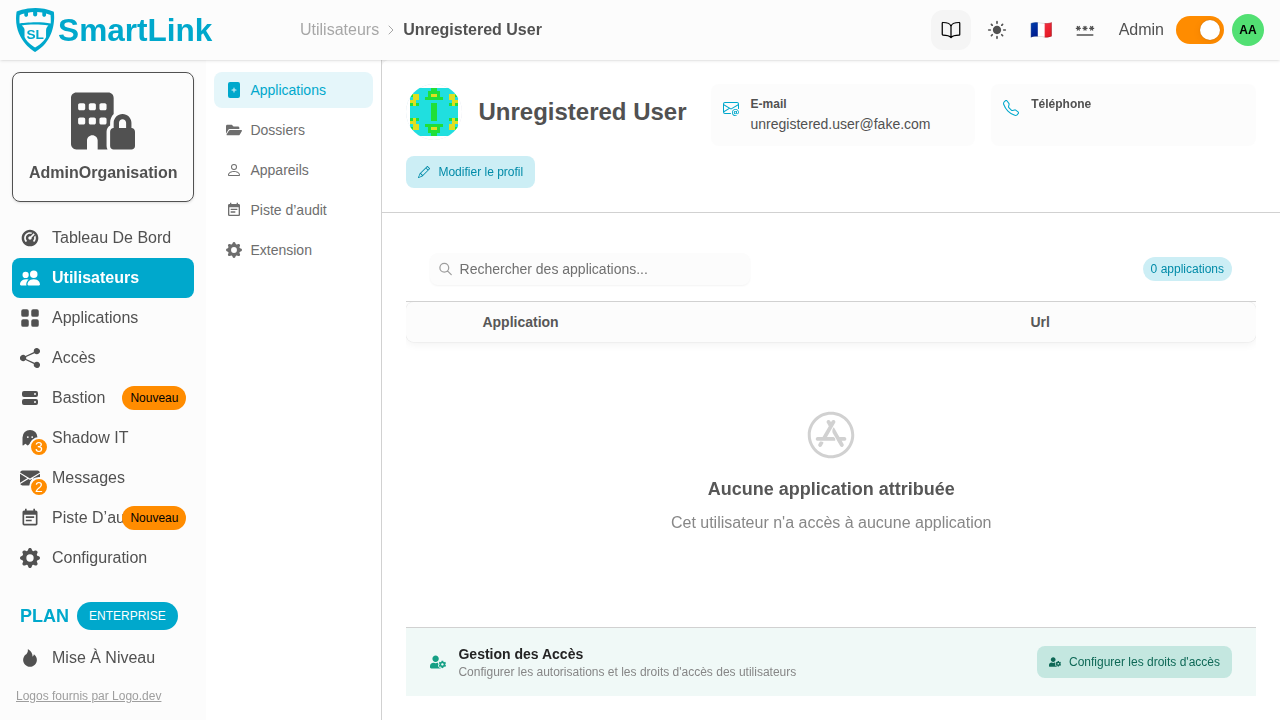
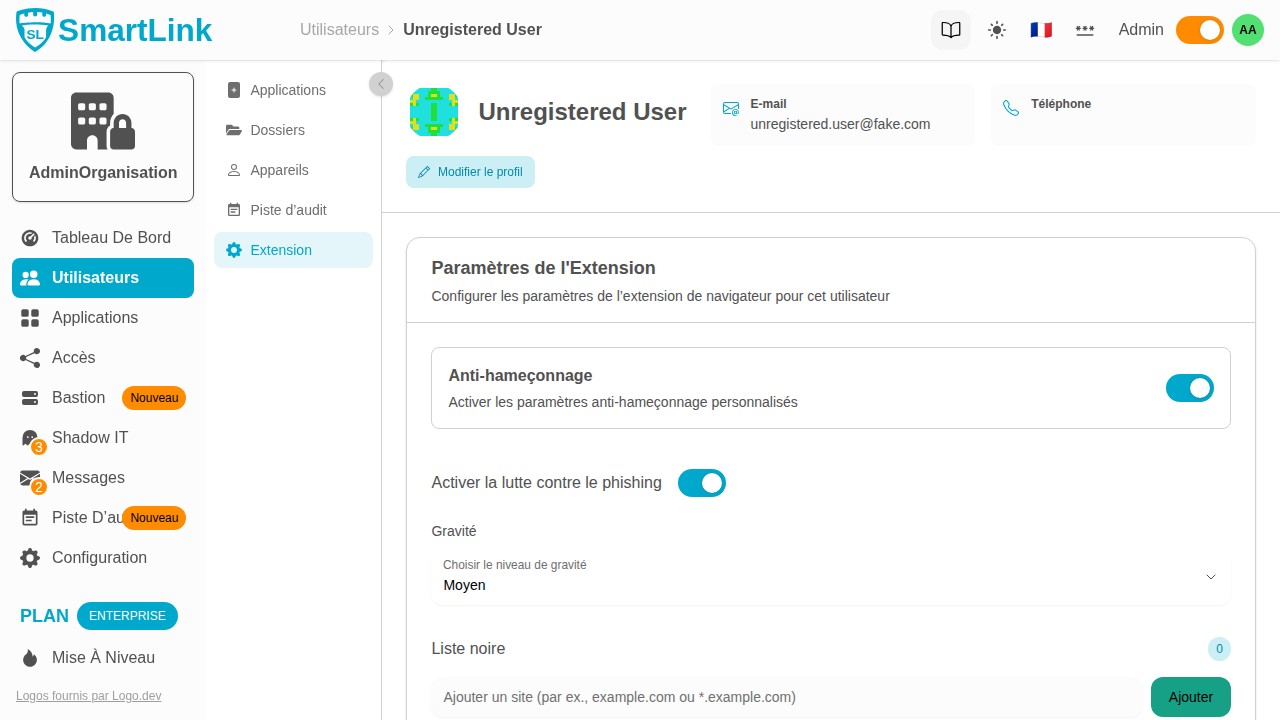
Extension Settings Tab
In the user's profile, click on the Extension tab.

The Anti-Phishing section displays a switch to enable settings specific to this user.
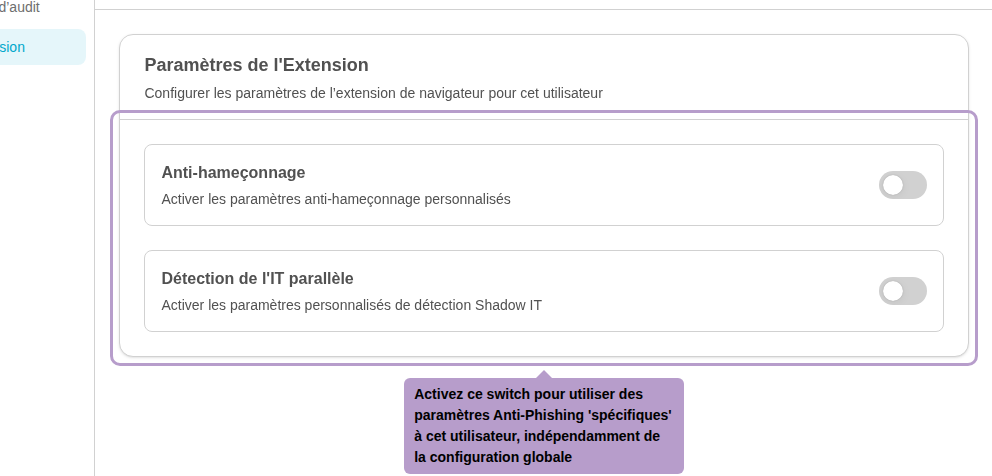
Turn on the Anti-Phishing switch to override the global configuration with settings specific to this user. The configuration is then done in the same way as for global settings: activation, severity level, and domain blacklist.