Access Management
Accessing a User's Access Management Page
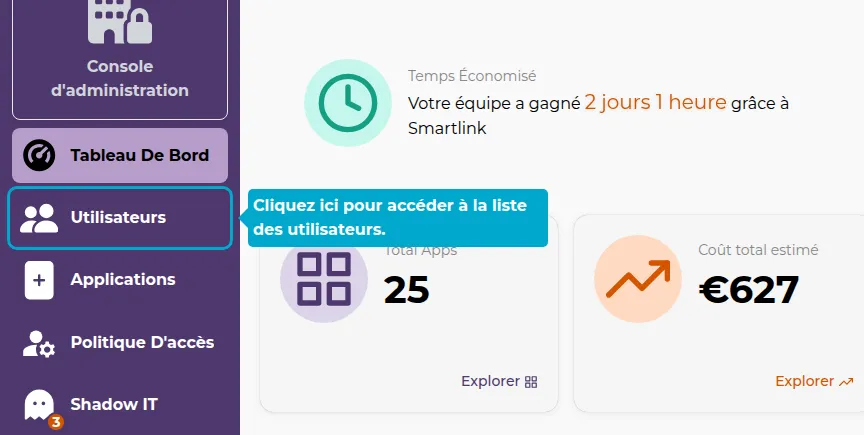
1. Click on the Users tab
Access the users management page by clicking on the Admin -> Users tab.
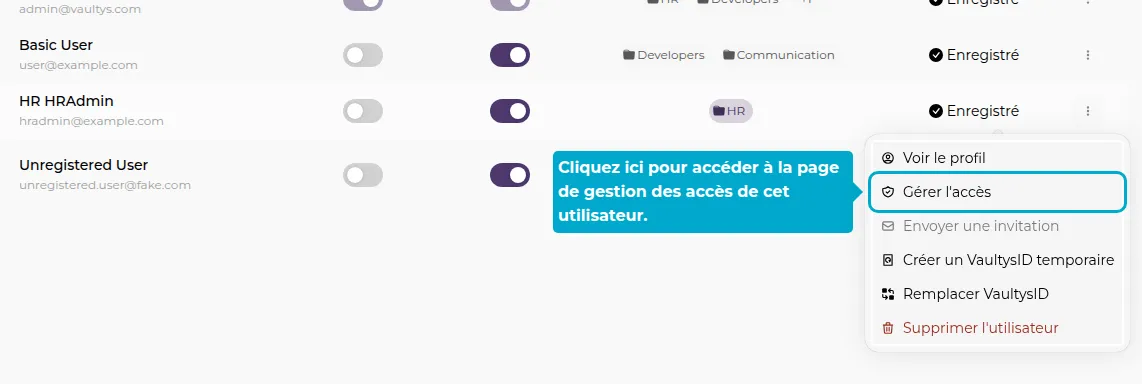
2. Click on the Actions button
Find the user you want to manage access for, then click on the corresponding Actions button.
3. Click on Access
Managing Access to Folders
4. Add a Folder
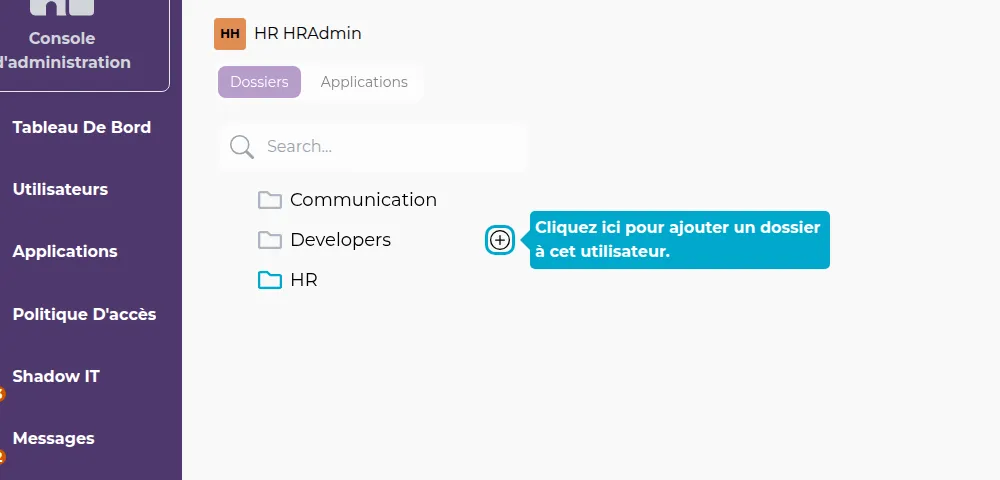
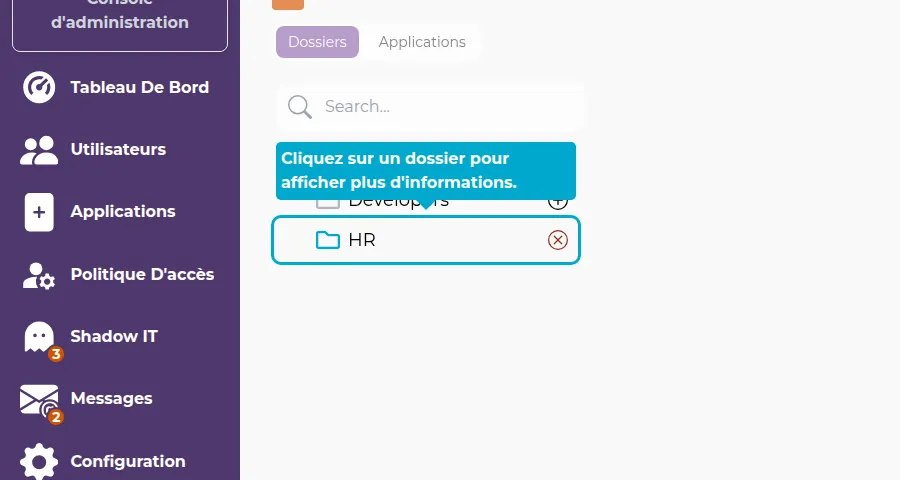
In the user's access management page, the complete list of SmartLink folders is displayed, with different colors depending on the user's rights.
Gray Folder => Not allowed Yellow Folder => Allowed Blue Folder => Allowed with administrative rights
To grant access to a folder for the user, hover over the folder with the mouse and click on the + at the end of the line.
5. Remove a Folder
To remove access to a folder, hover over the folder with the mouse and click on the red cross at the end of the line.

Administrative Rights on a Folder
6. Click on a Folder
To access more configuration options for a folder, click on it.
7. Set Administrative Rights
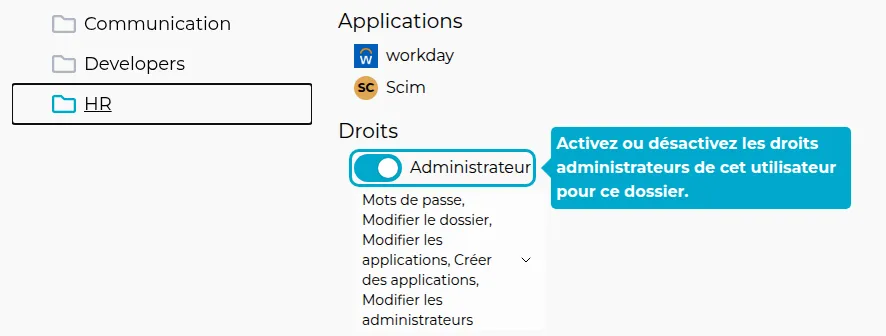
A window appears on the side with more information about the folder.
Click on the Administrator button to set the user as an administrator of this folder.
8. Adjust Rights
You can then adjust the user's rights.

Directly Shared Applications
9. Click on Applications
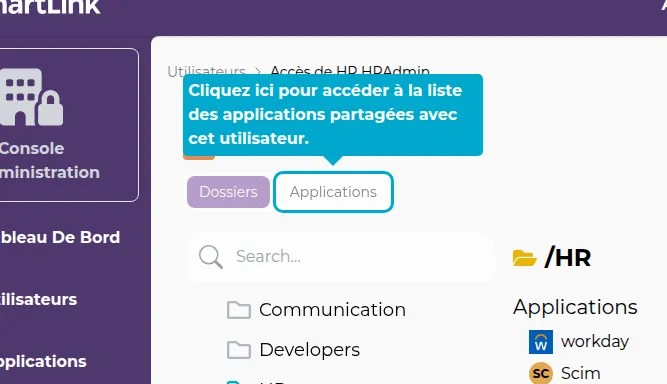
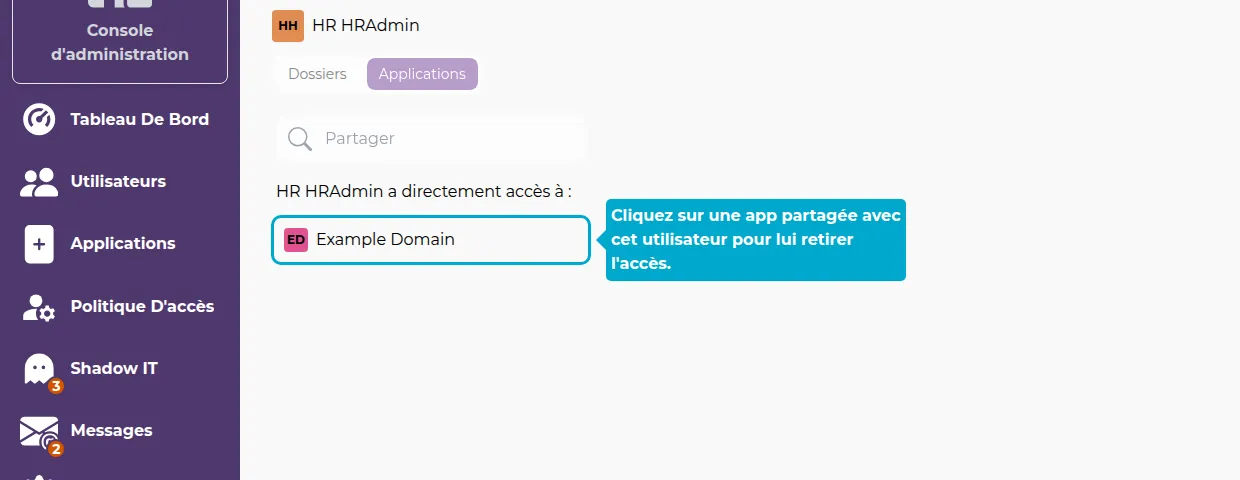
To manage applications directly shared with the user (without going through a folder), click on the Applications tab.
10. Add access to an application
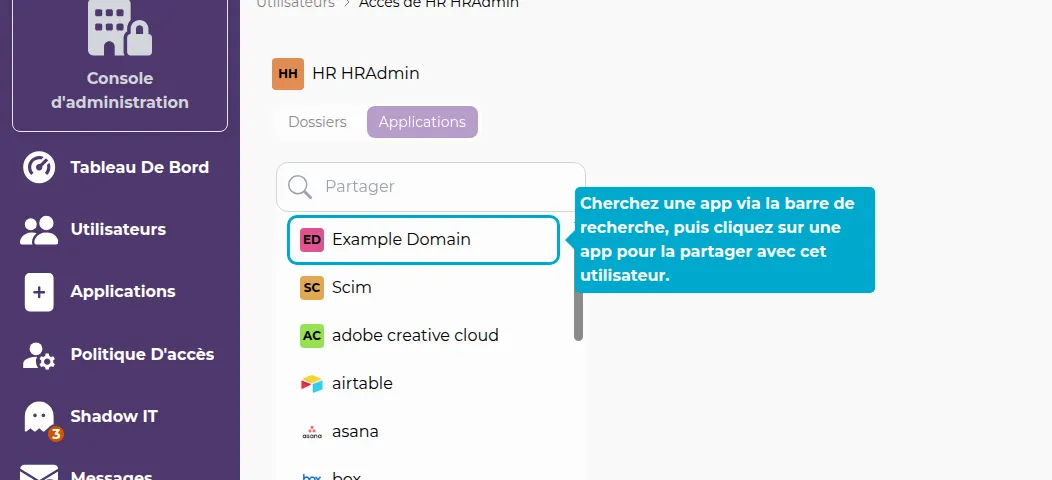
To add access to another application for this user, click on the search bar. Search for an application and click on it to add.
11. Remove access to an application
The list of applications directly shared with the user appears. Click on one of them to remove access to that application.
Copying Rights from Another User
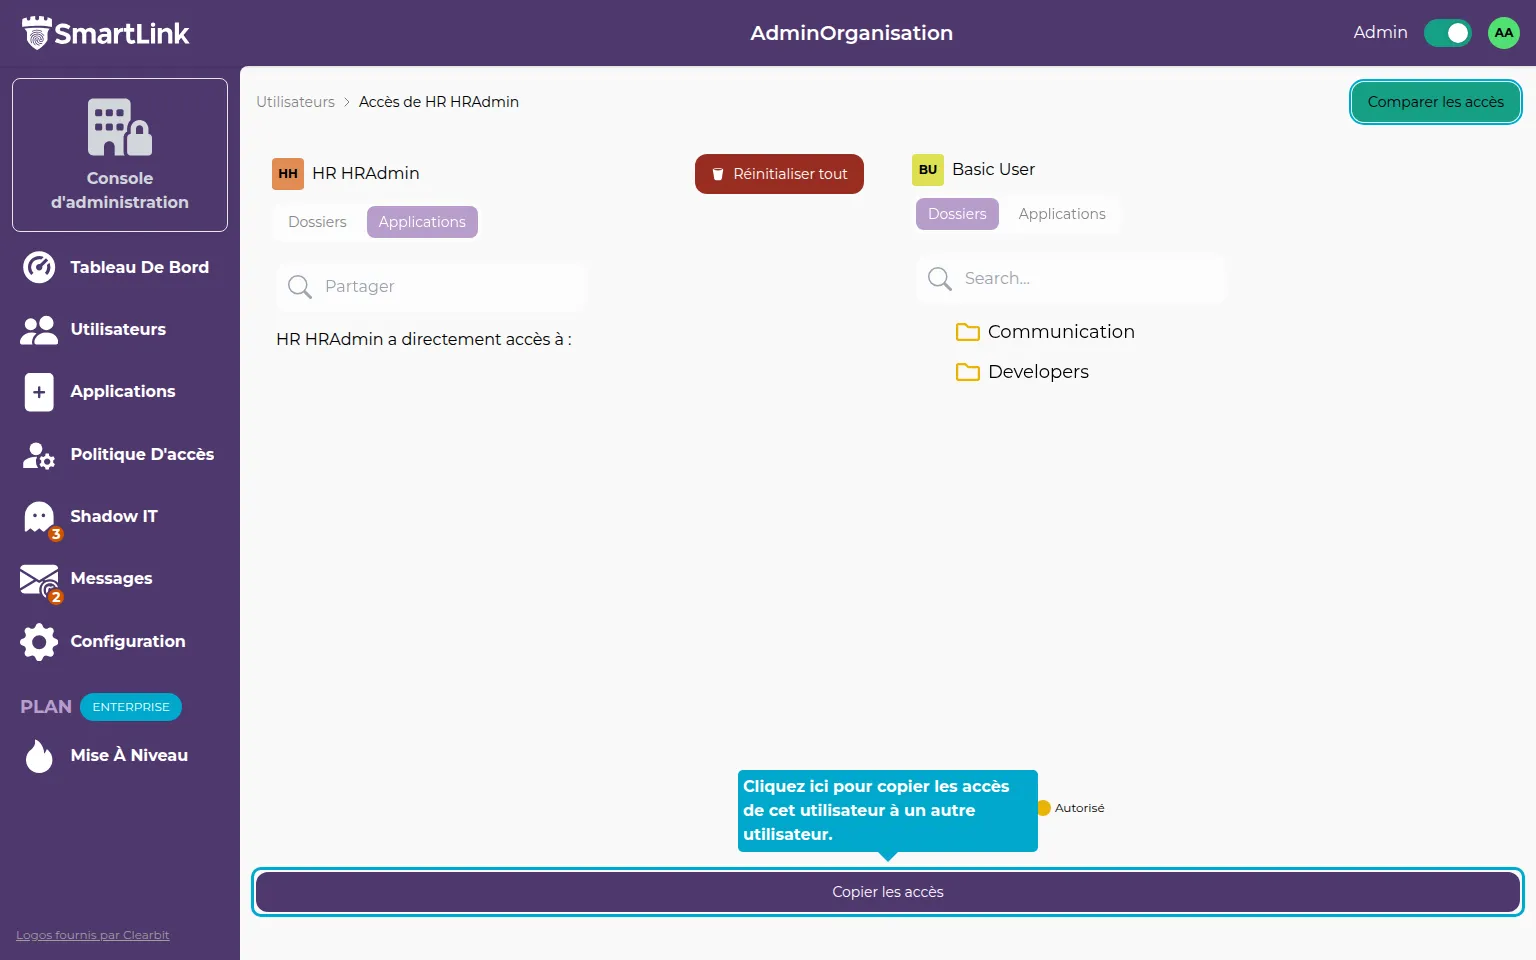
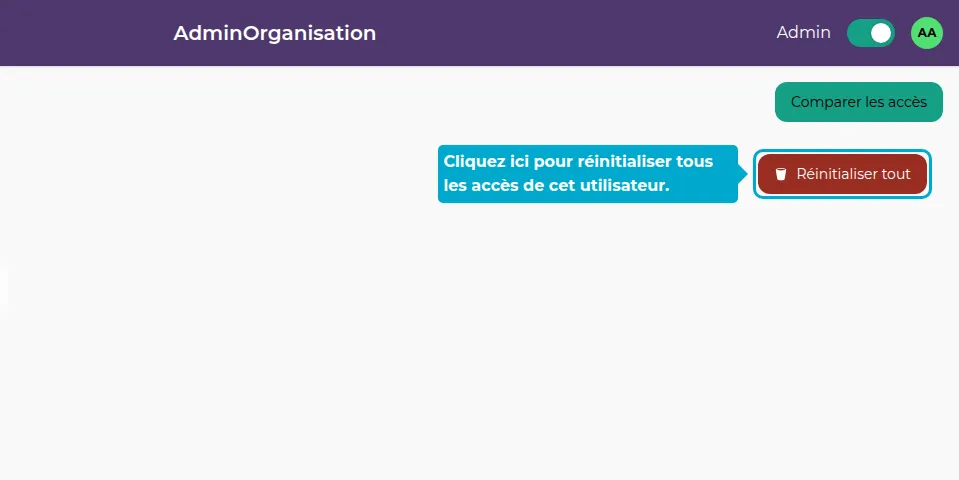
12. Click on Reset All
Before copying rights from another user, you need to reset all rights. To do this, click on the Reset All button, then click on Delete in the window that opens.
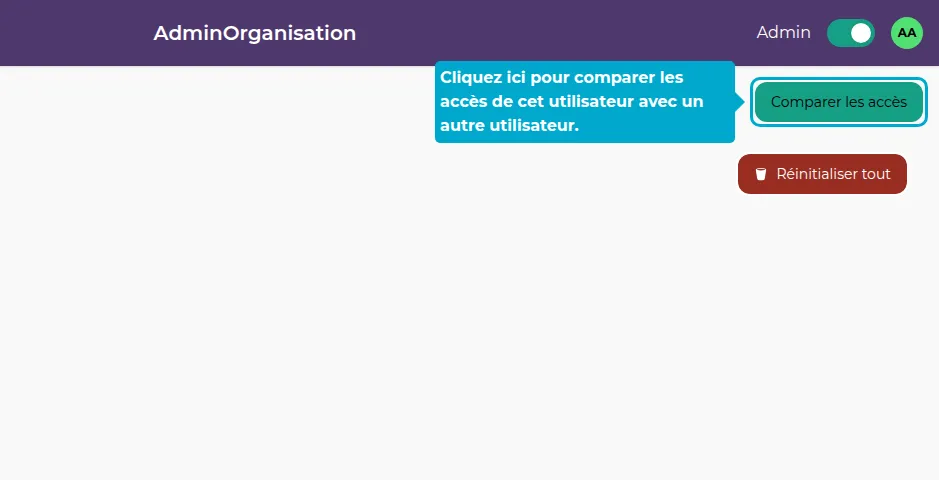
13. Click on Compare Access
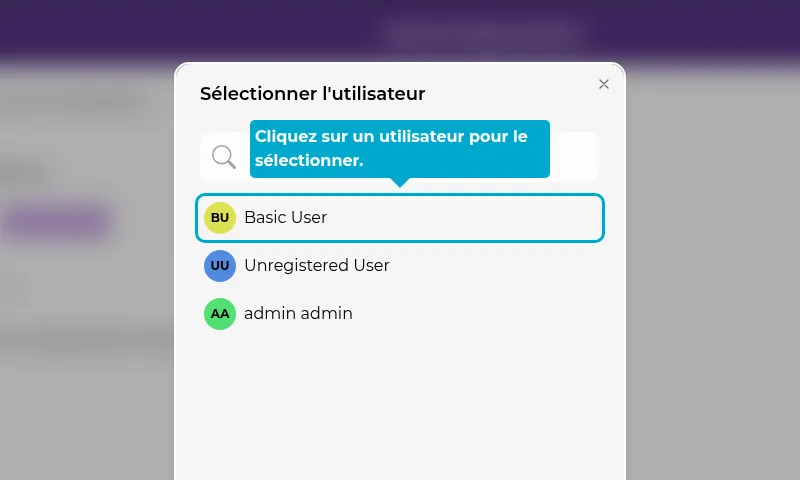
14. Select Another User
A window opens with the list of other users. Click on one of them to select.
15. Copy Access
The screen is divided into two parts. On the right are the rights of the current user, on the left are the rights of the user you just selected.
Click on Copy Access to copy the access from the user on the right to the user on the left.
