Log in to SmartLink
SmartLink uses VaultysID, a decentralized identity technology for passwordless authentication. The connection process consists of three main steps, visible in the progress bar displayed at the top of the screen:
- Browser Security — registering or verifying your browser using its own decentralized identity
- User Authentication — authentication via the VaultysID application
- Verification — final confirmation of your identity
Login Screen
When you access SmartLink, the login screen is displayed.
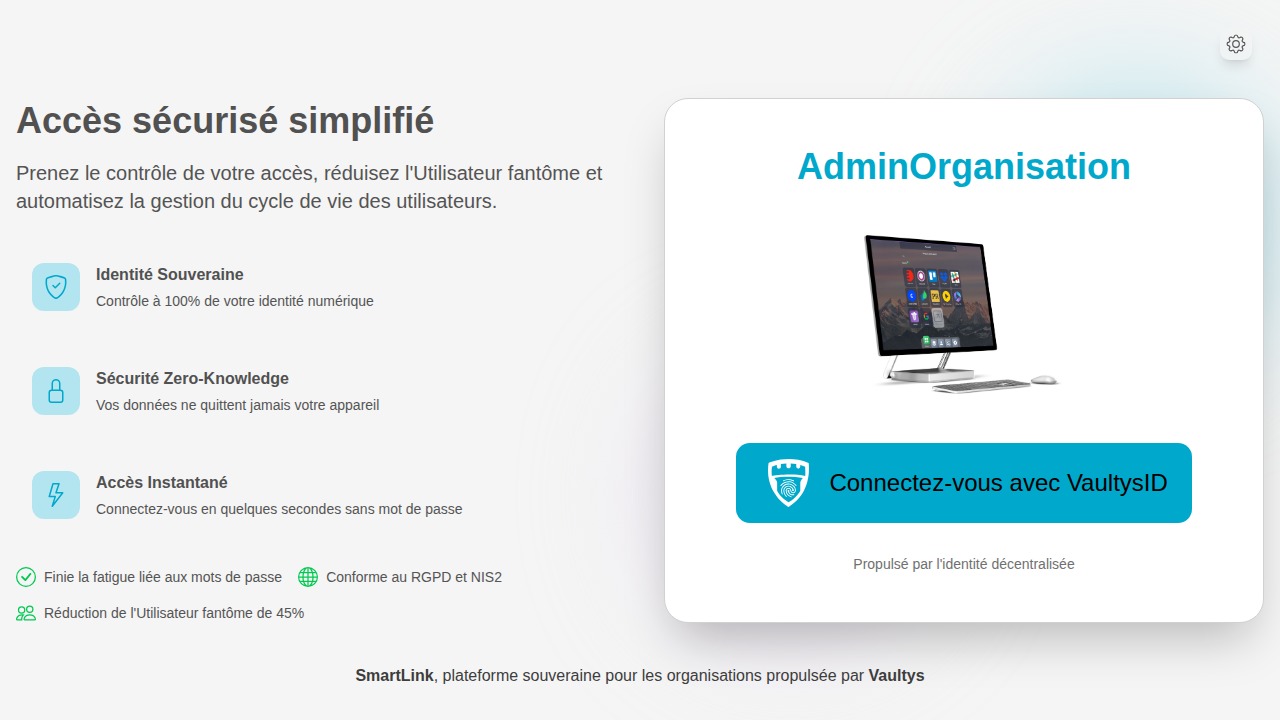
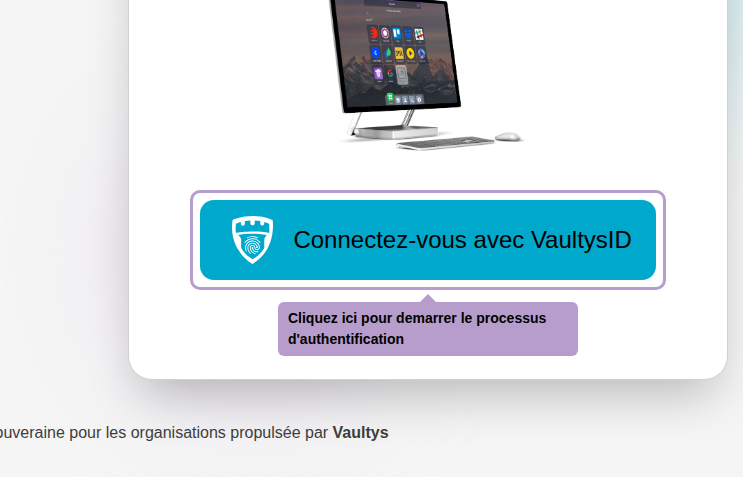
Click on Log in with VaultysID to start the authentication process.
Step 1 — Browser Security
The first step is to register or verify your browser with SmartLink. This step is only done once per browser.
Depending on the security policy set by your administrator, SmartLink may offer you to choose the method to secure your browser. If your administrator has not defined a specific security policy, you will not see this screen.
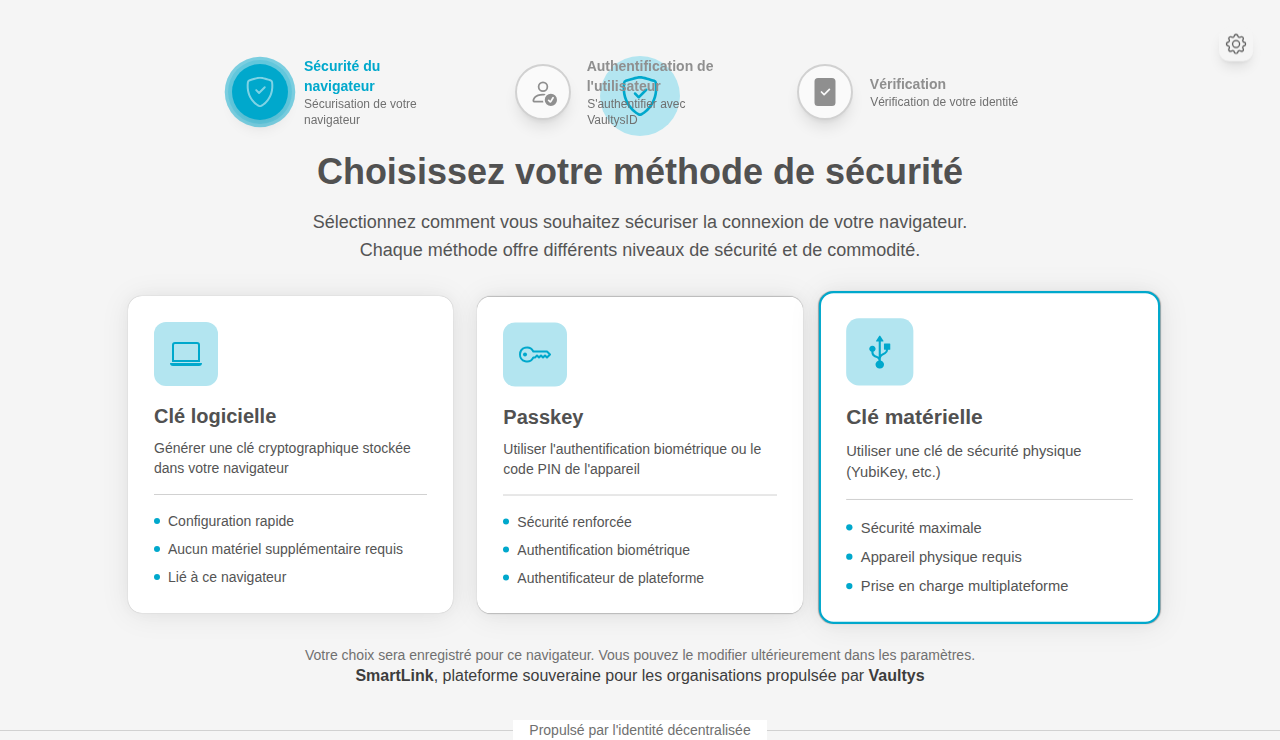
Three methods are available:
Software Key
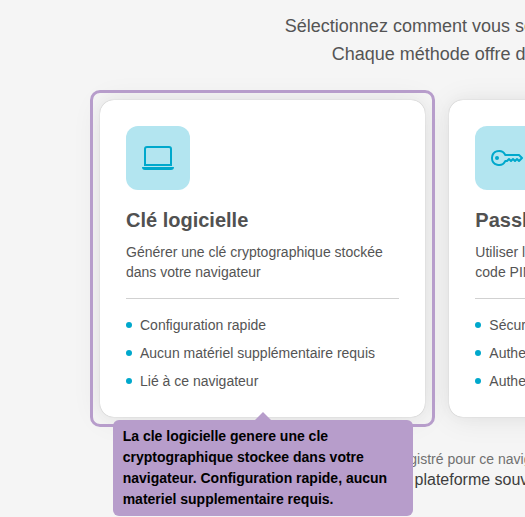
The software key generates a cryptographic key stored in your browser. It is the quickest method to set up, without any additional hardware.
Passkey

The Passkey uses biometric authentication (fingerprint, Face ID) or the PIN code of your device for enhanced security.
Hardware Key
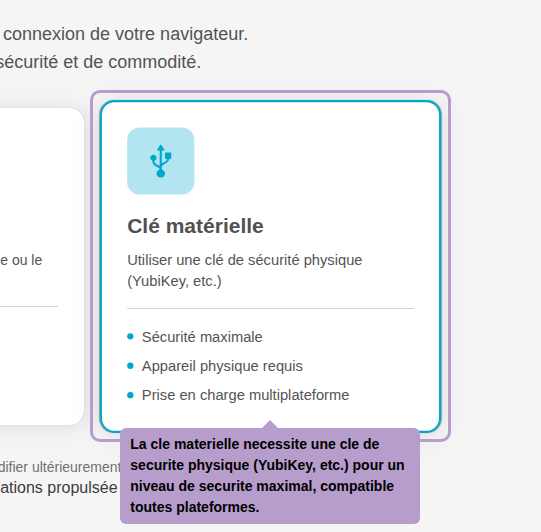
The hardware key requires a physical security key (YubiKey, etc.) for a maximum security level, compatible with all platforms.
Step 2 — User Authentication

Once your browser is registered or verified, SmartLink generates a unique QR code. Scan it with the VaultysID application on your smartphone to authenticate yourself.
Step 3 — Verification
SmartLink verifies your identity. Confirm the connection to access your space. Several scenarios are possible:
- You are authorized: you directly access your dashboard.
- A warning message appears: This is the first time you are logging in from this browser, and the administrators have configured a security policy that allows you to log in but with a warning message. Read the message carefully and confirm that you understand the risks before proceeding.
- Your connection requires approval from an administrator: This is the first time you are logging in from this browser, and the administrators have configured a security policy that requires manual approval for new devices. Your administrator must approve your device before you can log in. You will receive a notification once your device is approved.
- Your connection is denied: This can happen for several reasons. The browser does not comply with the security rules defined by the administrators, you are not registered in the organization, you are registered but an administrator has disabled your account, etc.
Accounts Already Used on this Browser
When you access SmartLink from a browser where users have already logged in, SmartLink displays the list of these accounts.

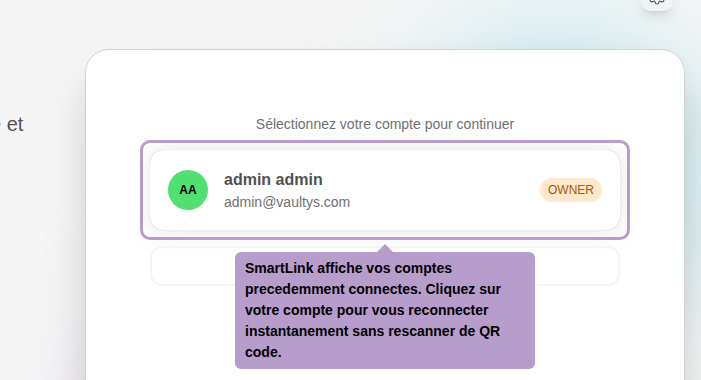
Select your account to indicate with which identity you want to log in. The three-step authentication process then proceeds as usual.
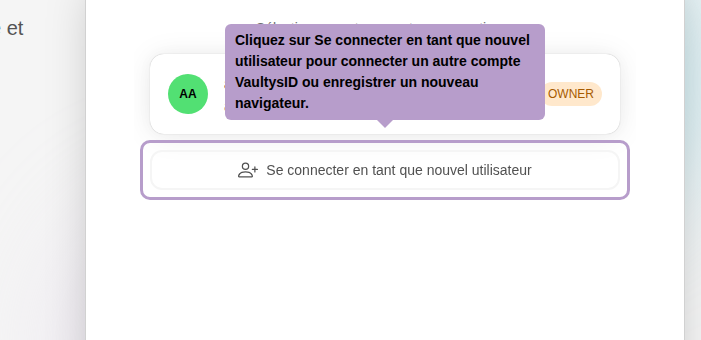
Click on Log in as a new user to log in with a VaultysID account that has not yet used this browser.