Anti Phishing
The SmartLink extension allows you to block login forms from sites not listed in your SmartLink, to prevent phishing attacks.
The settings for this anti-phishing feature can be configured from the SmartLink admin interface.
Organization Settings
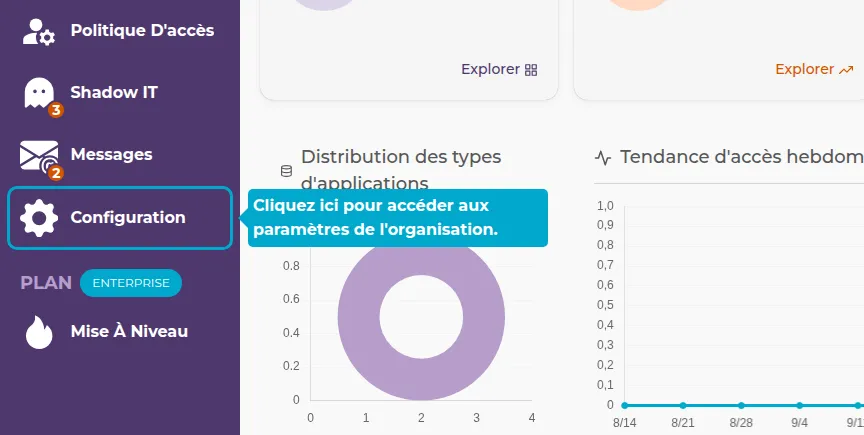
1. Click on the Configuration tab
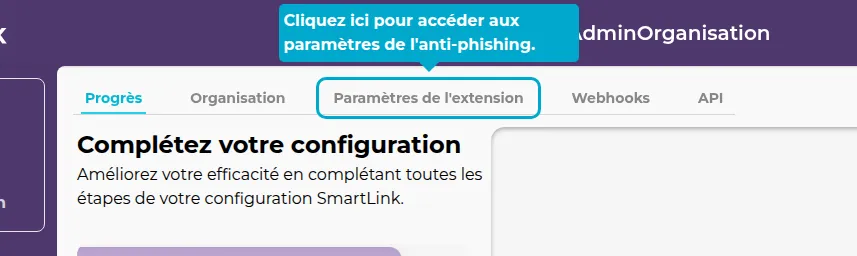
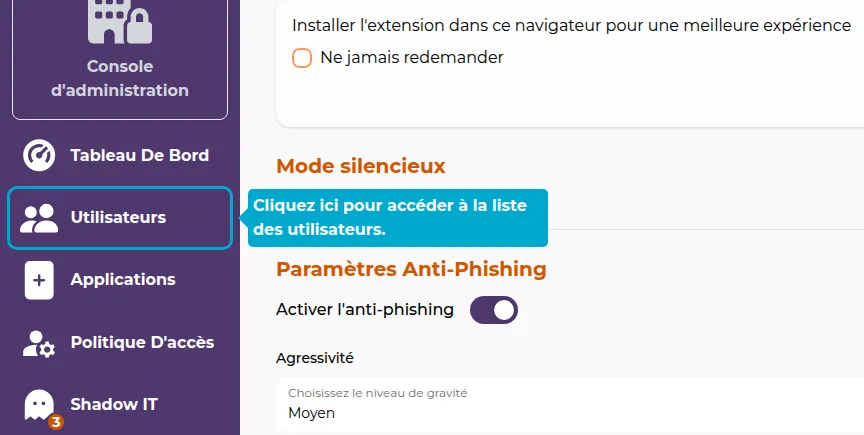
2. Anti-Phishing Settings
3. Enable/Disable
Click on the "Enable anti-phishing" button to activate or deactivate the feature.
4. Modify Behavior
To modify the anti-phishing behavior, click on severity and select your mode.
You have two choices:
- Medium: When users arrive on a login form on an unknown site, they will see a warning above the form, which they can easily close.
- High: This time, users will not be able to remove the warning, and therefore will not be able to log in to the unknown site.
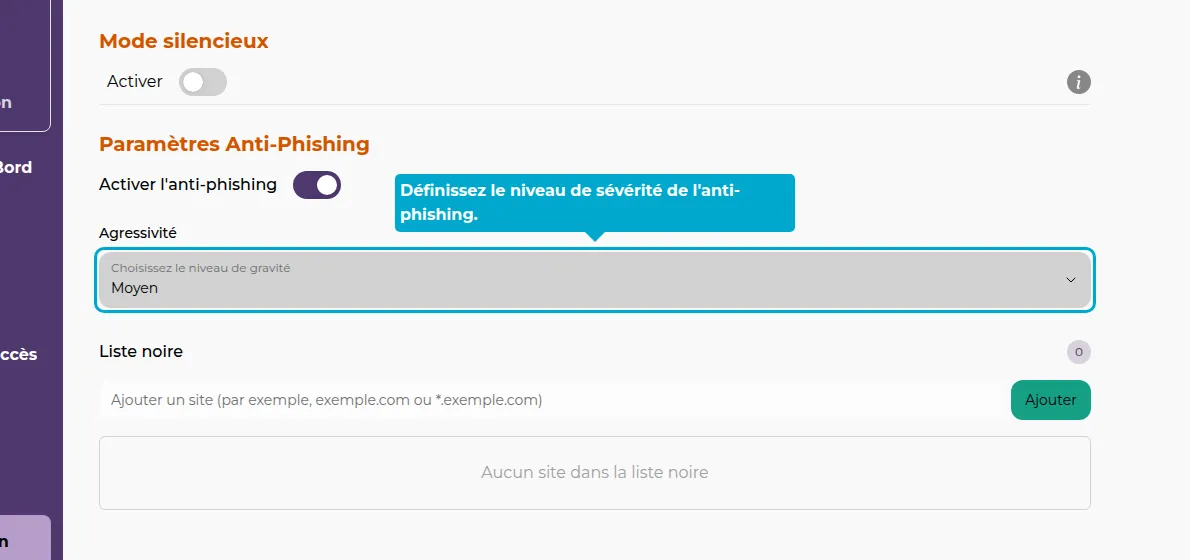
5. Blacklist
You can also configure a blacklist.
All websites on the blacklist will be completely inaccessible to users.
Enter a website and click Add to add an item to the blacklist.
You can use asterisks (*), to account for an entire domain name.
For example, * . google.com will block all web pages ending with google.com . Or, *instagram * will block all web pages where the URL contains the word instagram.

User-Specific Settings
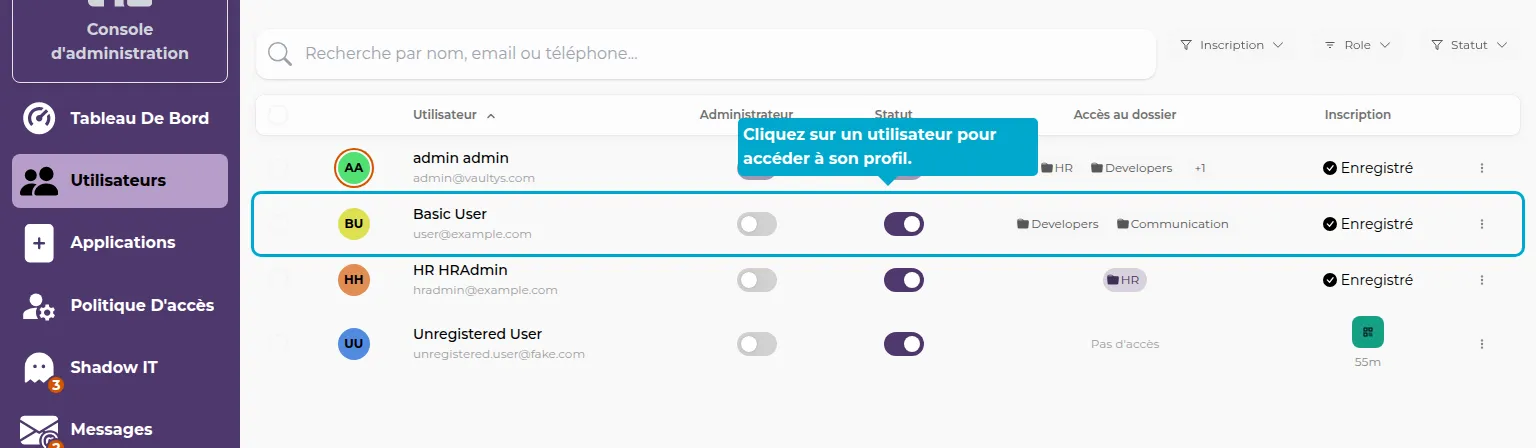
6. Click on Users
You can also set different settings for each user.
To do this, go to the Users tab.
7. Access the Profile
Then search for your user in the list of users and click on the Actions and Profile button to access their profile.
8. Click on Extension
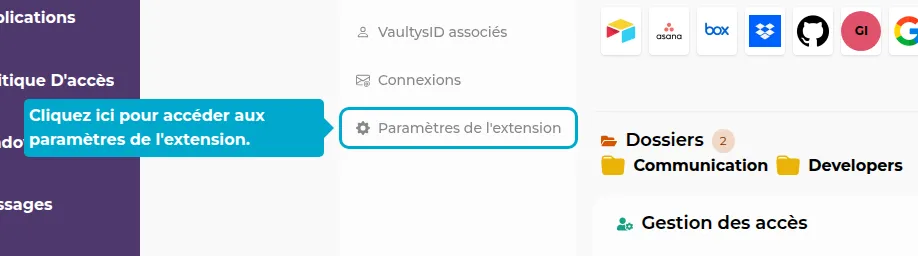
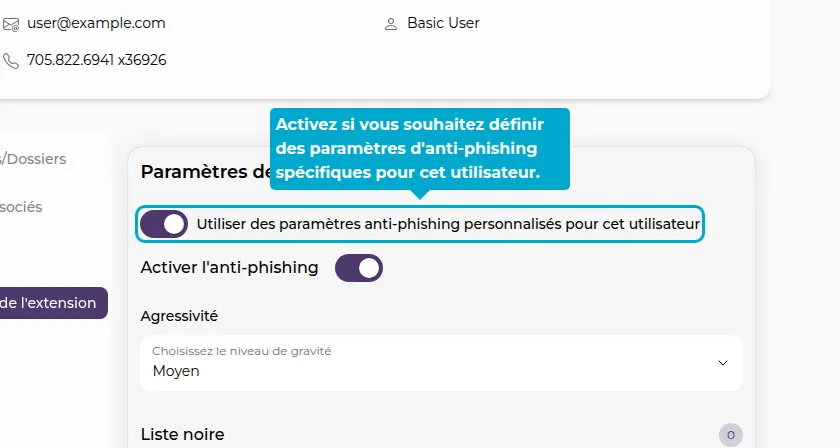
9. Enable Custom Settings
By default, users will inherit the organization's settings.
Click the button to use different settings specifically for this user.