🙋 Connect to a contact
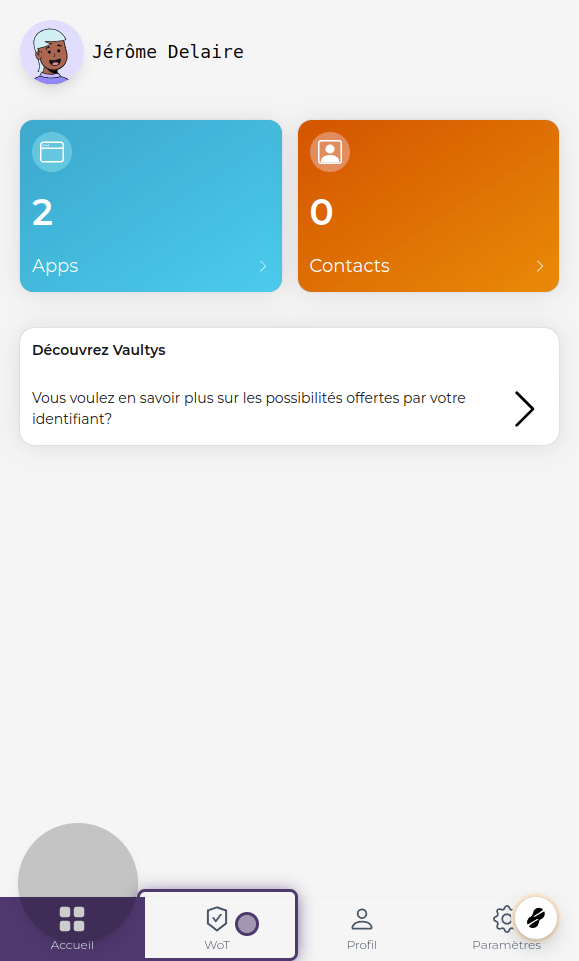
1. Choose a profile
On the application's home screen, select a profile by clicking on it

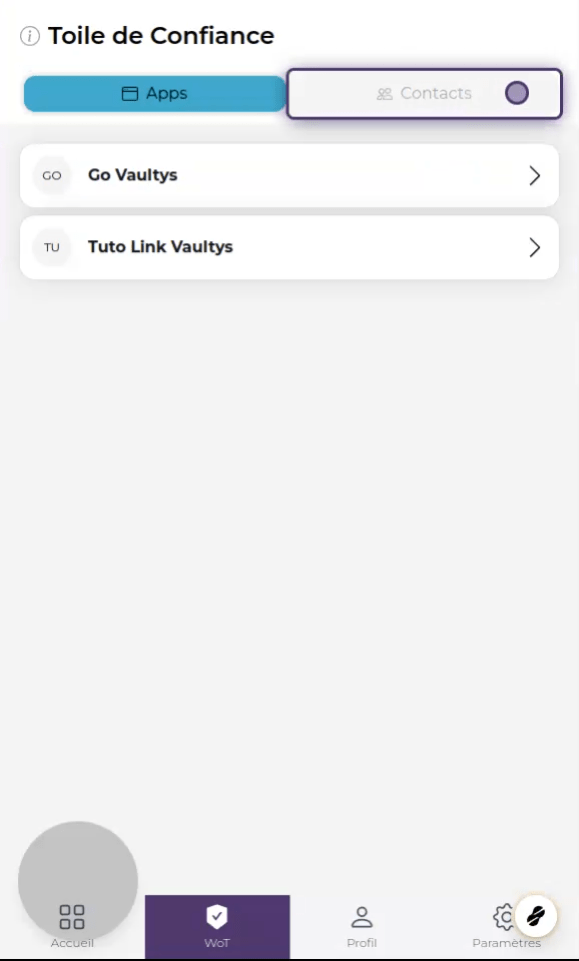
2. Click on WoT
Click on WoT to access the "Web Of Trust" tab
3. Click on contacts
Click on contacts to display your list of contacts
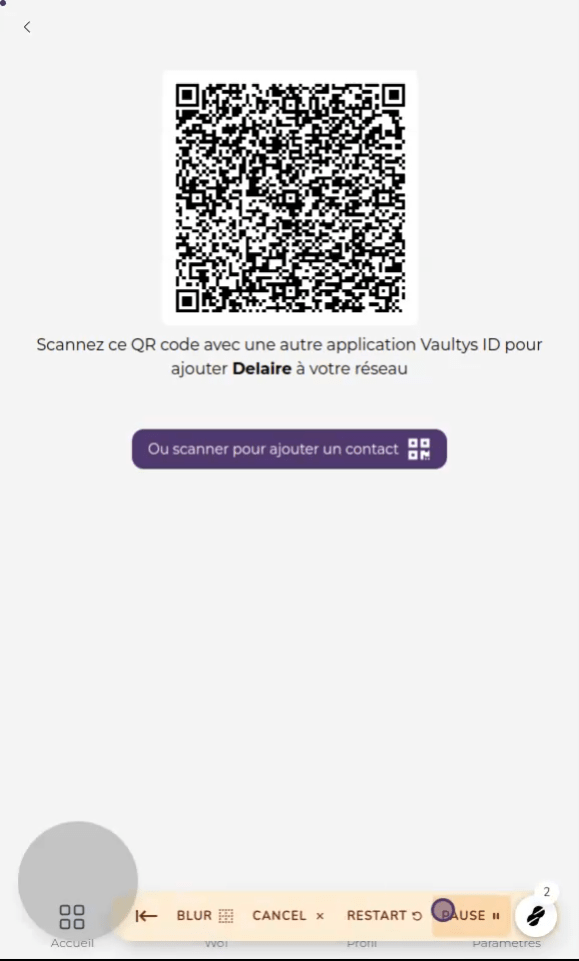
4. Click on Add a contact

5. Add your contact
Now your contact can scan your QR code to add you, or click the button to scan their QR code.
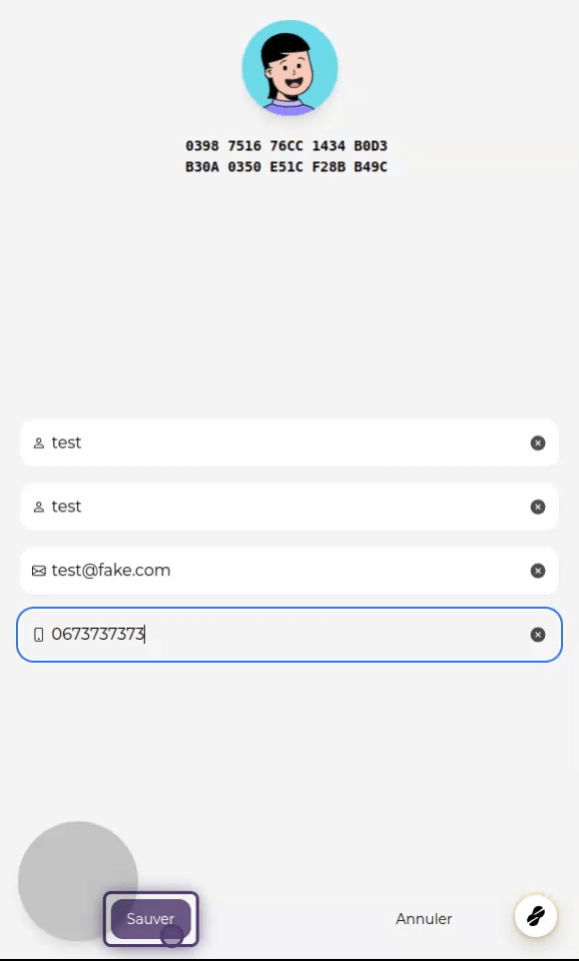
6. Contact Information
Once the process is complete, you can fill in your contact's details (name, surname, email, phone), then click Save
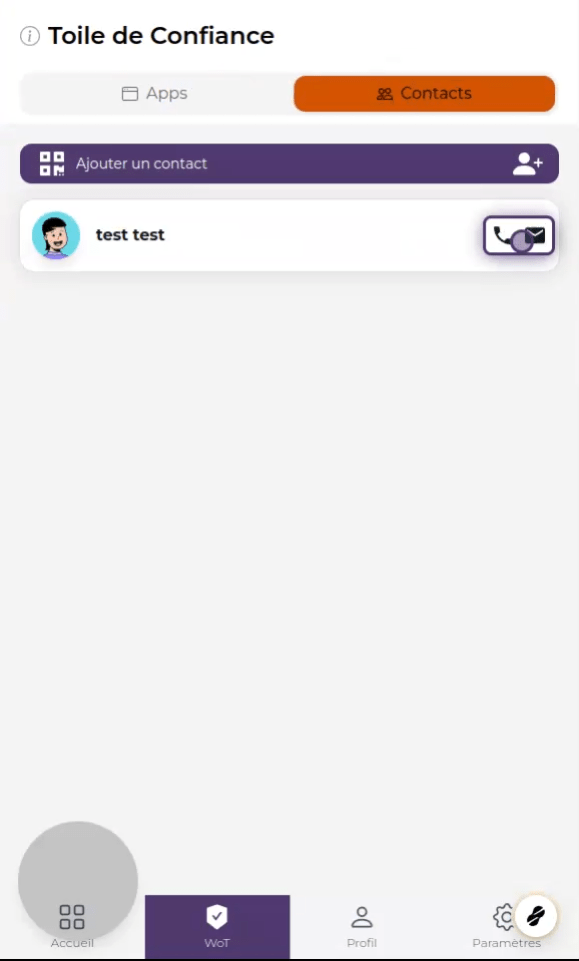
7. List of contacts
Your new contact now appears in the list of contacts. You can launch the email application or make a direct call directly from VaultysID.